Learn all you need to learn about upgrading a sound card in Windows. Removing old drivers, swapping cards or disabling on-board sound, then installing new drivers. All covered here in one article.
Windows XP may be old, but it’s still going strong. Regarded as the most reliable and user friendly of all the Windows versions, it still enjoys daily use on millions of computers worldwide. The upcoming Windows 7 release may overtake the popularity of Windows XP, but for those using it, there is currently no reason to change.
The same may not be said for computer system hardware. Constant innovation and updates drive the PC hardware market to continue to advance apace. With newer applications demanding newer hardware, or newer hardware enabling more powerful applications, progress keeps the market moving forward. While Windows can handle these changes and applications quite well, your hardware can’t always keep up.
Upgrading a sound card is one such undertaking that most computer users will complete at least a few times in their lives. The sound card is one of the cheaper computer components to upgrade. It is also one of the ones that can make the most difference to some setups. Sound heavy users like musicians or animators will want to keep on the bleeding edge of sound cards and will upgrade often. Average users won’t need to do it nearly as much. It is one of the more straightforward things you can do to upgrade a PC, and we shall discuss is further here.
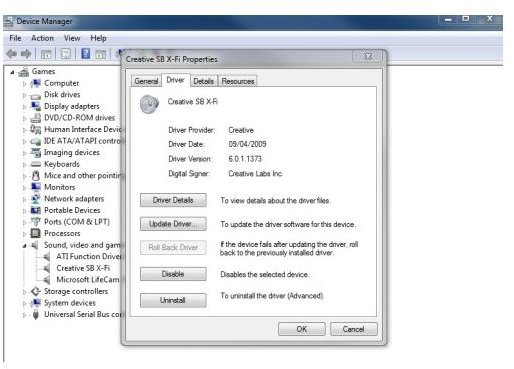
When upgrading sound and graphics cards the first thing to do is remove the drivers for the current one. Go to Control Panel then Device Manager, right click on your sound card and select Properties. Choose the tab called Driver and you should see a button on the bottom left called Uninstall. Click this and follow any instructions on screen to remove the driver from your system. We do this before changing cards in order to give the new card a clean slate to work from. Cards from different manufacturers are incompatible with each other so won’t be able to use each other’s drivers.
Once the operation is complete, turn off your machine.
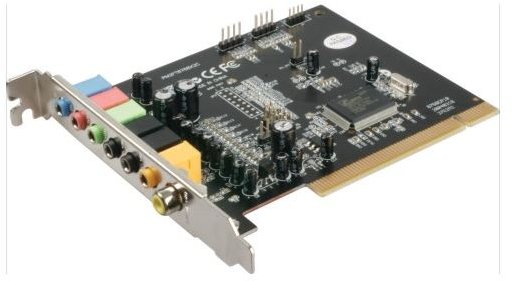
There are two types of sound device on a computer. The PCI sound card which comes separately and slots onto the motherboard, and the built-in sound device which is a part of the board. To change the PCI card, simply remove the case from the computer and find the existing one. It can be easily identified as it will be the card the speakers are connected to. Remove the speaker connections and swap the card for the new one, then plug the speakers into the right connector. Replace the computer case and reboot the machine.
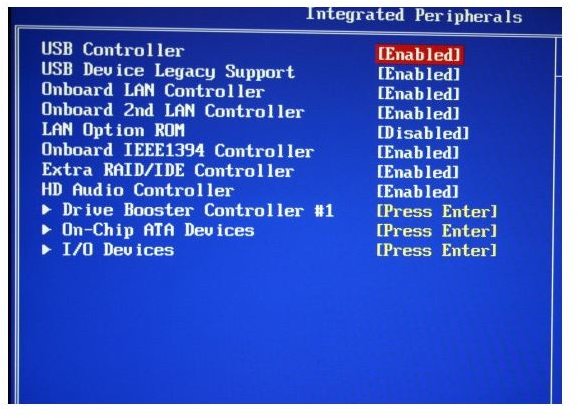
When upgrading a built-in sound device, it is a little more involved. Reboot the machine and enter the BIOS, there should be a prompt that appears before the Windows splash screen that tells you what key to press.
What you see next depends entirely on who made your motherboard and the BIOS they used. You are normally greeted with a summary screen and using the right arrow key can navigate to something like Integrated Peripherals. You are looking for something that refers to sound and it may be “HD Audio Controller or Onboard Sound,” or something completely different. When you find a likely candidate, set it to disabled and then save changes and exit BIOS. Switch the machine off and repeat the steps for installing a sound card as above. There is nothing to remove, so just add the new card to an empty PCI slot and move the speaker connector to the new card.
When you boot into Windows it should detect the new device. Have the new drivers ready in the machine and let Windows detect and install them. Once it has finished the process should be complete. Test your sound just to make sure and then sit back and enjoy your new hardware!