When you see your photo library is building up, it is a good idea to consider transferring them to a disk, whether a CD/DVD or external hard disk, for backup purposes. Learn how to do this.
Introduction
Transferring pictures from computer to disk is one of the easiest tasks you can perform on your computer, provided you have the necessary hardware available. There are two possibilities:
-
Transferring to a CD or DVD
Advertisement -
Transferring to an external hard disk
If you want to send pictures to your family and friends, it is better to go with the first option. If you just like the idea of having your pictures backed up, then an external disk will be better. We will go through each process throughout the article.
Transferring Pictures from Computer to CD/DVD
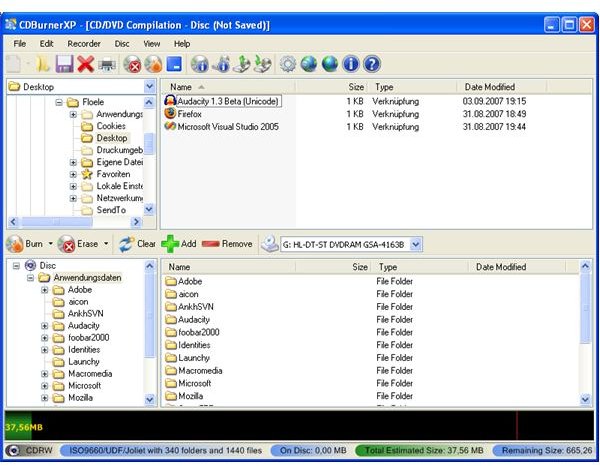
You need to have a CD/DVD writer connected to your computer. The writer can be an internal one, which is already “inside” your computer’s case, or an external one, connected to a USB port. In both cases, the process will be the same. The second thing you will need is CD/DVD writer software. I personally use CD Burner XP , a freeware program, which uses as little system resources as possible. Download and install the program and you are ready to go.
Insert your blank CD or DVD to your drive. Open up the program, select your image directory from the top left pane, and the photos from the top right. Then drag and drop the files to the bottom right pane and click the disk icon with the flame on it and you are done.
Here is another tip for you: download Picasa , a freeware photo management program from Google. In addition to writing CD/DVD’s with its “Gift CD” option, you can create movies, collages and slideshows with your photos. Give it a try!
Transferring Pictures from Computer to an External Disk
There is just one thing that you need here: an external disk. When you plug your external disk, whether a USB pen drive or a huge terabyte-size disk, your computer will recognize it immediately and will assign a drive letter to it (if you’re using Windows) or will place a shortcut to your desktop (if you’re using Linux). Either go to My Computer or click on the drive letter to open the disk (or double-click on the desktop icon) and you will see the drive’s contents. Then open up the folder where your pictures are located, probably in “My Pictures” folder. Select them, right click, choose Copy (or Cut if you want to move them instead of copying them) and then go to your external disk. Right click on the folder where you want to transfer them and select Paste.
If you want to automate this transfer process, that is to say copy or move the files to the external drive whenever you save them to your computer, you may want to look at the free program called Synctoy from Microsoft.
Conclusion
As we have shown, transferring files from your computer is easy. However, things can get complicated when you continuously do the transfer process and begin to lose track of your copied files. It is a good idea to index your CD/DVDs for the files that are inside for quick access later or back up all of your photo/picture files in one directory on the external drive.
You can also use these options to transfer files from computer to computer. Copy from one computer to an external disk, disconnect the drive, reconnect it to the other computer and copy the files from the disk again. The same also goes for CD and DVDs.
Read How to Transfer Your Digital Photos from One Computer to Another for more steps on this process.


