Thanks to current technology, creating a home or small business WiFi network is relatively painless. However, if you have tried to network computers with Windows XP together with PCs running Vista, you may have hit a snag. Find out how you can successfully network all your Windows computers.
Creating the Network
In order to set up a Vista PC on a WiFi network with XP computers, you must first create your network and connect both the Windows XP computers and the Windows Vista PCs to the WiFi Internet connection. For a step-by-step tutorial on setting up a home network, read the Bright Hub series Home Networking Made Easy . Once you have set up a wireless router and successfully connected it to the modem, you can access the Internet via any Windows computer in your home or office.
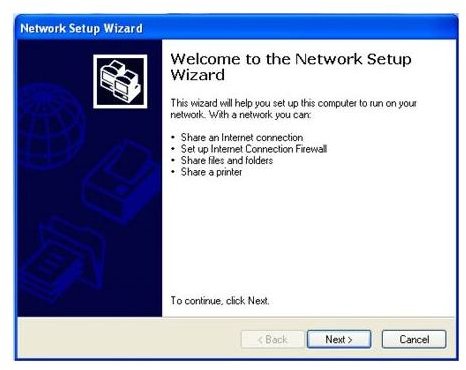
On systems using Windows XP, click the Start button and open the Control Panel. Select Network and Internet Connections, and then click Set Up or Change Your Home or Small Office Network. This will open the Network Setup Wizard. Follow the steps of the wizard to connect to your WiFi network.
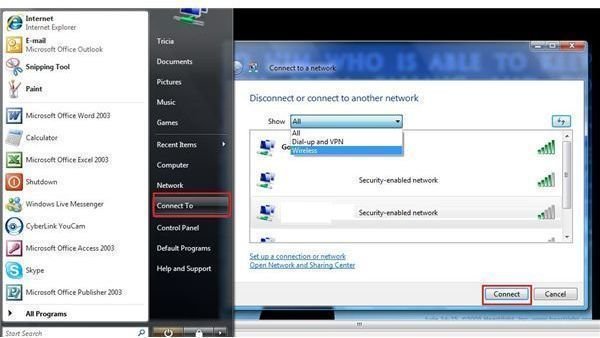
For computers using Windows Vista, go to the Start button and click Connect To in the left side of the Start menu. Select the name of the WiFi network to which you want to connect and click Connect.
Patch It Up
Once you have successfully connected both computers to the WiFi network, however, you might find that you are still not able to connect the different computers to one another. You might not think this is necessary to set up a Vista PC on a wifi network with XP computers, and you may be right. However, if you want to use a printer that is on another computer on your WiFi network, or need to access a file on the Vista PC from the Windows XP computer (or vice versa), you will need to enable a connection through the WiFi network.
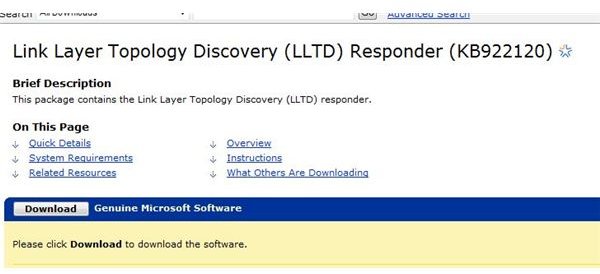
The first step is to download a hotfix onto the Windows XP computers called Link Layer Topology Discovery (LLTD) Responder . To put it in brief, non-technical terms, this patch makes it possible for computers running Windows XP to show up in the network diagram on Windows Vista computers. Make sure the Windows XP machines have at least SP2 installed, download the hotfix and reboot.
Rename the Workgroup
You are online via the WiFi network and your Windows XP computers are all patched up and ready to be found by your Windows Vista PCs. That leaves just one more step to take, and it is a simple one. For some reason, Windows XP and Windows Vista use different default names for workgroups, which means XP computers think they are on a different network than their Vista network-mates. Fortunately, this is easily remedied.
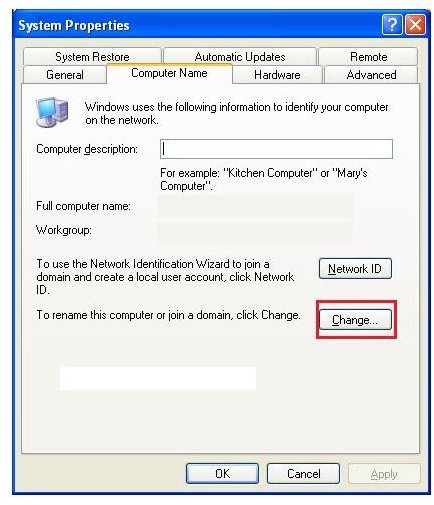
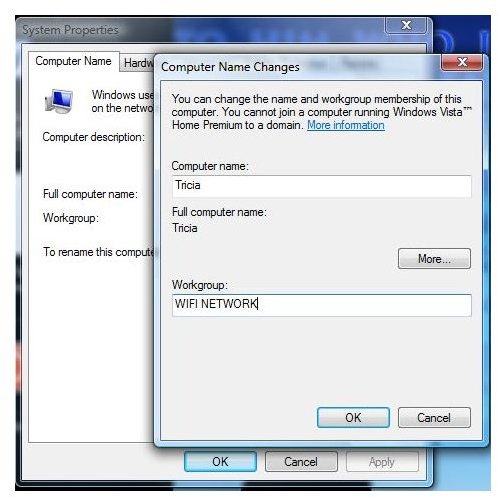
Start with the Windows XP computers on your WiFi network. Go to the Control Panel from the Start menu and select System. The System Properties dialog will open. Go to the Computer Name tab and click the Change button down at the bottom of the dialog. Then, just type in a name for your workgroup, making sure you note the exact spelling used, as you will need to enter the same workgroup name on the Windows Vista computers.
When you have changed the workgroup names on the Windows XP computers, do the same on any Windows Vista machines. Click Start and type System in the Start Search box. Click on System in the Programs list. The System window will open. Select Advanced System Settings in the left pane of the window to open System Properties. Go to the Computer Name tab and click the Change button. Enter the same workgroup name used on the Windows XP machines and apply the changes.
You should now be able to find Windows Vista computers from Windows XP machines, and vice versa, on your WiFi network.


