It’s an easy project for an adult and educational for youngsters to turn an inexpensive Logitech webcam into an infrared camera. Here we show you how.
First you’ll need a webcam, small phillips screw driver, scissors or an Exacto knife, and some exposed camera film. I found an old roll of film by digging around in a drawer, unrolled a foot or two of film, and hung it in the sun for a couple of hours to get it thoroughly exposed.
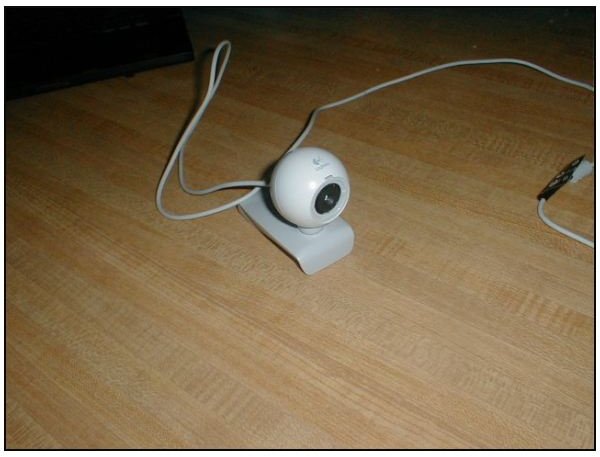
For this project, we started with a Logitech Quick Cam Express model number 960-000088 which we purchased locally from an office supply store for about $18. This is a VGA resolution (640 x 480) webcam. For about ten to fifteen dollars more, you can also select an XGA or 1024 x 768 webcam to get a more detailed picture.
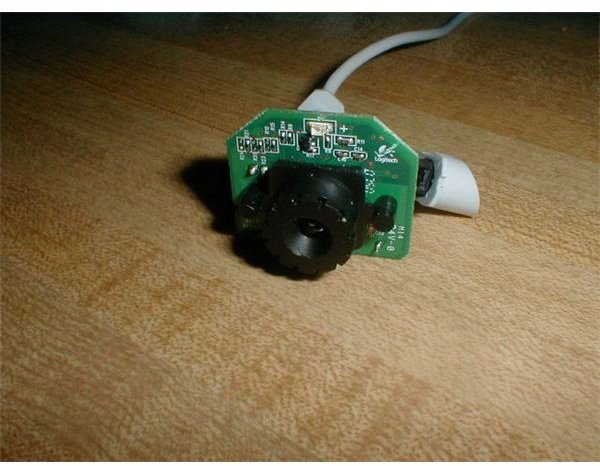
Here’s what it looked like out of the box:
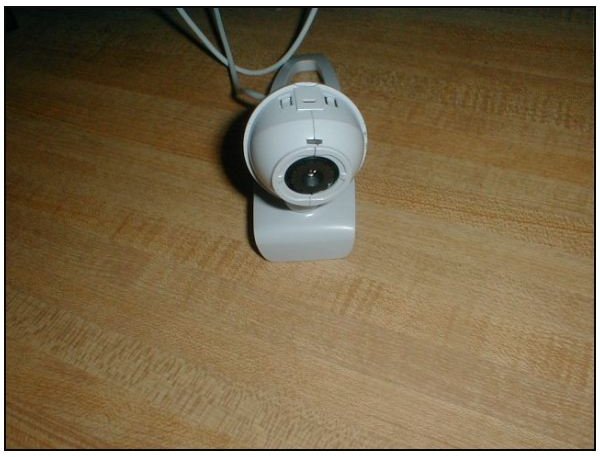
The front cover is decorative and can be removed by gently prying at the slot on the top. We used the tip of a dinner knife blade, and the cover popped right off.
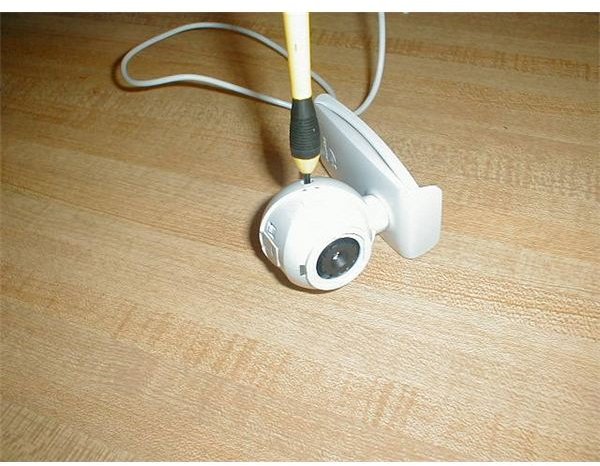
A single screw holds the device together. It’s located amidships on the right side as viewed from the front, and it’s beneath a rubberized plug that needs to be removed. A fingernail suffices here to take out the plug, and then a phillips screw driver will take out the screw.
The same case half can now be carefully lifted away.
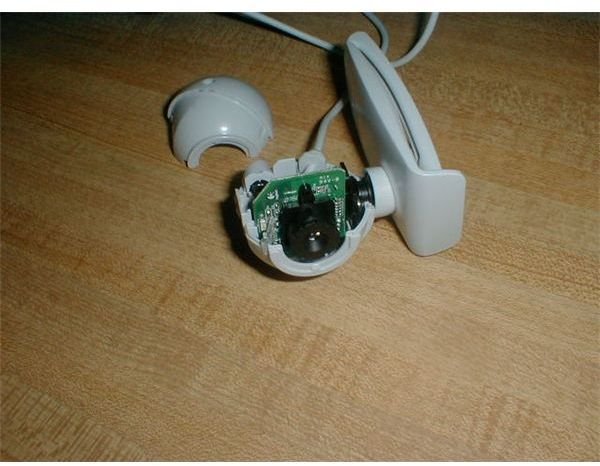
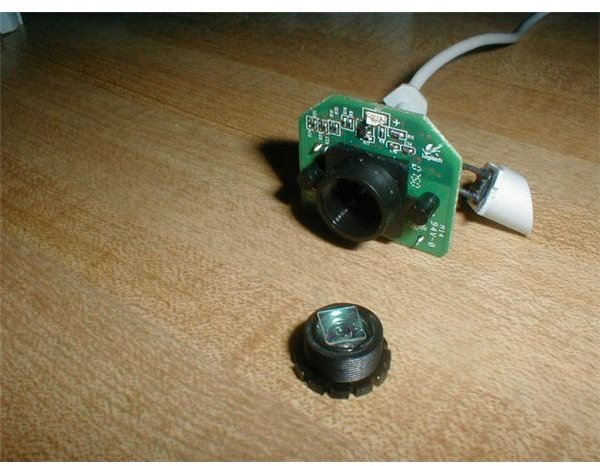
This image shows the circuit board and lens assembly removed from the case. This is not absolutely necessary – the modifications can be done with the circuit board sitting in the case half.
Unscrew the lens assembly by grasping the knurled portion and turning it counter-clockwise. Then gently pry out the infrared filter (reddish-blue square in the image) and use it as a template to cut a block out of the exposed film. Fit the square of film into the space where the IR filter came out, and then reassemble the webcam.
We suggest that you skip replacing the cover over the lens assembly that fits between the case halves. This is in order to get access to the lens assembly for focusing if you want to try some outside shots.
It can be tricky lining up the snap-shot button, the circuit board, the power cord, and the rectangular anchor for the swivel mount. Be patient, and it will fall into place and snap together eventually.
By the way, as a variation, if you have an infrared light source, you can make the webcam into a visible light and infrared light (day and night) camera by leaving out the filter completely.
However, having the filter snugly installed prevents all visible light from entering the lens, so we can be confident that what penetrates the blackened film is indeed the non-visible, infrared portion of the light spectrum
Next: Trying the Camera Out
Trying the Camera Out
Now let’s look at what we capture from our inexpensive infrared camera.
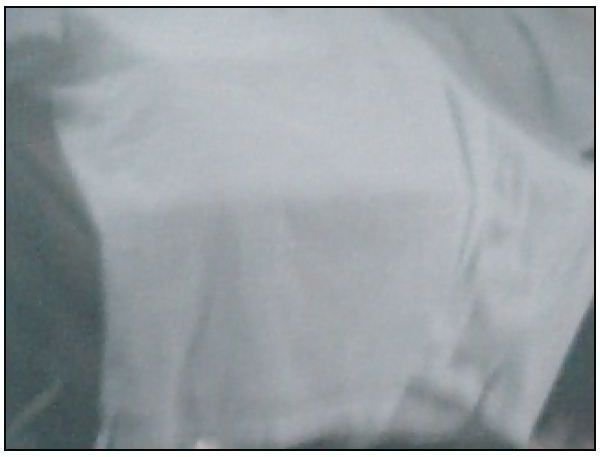
This first image is a close-up of a blue and white striped shirt. The darker image at top is a blue plaid cat blanket. Because infrared reflects equally from both blue and white, the strips appear to vanish.
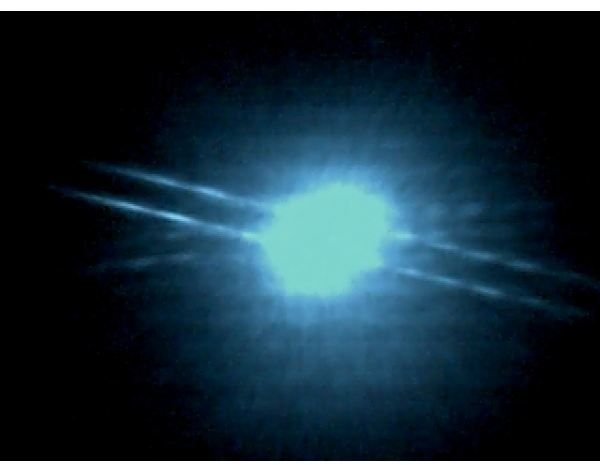
This image shows a cable box remote control being pointed toward the camera from a couple of feet away in a darkened room. Notice that the two infrared LEDs are shown distinctly.

Get much closer, though, and the brightness overloads the webcam’s image sensor. This will be a problem outside in bright sunlight, too, and some tweaking of the image controls in Logitech’s supplied Quick Cam software will be constantly needed.
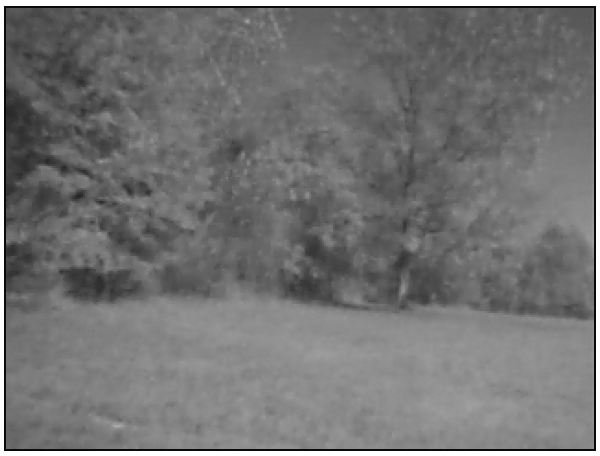
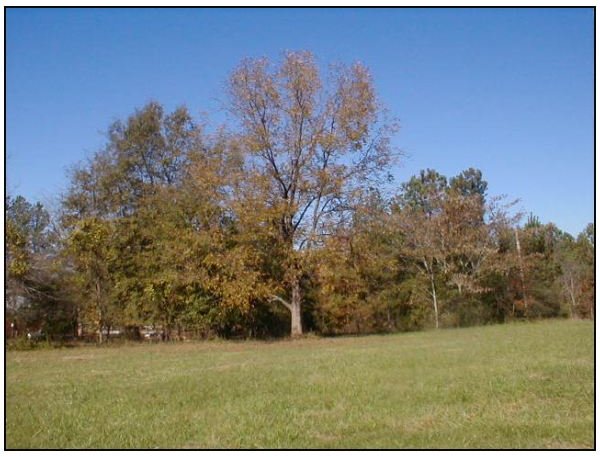
Note that the Quick Cam viewer tends to give the images a bluish cast that’s not really there. In the following images, I’ve corrected for that by desaturating the image using the GIMP (Graphic Image Manipulation Program). After playing around in the house, we took the notebook and the camera outside. Here’s an infrared view and a conventional camera view (taken at the same 640 x 480 resolution) of an autumnal pecan tree.
Images
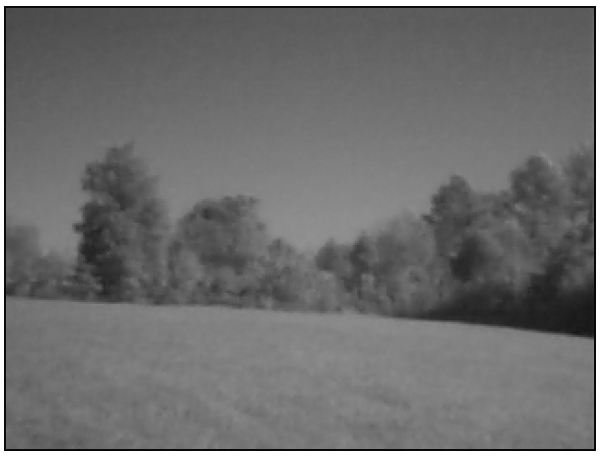
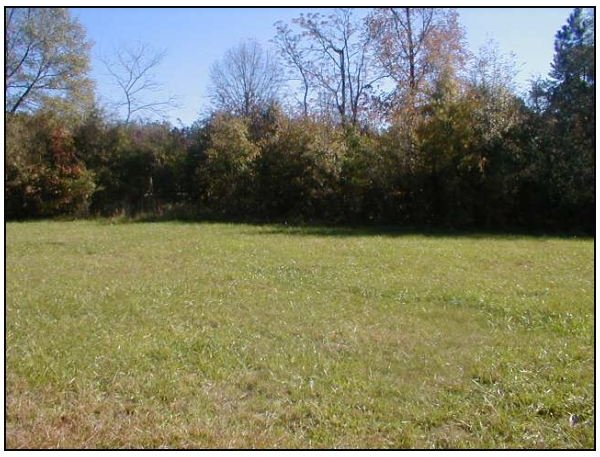
And looking outward onto a pasture . . .
Images
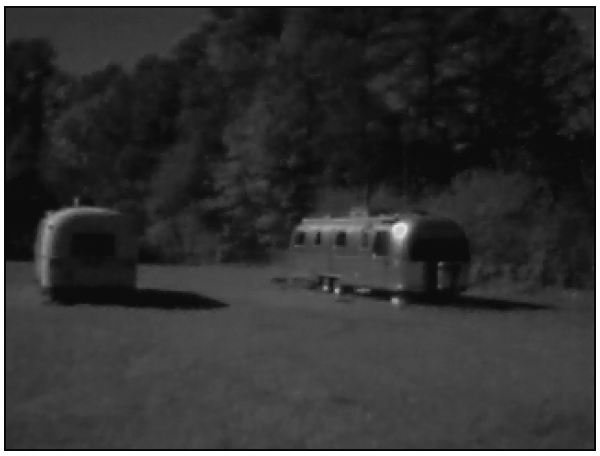
And at a couple of RVs sitting in the pasture . . .
Images

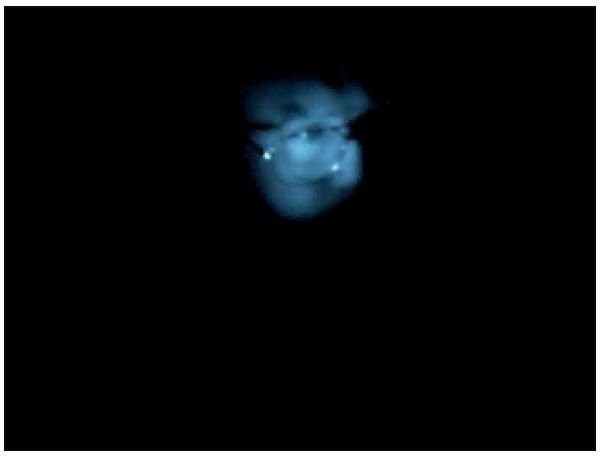
And finally, this spooky picture is me playing around with a remote control in my darkened office.
My ten-year-old nephew Caleb helped me with this project, and we used it as excuse not only to fill a part of a Sunday afternoon, but also to talk about ultraviolet, visible, and infrared light. This led to discussing the entire electromagnetic spectrum, microwave ovens, how television stations work, and how different frequencies propagate though different mediums.
So even though the images themselves were not amazing, the learning potential for an inquiring young mind was payback enough for me.
Thanks for reading this.
We hope you are enjoying reading and learning at the new Bright Hub.


