Confused on how to setup your broadband internet to your XP computer? Just follow the simple steps enumerated here and you will be connected to the Internet in no time.
Once you have subscribed to a broadband internet service provider, the next thing you have to do is set up the internet connection on your computer. You just have to follow the provider’s instructions in installing the network equipment that came from them. After which, you will need to set up your computer with the broadband internet connection.
If you are using Windows XP, the steps are relatively easy as there is already a wizard that you just have to follow. The detailed instructions in setting up Windows XP for your broadband internet connection are as follows:
-
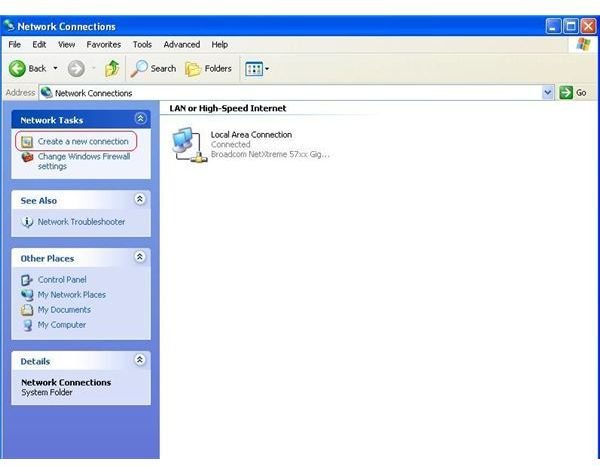
Click Start > Control Panel > Network and Internet Connections > Network Connections. This path is true if Control Panel is in the Category View. If Control Panel is currently in the Classic View, just find Network Connections then click on it.
-
In the Network Connections window, there are several category options on the left panel. Click Create **a new connection**under **Network Tasks.
Advertisement**
-
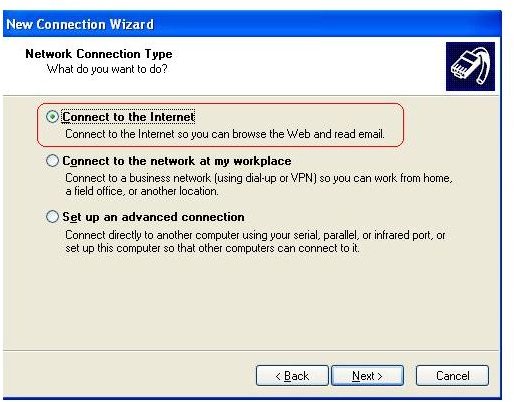
The New Connection Wizard window will come up. Click Next. Under Network Connection Type, choose Connect to the Internet then click Next.
Advertisement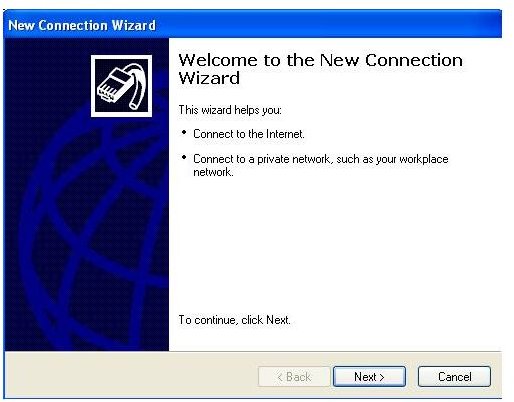
 Advertisement
 -
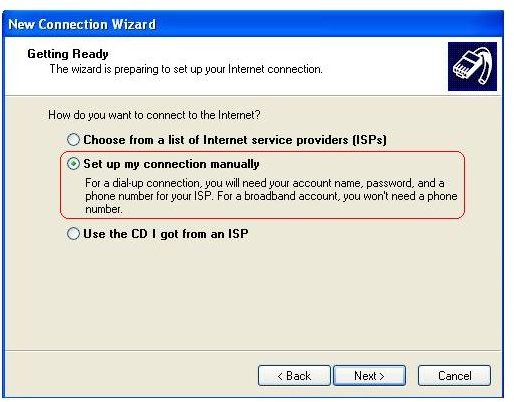
Select Set up my connection manually. Click _Next.
 _Advertisement
 -
Under Internet Connection, there are two options for broadband.
-
If you are using DSL connection, choose the second option (Connect using a broadband connection that requires a user name and password). Click Next
Advertisement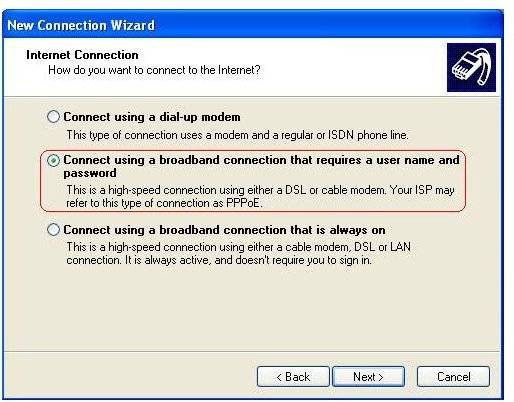
-
On the ISP Name field, type your preferred name for your Internet connection. Click Next.
Advertisement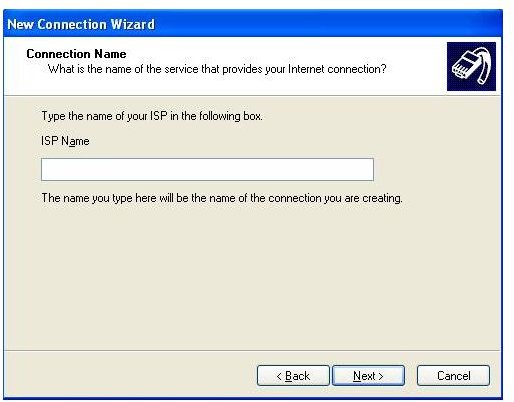
-
On the Connection Availability window, choose My use only. Click Next.
Advertisement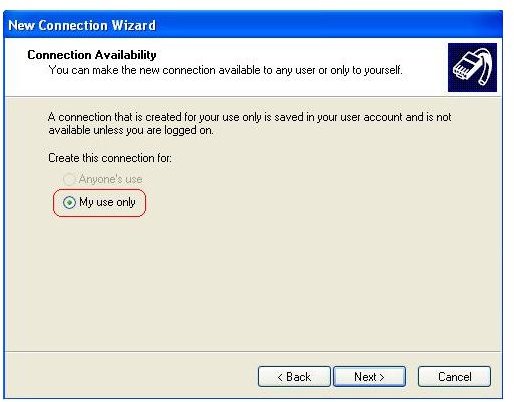
-
Enter your account Username and Password on the Internet Account Information window. Click Next.
Advertisement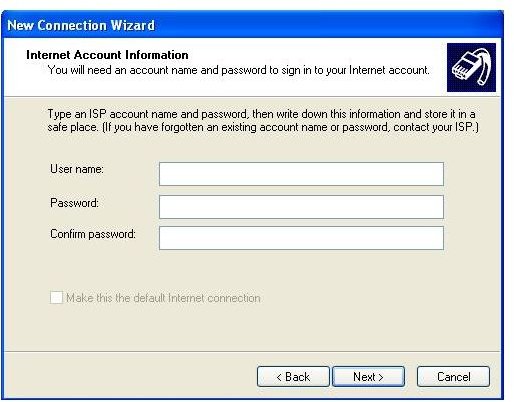
-
Click Finish.
Advertisement
-
-
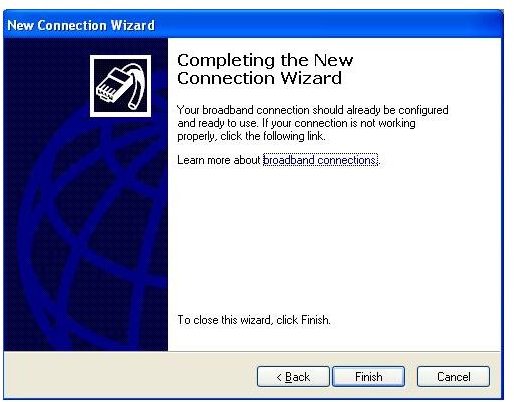
If you are using Cable modem connection , choose the third option (Connect using a broadband connection that is always on). Click Next. Click Finish.
Advertisement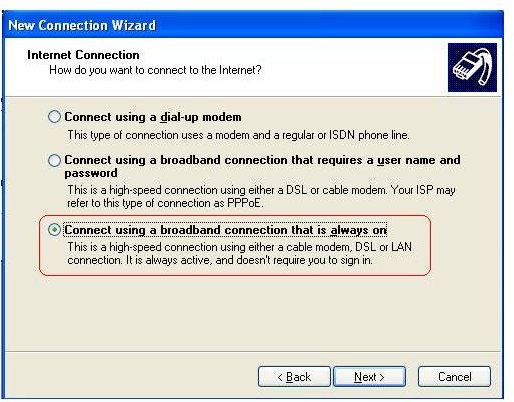
 Advertisement
-
Once the wizard is finished, you are now ready to use the Internet. If you set up using DSL connection, you just need to click on the new icon added on your desktop then login. For Cable modem connection, you should be ready to browse websites now without the need to login.


