
There is no need to spend money on network storage devices if you already have a suitable wireless router with a USB port for connecting flash drives or external hard disks. These devices can be connected and the information shared across your home network!
The popularity of home theaters and being able to view content on a computer or other storage device over the past few years has resulted in more and more people purchasing network attached storage, or NAS devices. These handy devices can be connected to a local area network and used as a data center for storing movies, music and pictures which can then be viewed on any device connected to the network.
Such a device is essentially a hard disk drive attached to a network card (wireless or Ethernet) which is then in turn connected to the network, with any configuring done remotely.
In a local area network where the wireless hub has USB ports for adding external hard disk drives and the like, however, you don’t need a NAS box. By connecting a media storage device to your wireless network you can enjoy all of the same advantages of network storage without any further financial outlay.
Understanding Similarities and Differences in Routers
Although this guide is for wireless routers that have USB ports that enable you to connect external hard disk drives and other suitable mass storage devices, there are a couple of things that you will need to be aware of.
Firstly, while these types of router are becoming more and more popular, there is no uniform approach. As such anything explained in this tutorial should be considered and used only as a guide rather than a straightforward, step-by-step tutorial. The reason for this is that different manufacturers and ISPs use different architectures for their router devices. Some may be identical, others completely different. As such, you will need to be aware that what you’re looking at here is a set of principles concerning the use of such devices, rather than comprehensive instructions.
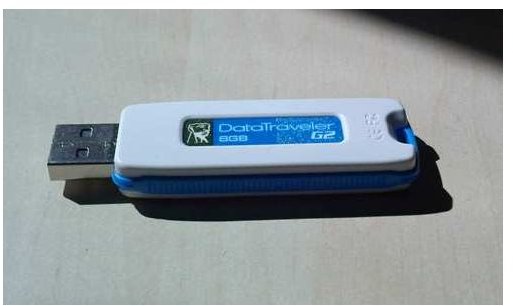
Secondly, some wireless routers will accept both external hard disk drives and USB flash devices, even USB card readers, while others demand that the storage device has its own power supply. This will usually mean an external HDD, so if your USB flash disk isn’t detected then this is the reason.
Surveying the Router – Ports and Devices
Before attempting to plug and play, spend a bit of time looking at the router itself. It might be useful to have a USB device handy for this, but start off by checking how many USB ports are available. With just one you can probably be certain that the storage will require an external power source, but with two you might get away with a single hard disk drive with external power and a standard USB flash drive, as the USB ports should be powered by the HDD power source.
In addition, if you are intending to connect a hard disk drive to your router, think about the positioning of the network device and the size of your external HDD, the length of the USB cable and the distance to the mains electric. You may have to move some objects around or make a bit of a mess to start off with, particularly if your router is mounted on the wall. Obviously if the router accepts the device you can think about purchasing a longer USB cable for long-term or regular connections.
Connecting and Sharing
As connecting an external hard disk drive is likely to give you the best results, such a device should probably be the type you use to test the feasibility of using your router as part of a wireless network media storage hub.
Connection should ideally take place while your router is switched off, or else restart the router after your storage device has been connected and powered on. At this stage you will need to return to your computer to check whether or not you can access the data on the drive through the router.
For the best results, begin by opening your router via the web browser, which is typically done by entering https://ROUTERIP. You can find the IP address of your router in Windows by pressing WINDOWS+R, entering cmd and using the ipconfig command – the router IP address is the one listed as Gateway. After logging into your router, you should find a function that enables sharing of content, so activate this. You may also need to restart your computer.
After setting this up, you should be able to see the new storage on your network. If not, use the standard features of your operating system to add the device as a new drive, assigning it a letter and treating it as a local drive.
With your hard disk drive or other external mass storage device hooked up to your wireless router, you will be able to enjoy the content stored on it from any suitable network-connected device in your home.
References
- Author’s own experience.
- Photos provided by author.


