Getting a new tablet is great - you unwrap it, unbox it, power it on… and then realise you’re not quite sure how to connect to your home wireless network. Don’t worry; help is at hand!
Easy to Use Wi-Fi Connectivity
If you’re the owner of a rather magical new Advent Vega tablet, you have an amazing box of tricks in your hands. Not only does this Android tablet device feature a hi-spec processor and architecture that will allow the device to run the Honeycomb Android 3.0 release (when it comes available) the tablet also features considerable expansion options.
Most importantly, of course, is the fact that you can use it to browse the web, send and receive emails, etc.; naturally this either requires a 3G or Wi-Fi connection. If you have a 3G compatible version of the device then this shouldn’t be too difficult to manage.
Connecting to Wi-Fi isn’t difficult – but for users new to the Android operating system (usually seen on mobile phones) it will be unfamiliar.
Finding the Connection Settings
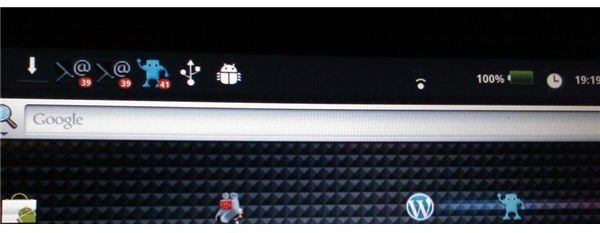
When you first switch on your tablet, the first thing you will see is the Google search bar. This is naturally used to search the web – but with no Wi-Fi connection, doing this will prove impossible.
Connecting the Advent Vega to a Wi-Fi network can be done quickly via Settings > Wireless & networks. You should find the Settings shortcut on the Home screen (best accessed by pressing the Home icon in the top left of your display) although it is also available via the Programs list, accessed by tapping the small “grid” icon on the right-hand side of the Home screen.
Connecting the Advent Vega to a Wifi Network
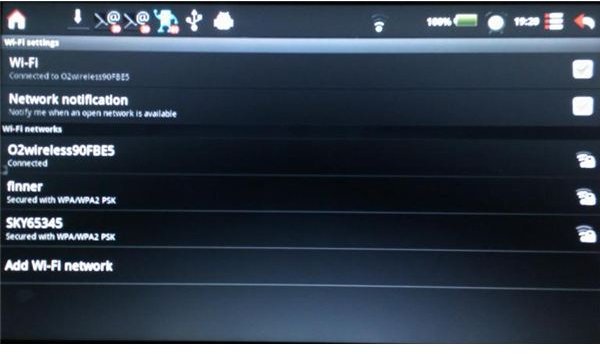
On the Wireless & network settings screen you will first need to activate wireless networking via Wi-Fi Settings. On this screen, begin by tapping the Wi-Fi option – the tablet will then begin to scan for any available connections.
Once this is done, you should see a list of available networks. Open networks will connect automatically – otherwise you will need to tap the listing for your intended Wi-Fi network and enter the password. With the password entered, tap Connect and within a few moments you should see the Wi-Fi connectivity icon in the status bar, and your tablet will be connected to the network!
You can then test Internet connectivity by searching via the Google search bar – any problems will likely be due to the speed or strength of the Wi-Fi network.
Other Wireless & Network Settings on the Advent Vega
Various settings are available beyond connecting to Wi-Fi. You can apply Airplane mode, which will disable all wireless connections currently active on your tablet – this is done by tapping the checkbox and will be active when a green check appears.
In addition you can activate Bluetooth and manage connection settings for this method of wireless connectivity (which should allow Bluetooth wireless access to computers and peripheral devices), as well as set up and manage Virtual Private Networks via the VPN Settings menu.
References
Screenshots and references: Advent Vega tablet


