When you start to lose function in your HP laptop keyboard don’t listen to the salesmen at the local computer store, you don’t need to buy a whole new laptop. You can simply buy a new one. This guide will show you how to install a HP laptop replacement keyboard.
Step One – Gathering Materials
Before you start the physical install of your new HP laptop replacement keyboard you will need to assemble a couple of tools. You’ll need a flathead screwdriver, a small Philips head screwdriver and a piece of tape. Optionally, but recommended, is an anti-static wristband to prevent electrical discharge that may cause damage to the motherboard.
Once you have gotten your screwdrivers and have cleared off a comfortable place to work – a solid surface like a tabletop works nicely – move on to step two.
Step Two - Initial Setup
Roll a piece of tape so that it creates a large oval with the sticky surface out. Place this tape firmly on the tabletop near your work area. This will be the place you put your screws so you aren’t looking all over the floor for the one you dropped. Next, put on an anti-static wrist strap.
Turn the computer over so it is bottom side up. Locate the RAM section cover (it will be in the center of the laptop and is held down by two screws). Remove the two Philips head screws with the appropriate screwdriver and place them on the tape.
Step Three - Remove Retaining Screws
Remove the battery and set it off to the side. There will be five small black screws to remove. These are the underpinning screws for the keyboard mount. Place these screws on the tape as well, try to keep them segregated from the other screws (if you find it helpful you can use masking tape and write a reference note near each set of screws with a pen).
There are three more screws on the back that need to be removed. These screws are silver and there will be a keyboard icon near each. Remove them and place them on the tape as well.
Step Four - Removing the Bezel
Turn the computer over, open it, and lay it as flat as possible against the tabletop. This will prevent any accidental damage to the screen (for extra protection place a folded bathtowel over the screen). Look just above the keyboard and locate the bezel (the flat piece that seems to have no function). Pop this bezel off with the flathead screwdriver. Be careful to do this gently as the bezel piece is flimsy and may break if forced out too hard. Set the bezel off to the side.
Step Five - Remove the Keyboard Assembly
Slowly lift the keyboard up out of the main computer body. It is still connected to the motherboard so lift it only until you can see the connecting cord. Unlock the connector and gently slide the cable out. Set the keyboard off to the side.
Step 6 - Inserting the New HP Laptop Replacement Keyboard
Insert the new keyboard cable into the connector and lock it into place. Before doing anything else plug the computer into your direct power supply (the wall charger) and boot up the computer. Test the keyboard to make sure it is functioning properly. If the keyboard doesn’t respond you may have inserted the connector upside down. This isn’t all that rare as the cables are not clearly marked. If the keyboard doesn’t respond UNPLUG the computer and turn it off. Re-insert the cable the correct way and retest it. Most of the time this fix will work, if the keyboard still doesn’t work then you have a larger problem.
Step 7 - Replacing the Bezel
Replace the bezel making sure to secure it until you hear it click into place. Once the bezel is replaced, close the computer and flip it over.
Step 8 - Secure the Keyboard
Replace the three silver screws and five black screws that belong beneath the battery. Replace the battery. Then replace the RAM cover and secure the remaining two screws. And there you go, in eight simple steps you’ve learned how to install a HP laptop replacement keyboard.
References
Inside My Laptop.com : https://www.insidemylaptop.com/disassemble-hp-pavilion-dv4-laptop/ (accessed Feb 2011)
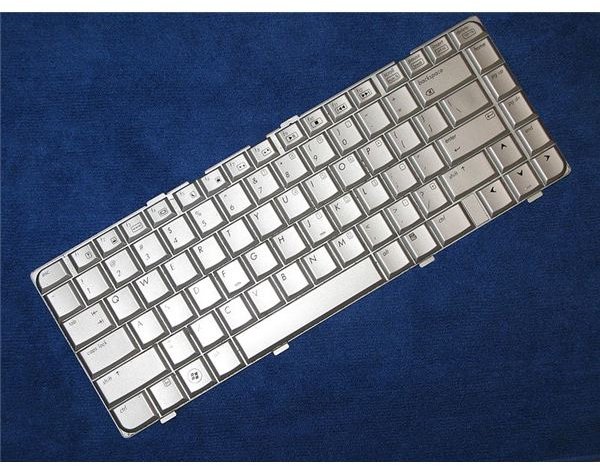
Image Courtesy of Wikimedia Commons/Wesha


