Making a telescope at home can be a great learning experience and is tons of fun. Whether you’re a solo amateur astronomer or you’re looking for a great project to do with your kids, you can build a simple telescope with some basic materials in no time.
What You’ll Need To Make A Basic Telescope
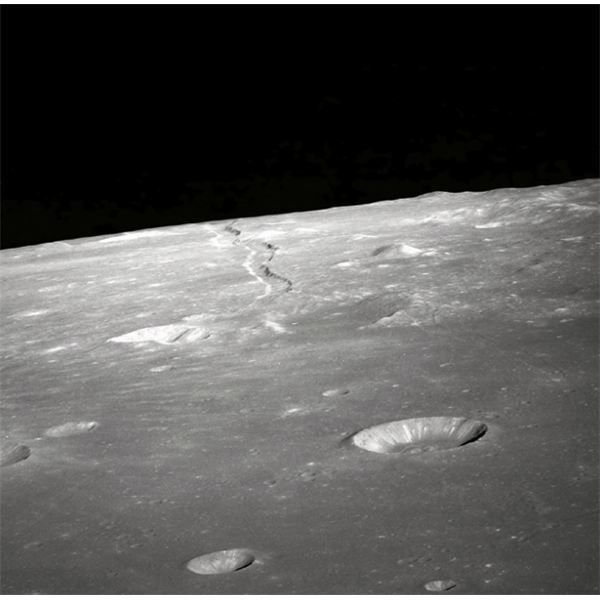
It is surprisingly easy to make a decent telescope that will enable you to view the marvelous craters of the moon as well as terrestrial objects and creatures—a perfect tool for a birder or wildlife lover! You can even bring your telescope to the next baseball game you go to. Most likely though, you desire to view the cosmos, and you’re new telescope will help you do just that for you! If you find yourself becoming addicted to studying the sky, don’t be surprised! (And this telescope may lead to bigger and better ones —you never know, you may discover an asteroid someday! )
The goal of any telescope is obviously to view the details of something far away by making it appear larger in your field of view. You can make a simple refracting telescope at home with many household materials. You should have someone there to assist you in your endeavors as you will need someone to do a little measuring for you (or vice-versa). It’s not the most aesthetically pleasing creation, but it works, and will teach you a lot about the mechanisms of telescopes, and you can take pride in knowing you made it yourself. Use the following checklist to ensure you’ve got the necessary items.
What you’ll need to make a telescope:
- a cardboard tube, such as those used for wrapping paper or paper towels
- duct tape
- a ruler, or some kind of measuring device
- a sheet of paper with print on it, such as a newspaper
- scissors
- 2 magnifying glasses with a diameter of about 1 to 1.5 inches, preferably one of them will be bigger than the other
Building Your Telescope
Now that you have the necessary materials it’s time to put your telescope together. Here’s how you go it:
- Lay out your piece of printed paper on a table and take the bigger magnifying glass (objective lens) and, extending your arm, hold it out in front of you as though you were trying to read the print on the paper.
- Now take the smaller magnifying glass (eyepiece lens) and hold it between you and the bigger magnifying glass. Look through both glasses and move them up and down until you can read the words on the paper (it will be upside down).
- Have your assistant measure the distance between the two glasses and write it down.
- Now you will cut out the two spots on the cardboard tube where the glasses should go. The first slit should be about an inch from the end of the tube. Fit the bigger magnifying glass into the slit you created. Be mindful not to cut all the way through the tube.
- Measure the distance you recorded on the tube, starting from your objective lens, and make another slit. Fit the smaller glass into this spot. Make sure you have about an inch of space between the smaller glass and the end of the tube, cutting off any excess where necessary.
- Look through your telescope to make sure you can still see the print in focus. You may need to do a little tweaking with the glasses. (Bear in mind that this is an extremely basic telescope and the only way to adjust how clear your image will be is by doing it manually.)
- You lenses should then centered after you have ensured you can view the print in focus. Wrap the duct tape around the tube where the glasses are to secure them in place.
Enjoying Your Telescope
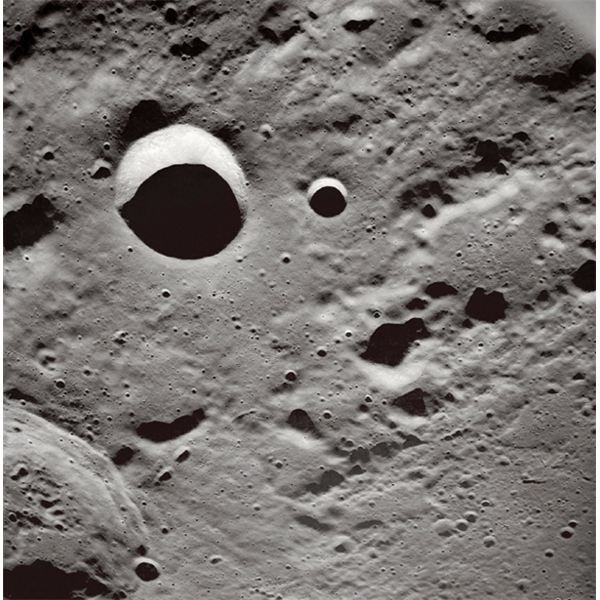
Now that you have made your very own telescope, it’s time to turn your focus to the skies! You can get some great books with detailed charts of the moon. And there’s hasn’t been a better time to view our lunar mother than now, with all the excitement surrounding NASA and the discovery of water on the moon.
Learn, have fun with it—you have just made your own telescope!
Caution: You should never look at the sun with your telescope. This could cause severe damage to your eyes.
If you enjoyed this article, then you might like to read: “Star parties: What are they and how do they work?”
Credits
Resources
Images