Problem: How do you add a shadow to an AutoShape?
The AutoShape tool in Microsoft Excel is a great feature to use when you want to draw attention to particular details on a spreadsheet. Instead of just using the standard default options for each shape, you can add different types of effects, including shadows.
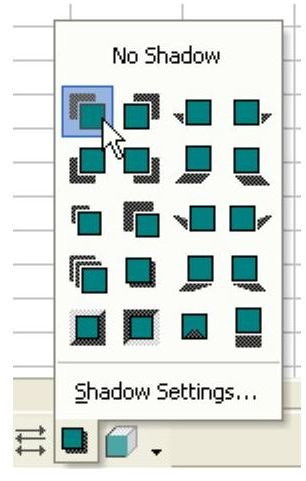
Strategy: Click the Shadow dropdown on the Drawing toolbar. A list of available shadow styles appears, as shown in Fig. 1384. Select one of the shadow styles to add a shadow.
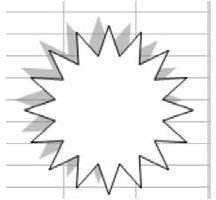
There are a variety of shadows available. Fig. 1385 shows the Shadow Style 1.
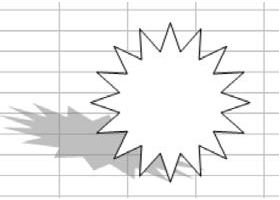
Fig. 1386 shows Shadow Style 3
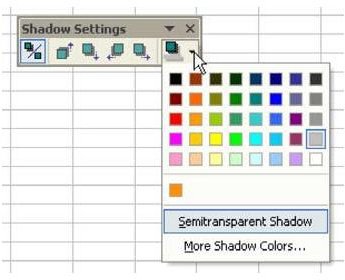
By default, the shadow is gray. You can change this. Select Shadow Settings from the Shadow Style dropdown, as shown in Fig. 1387.
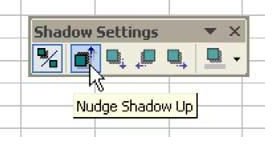
As shown in Fig. 1388, this will display the Shadow Settings toolbar.
You can change the color of the shadow in this toolbar. In addition, there are four buttons that allow you to adjust the x and y offset of the shadow, as shown in Fig. 1389.
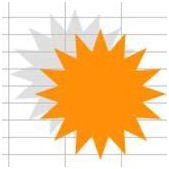
If you nudge the shadow further up and to the left, it gives the impression that the shape is floating above the page, as shown in Fig. 1390.
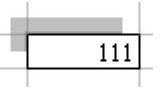
Additional Detail: It is possible to add a shadow to a cell. Select a cell and use the shadow dropdown. Excel adds a transparent rectangle with the shadow, as shown in Fig. 1391.
Summary: To add and adjust a shadow for an AutoShape, select the Drawing tool bar – Shadow dropdown.
Commands Discussed: Drawing toolbar – Shadow dropdown; Shadow AutoShape – Customize
Images

References and Additional Resources
For more tips and tricks, be sure to check out 91 Tips for Calculating in Microsoft Excel . Learn how to play games like craps in Excel, different ways to customize charts and graphs, how to add a printable background to a spreadsheet and more.
Other Resources:
Microsoft Excel Official Site, https://office.microsoft.com/en-us/excel/


