Problem: Can you add text to any AutoShape?
Do you want to use an AutoShape to emphasize a title, directions or some other block of text? The process of adding this text is a lot easier than you may think.
Strategy: Some AutoShapes accept text by default. If you have an AutoShape that does not, follow these steps.
-
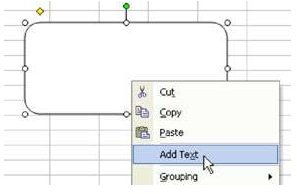
Right-click the AutoShape and choose Add Text, as shown in Fig. 1362. (Click any of the images below for a larger view.)
-
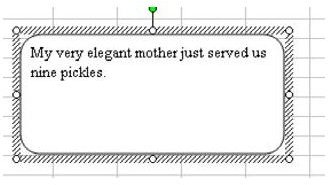
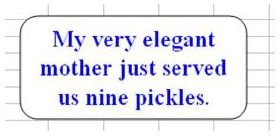
Click on the AutoShape. Type some text, as shown in Fig. 1363.
Advertisement
Additional Information: To center and then bold the text, follow these steps.
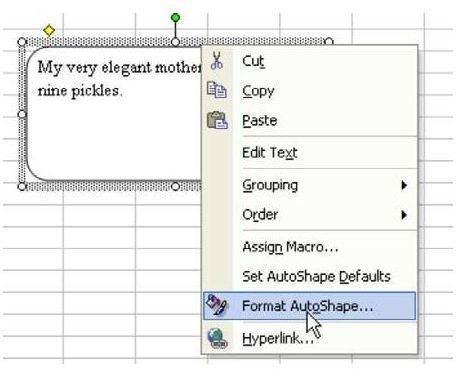
- The text box is surrounded by diagonal lines. Click on the diagonal lines to change them to dots. Right-click on the dots and choose Format AutoShape, as shown in Fig. 1364.
-
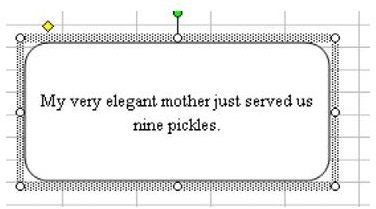
In the Format dialog, go to the Alignment tab. In the Text Alignment section, choose Center for both Horizontal and Vertical. The text will be centered, as shown in Fig. 1365.
Advertisement -
To make a bolder text, go to font tab, choose a color, 18pt, font, and bold to create the result shown in Fig. 1366.
Now, if you really want the AutoShape to stand out, try adding a drop shadow or other special effect!
Summary: You can add text to any AutoShape by using the Right-Click menu to Add Text.
Commands Discussed: Add Text; Format AutoShape
Images
References and Additional Resources
If you’re looking for more tips and tricks, check out 91 Tips for Calculating With Microsoft Excel . This collection of tutorials shows how to customize charts and graphs, different ways to make complex spreadsheets easier to update, and even how to play games like Craps in Excel. Still having trouble? Leave a note in the Comments section, and we’ll help get you pointed in the right direction.
Other Resources:
Microsoft Excel Official Site, https://office.microsoft.com/en-us/excel/
Bill Jelen, Microsoft Excel 2010 In Depth, Available from Amazon.com .


