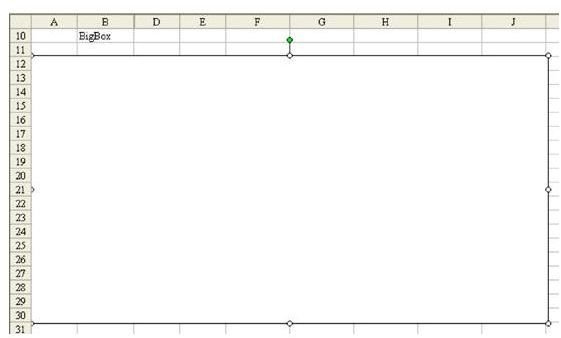
Problem: You want to have a background image that can be printed. The Format – Worksheet – Background image will not print.
Strategy: Follow these steps:
-
Display the Drawing toolbar.
Advertisement -
Click on the Rectangle tool. Draw a white rectangle to cover your print area, as shown in Fig. 1200.
-
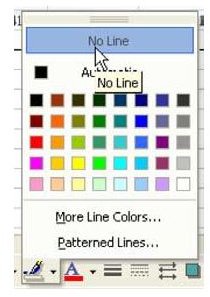
Select the Line Color icon and choose No Line, as shown in Fig. 1201.
Advertisement -
Right-click the rectangle and choose Format AutoShape.
-
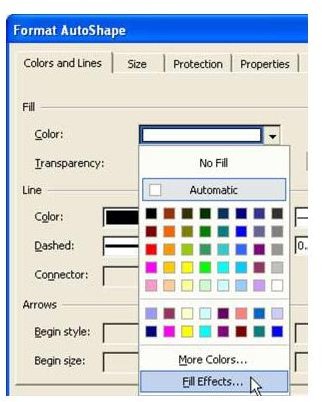
On the Colors and Lines tab, there is a fill dropdown. This has the usual color palettes. Select the Fill Effects choice, which is below the color palette, as shown in Fig. 1202.
Advertisement
-
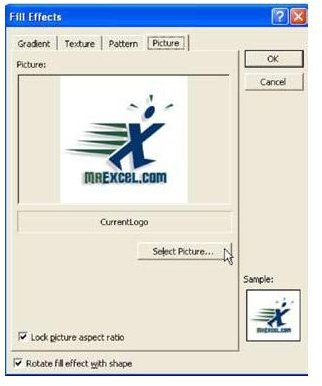
There are four tabs in Fill Effects. Choose Picture, the rightmost tab. Choose the Select Picture button. Select your picture, as shown in Fig. 1203.
-
In the lower left corner, select Lock Picture Aspect Ratio. Choose OK to close fill effects.
Advertisement -
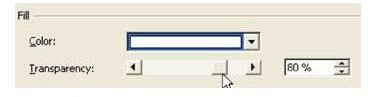
Back on the Format AutoShape dialog, move the transparency slider from 0 to 80, as shown in Fig. 1204.
-
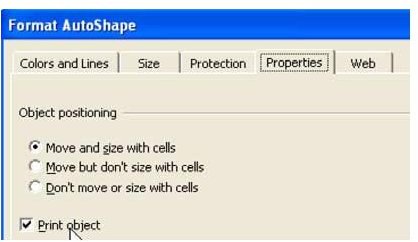
On the Properties tab of the Dialog, check to make sure the item will print, as shown in Fig. 1205.
Advertisement -
Choose OK to Close the Format AutoShape tab.
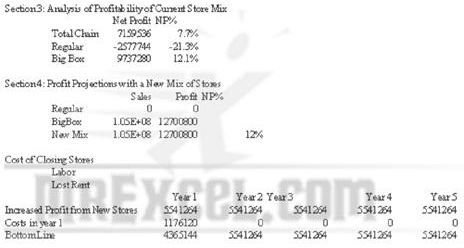
Result: As shown in Fig. 1206, you’ve added a background that can be printed.
Summary: With this technique, you can add a semi-transparent background that will print behind your spreadsheet.
Commands Discussed: Format AutoShape
Images
References and Additional Resources
If you’re looking for more tips and tricks, check out 91 Tips for Calculating With Microsoft Excel . Learn more about things like how to create a multiplication table, different ways to customize charts and graphs, or even how to play craps in Excel. Can’t find what you’re looking for? Leave a note in the Comments section, and we’ll try to get you pointed in the right direction.
Other Resources:
Microsoft Excel Official Site, https://office.microsoft.com/en-us/excel/
Bill Jelen, Microsoft Excel 2010 In Depth, Available from Amazon.com