Your dedicated video editing program may have cool effects and editing controls but may fall short when it comes to titling options. VideoTagger is a dedicated titling program that will take care of most of your movie titling needs.
Introduction
VideoTagger is a professional movie titling software suitable for low-budget movie producers who struggle to come up with professional-looking credits for their movies.
Installation & Ease of Use (4 out of 5)
VideoTagger is available for Windows and Mac. There’s a free version for you to try out before considering purchasing the premium version for $29.99. VideoTagger Free can be downloaded from the developer’s website .
You will need Java to run the program. If you don’t have Java already installed on your system, the VideoTagger installer will take you to the Java website to download the program.
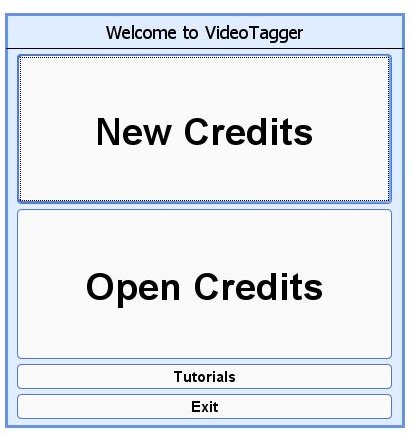
Launching VideoTagger, you’ll be greeted with three options – New Credits, Open Credits and Tutorials. Getting started is pretty simple. Clicking on New Credits will bring up a window where you’ll enter your project properties.
After entering the project name, you’ll have to choose your output options. VideoTagger Free only allows you two output options – cell phone iPod or Web where the resolution is set at 320 x 240 pixels. The second option is for Standard TV which is set at 640 x 480. If you would like to export your video in DV NTSC or HDTV formats, you will need to purchase the Premium version.
Features (5 out of 5)
Fonts and Background Color
Font type, size and color can easily be set, as well as the background color. You can choose any font type as long as it’s available in your system. One plus point you’ll appreciate is the preview of how your titles will look on the screen before you finalize your selection by clicking OK.
Entering Titles
You start working in VideoTagger through sections – you enter a section label or more for your movies. For example, you may want to divide your movie credits into sections of cast, crew and sponsors and so on.
You create a section first and then move on to the next. You can select the fonts for each section and then choose the body type – scroller or slide. You also decide on the layout - whether you need names only or roles and names for your movie credits. You can then exercise further options – center your text, align left or right.
If you want your credits in columns, there are options for 2 or 3 columns. Frankly, I’ve never come across such extensive titling options in even mid-range video editing programs.
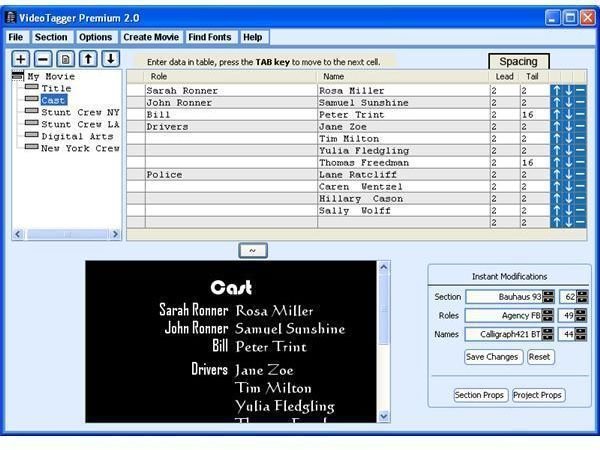
Instant Modification Feature
Another feature you’ll be pleased with is the Instant Modification feature. Say, after you’ve entered your movie credits and you want make changes, you can go to the Instant Modification section on the lower right of the interface. Just click on your section on the top left of the interface and you can change the font types and sizes for names and roles and even for sections. The best part is you can instantly preview your changes on the window to your left. Click on any font type and you’ll get an instant preview.
You can also easily go back to your earlier settings by hitting the reset the button. Once you’re satisfied with your titling you are ready to export your text movie credits. Hit the Create Movie button on the menu bar and your titles will be saved as an AVI movie.
Should not be satisfied with the fonts available in your PC, and want to give your movie titles a Hollywood touch, VideoTagger will bring you to the Google search results for movie fonts. One website that catches the eye is SimplytheBest . Here you can find fonts of the styles of such movies as Blade Runner, Beverly Hills Cop, Fight Club, and Godfather, among other, all offered for free to be used with Windows or Mac.
Price to Value (5 out of 5)
If you would like to give your movies or even your home video a professional look, VideoTagger would be the program to go for. You’ll be creating cool titles for your movies after about half an hour of exploring the program. It is definitely worth the $29.99 price tag. Highly recommended.


