Tips on How to Use Adobe After Effects
Import Your Video
Adobe After effects is one of the most pervasive video editing tools on the market today. But, the program does nothing if you don’t know how to use Adobe After Effects. While teaching you everything that you need to know about Adobe After Effects would make for an extremely long article, we can review the basics in this Adobe After Effects tutorial.
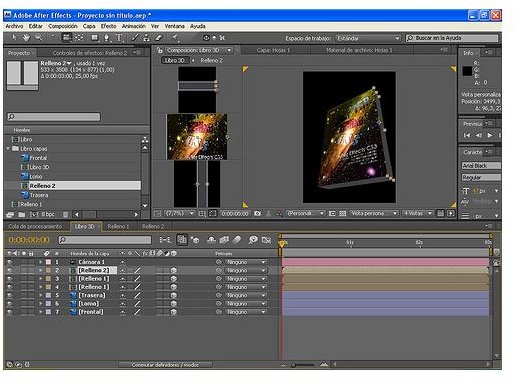
The purpose of After Effects is to make it easy for you to splice out unwanted clips and add effects to your video. So, the first step is to open up your video. When you do, you’ll see some panels on the sides and the timeline.
Of all the items that you see on your screen, the timeline is the most important, and you’ll be doing most of your work right here. This timeline allows you to preview your video, manipulate your audio and splice out unwanted clips or segments. To import a video, follow the below steps:
1. Go to File -> Import -> File.
2. Double-click on the file that you want to use.
You can also always drag the file from Mac’s Finder or Windows’ Window Explorer program into your Project panel.
Editing Out a Video Segment
Now, it’s time to start manipulating your video. Usually, you want to edit your video to remove any unwanted segments. If you do want to
delete a section of your video, then you can cut a clip where the scrub bar is. There is an Adobe After Effects keyboard shortcut for this. To do this, simply select Option plus the close bracket symbol (]). This is a quick way to edit out unwanted sections. Then, the remaining clips on either side of the deleted one will merge together.
Key Frames
Another important lesson is adding and editing key frames. A key frame allows you to define the beginning and ending point of a video or piece of animations. This ensures that the transitions between the two items are not jumpy and flow into each other.
To add a key frame, go into your timeline and follow these procedures:
1. Drag the current time indicator to the section where you want your clip to start.
2. Select the layer that you want to change.
3. Next, click on the stopwatch, which will turn it on. After Effects then sets a key frame at that time.
4. Continue with the above steps until you add all the key frames that you need.
If you need to edit a key frame, the follow the below steps:
1. Drag the current time indicator to the key frame that you need to change.
2. You’ll now see the property name. Click on this, and edit the key frame.
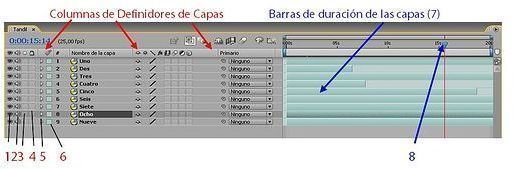
Layers
Earlier, I mentioned something about layers. A layer is what comprises a composition. If you don’t have a layer, then the frame is empty. You’ll more than likely only create layers from existing clips. So, here’s how to do that:
1. Click one or multiple pieces of footage within the Project panel.
2. Next, select and drag the footage to the Composition panel.
Now, you have a new layer.
While these are just simple steps, you need to know how to do these first before you can do all the fun stuff.
References
Source: author’s own experience.
Image screenshots by author.