Making an animated card to send via email is a great way to get the attention of friends and family. This article will teach you how to make an animated Christmas card in Photoshop, complete with twinkling stars. This is a fairly easy tutorial and most beginners should be able to follow.
If you’re curious about how to create an animated Christmas card in Photoshop, you’ve come to the right place. This article will walk you through the process of creating a cute animated Christmas card with twinkling stars, that you can send over email to friends and family. The trick is to keep it simple for maximum impact. Keep reading to learn how to pull off this neat trick!
Getting Started
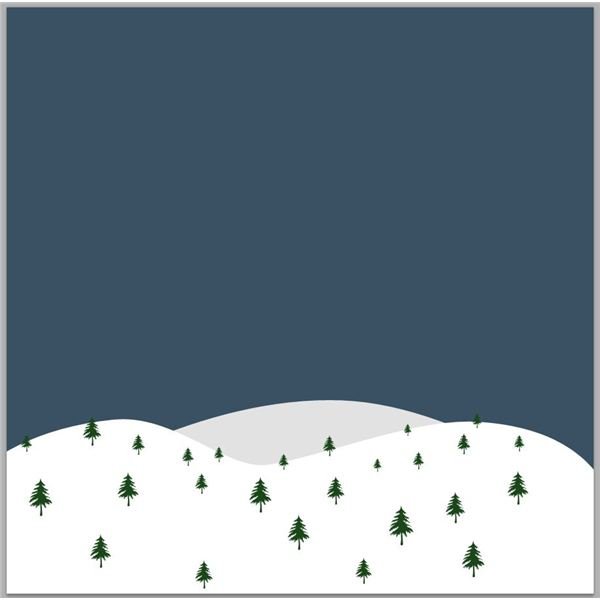
Design the static (non animated) part of your card first. This can be as simple or as complex as you want it to be, but keep in mind that if you’re new to Photoshop, you might not want to bite off more than you can chew. I personally think that the simplest of cards tend to make a bigger impact than something overly done and gaudy. Here you can see I’ve created a 900x900 pixel image of some snow-covered hills with some trees. I plan on making some twinkling stars in the sky, so I’ve given myself enough room for both the twinkling effect and any text I want to include.
Adding Text
Add your text on before you do your animation. If you’re looking for good Christmas fonts, why don’t you check out some of the font articles here on Bright Hub?

Adding Stars
Now I’m going to take the time to stamp out a bunch of different stars. I’m going to use a pale cream color opposed to white for better contrast. Here I’m stamping a few per layer, that way the twinkling effect will look better! I have three layers in total, so each layer will twinkle at a different time.

Making the Stars Twinkle
Now we simply have to create a layer style that will simulate the stars twinkling. Double click your first layer thumbnail and it will bring up a layer styles window. For this, simply use the outer glow effect. Here I’m using the default settings, but bumping up the size of the glow to 18px.

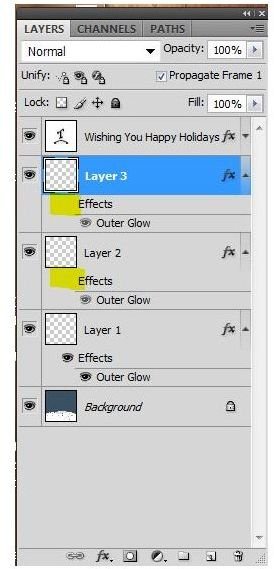
Copy the layer style by right clicking on the layer with the style, and selecting “copy layer style.” Paste it to the other layers of stars (or lights, or whatever you’re adding a twinkling effect to). Now click the eye on the second and third layer so you are hiding the layer styles on them. Look at the picture below for a better view. (The place where the eye needs to be hidden is highlighted in yellow)
Now, Open up the animation pannel by going to Window > Animation - Keep in mind that this only works in versions of Photoshop CS and higher.
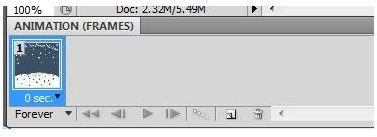
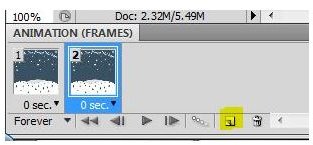
Now press the “New Frame” button in the animation window. It’s the one that looks like a small square of paper. It will create a new frame of animation.
Now hide the layer style effect on your first layer and show it on your second layer. Now, click the “New Frame” button again, and this time hide the layer effect on your second layer, and only show it on your third.
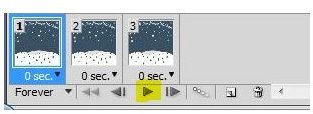
If you press the button, you can see that you now have an image that twinkles as it goes through the frame!
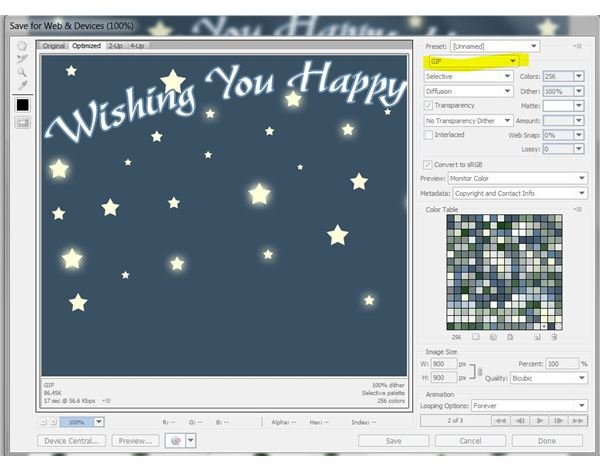
To save your image, choose the option “Save For Web & Devices” and choose “GIF” - then simply save your image with the name you would like!