
Whether you need a booklet to hand out during training, to present to potential clients or simply to record your personal recipes, you can make one yourself using MS Publisher. Learn how to create a booklet in Microsoft Publisher 2003, 2007 and 2010.
When you create and print a booklet using Microsoft Publisher, two pages print onto each side of each sheet of paper onto which you print. When you fold the pages accordingly, they will open like a book. The keys to creating a folding booklet in Publisher are proper page setup and printing techniques.
Make a Booklet in Publisher 2003 or 2007
Start Publisher. Click Blank Print Publication under New in the New Publication task pane. Go to the File menu and select Page Setup. Go to the Printer and Paper tab of the Page Setup dialog box. Choose the printer you want to use to print your booklet, if it is not the default printer.
Choose the paper size onto which you wish to print the booklet. If you want to produce a letter-sized booklet, choose 11x17 (Tabloid), if your printer supports it. Select Landscape under Orientation.
Go to the Layout tab of the Page Setup dialog box. Select Booklet under Publication Type. Click OK and then click Yes at the prompt window asking if you want to insert pages automatically.
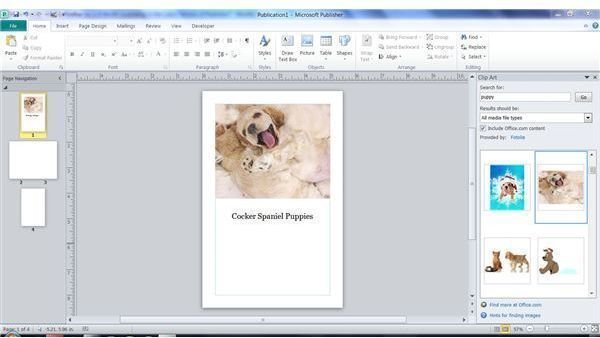
Add text boxes to the pages in order to insert text. Insert any images you wish to include. When you are ready, you can print your booklet. Go to the File menu and select Print. Go to the Publication and Paper Settings tab of the Print dialog box. Make sure Booklet, Side-folded is selected under Printing Options.
Choose the duplex printing option, if applicable. If your printer does not support duplex printing, you will need to reinsert the pages manually in order to print on the opposite sides. Refer to your printer’s instruction manual.
After you have printed your booklet, stack the pages and fold them in half accordingly. You can bind them with staples or using another method, if desired.
Make a Booklet in Publisher 2010
Start Microsoft Publisher 2010 . It will open to the New tab of Backstage View. If you already have Publisher open, click the File tab and select New in the left pane.
Select More Blank Page Sizes under Available Templates. If you want to produce a letter-sized booklet, choose Tabloid (Landscape) 17x11. Otherwise, select the paper size on which you want to print your booklet. Select a color scheme and font scheme in the right side of the window. Click the Create button.
Go to the Page Design tab and click the Page Setup dialog launcher, which is the small box with an arrow at the bottom right side of the Page Setup group. Select Booklet under Layout Type on the Page Setup dialog box. Click OK and then click Yes at the prompt window asking if you want to insert pages automatically.
Add text boxes to the pages in order to insert text. Insert any images you wish to include. When you are ready, you can print your booklet. Go to the File tab and select Print in the left pane. Make sure Booklet, Side-folded is selected under Settings.
Choose Print on Both Sides, if applicable. If your printer does not support duplex printing, you will need to reinsert the pages manually in order to print on the opposite sides. Refer to your printer’s instruction manual for correct orientation.
After you have printed your booklet, stack the pages and fold them in half accordingly. You can bind them with staples or use a different method, if desired.


