Adobe Photoshop tutorials can help you get new and creative ideas for creating and editing images in Photoshop. In this article, you will learn how to create smoke in Photoshop. When you are finished, you will have one more tool to use to make creative and exciting images in Adobe Photoshop.
How to Create Smoke in Photoshop (Step-by-Step)
This tutorial uses Adobe Photoshop CS4 for Windows. To follow along, you will need the Adobe Photoshop software and a computer that meets the minimum system requirements for Adobe Photoshop. Other versions will follow a similar procedure, so if you have a Mac or a newer version of Photoshop, you will still be able to benefit from this procedure. Now, get ready to enjoy one of the most unique Adobe Photoshop Tutorials.
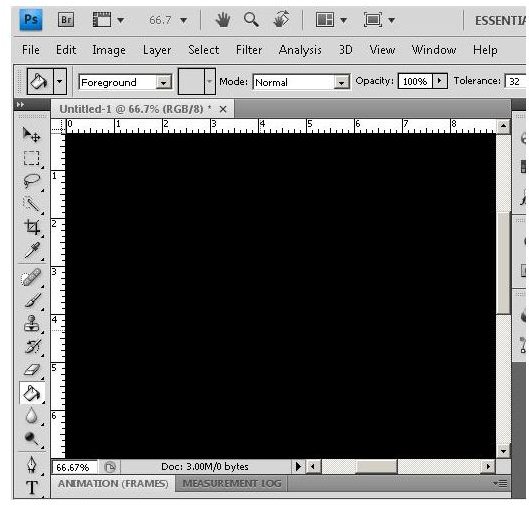
1. Open Adobe Photoshop and create a new image. Grab the “Bucket” tool from the toolbar and set the background of your image to black.
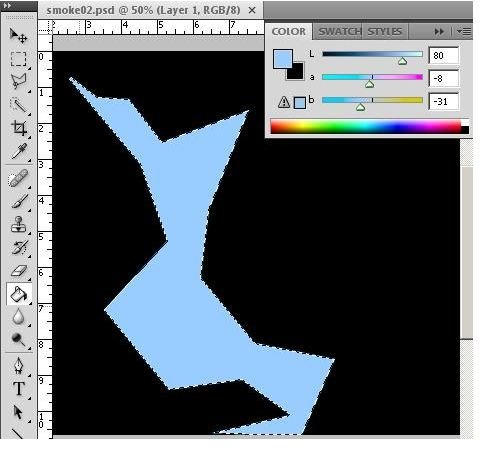
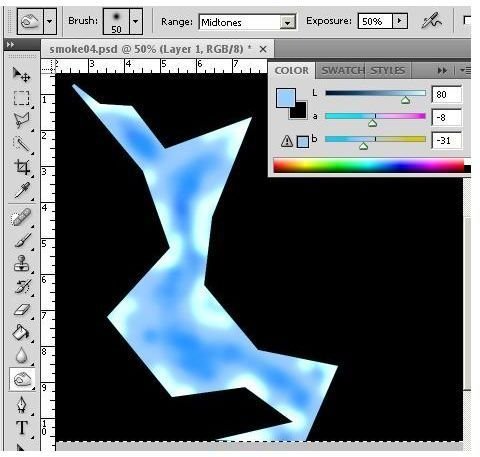
2. Create a new layer by clicking on “Layer” on the menu bar and then “New” and then “New Layer.” Click the “OK” button in the “New Layer” dialog window. Using the “Polygonal Lasso” tool from the Adobe Photoshop toolbar, draw a random polygonal shape similar to the one pictured. Grab the “Paint Bucket” tool from the toolbox and fill it with a light grayish-blue color.
3. Grab the “Dodge” tool from the Adobe Photoshop toolbox and set the “Brush” to “50.” Set “Range” to “Highlight.” Uncheck the “Protect Tones” box. Use the “Dodge” tool to lighten the edges and corners of your shape.
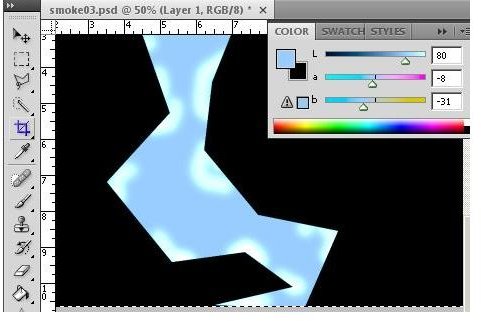
4. Next, grab the “Burn” tool from the tool box. Use it to darken the inner areas of the shape.
5. Click on “Filter” on the menu bar, “Distort” and then “Wave.” Set “Generators” to “5,” “Wavelength to “10” (Min) and “120” (Max). Amplitude should be set for “5” (Min) and “35” (Max). Horizontal and vertical scaling should both be 100%. Click the “Randomize” button.
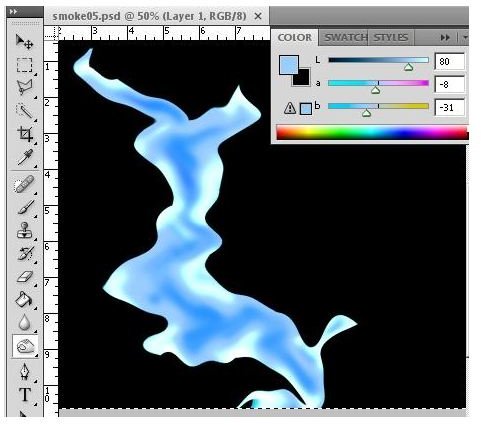
6. Click on “Edit” on the main menu and then choose “Fade Wave. Set “Opacity” to “50” and then click the “OK” button.
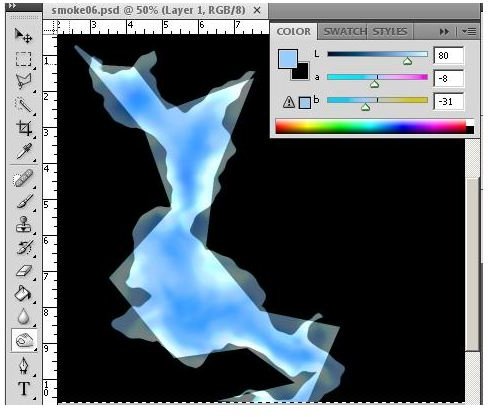
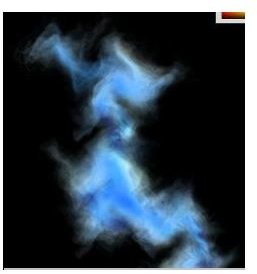
7. Repeat steps five and six until you get some good looking smoke. You will notice that your results improve the more you distort and fade. If you take your time, you will get the results you want.
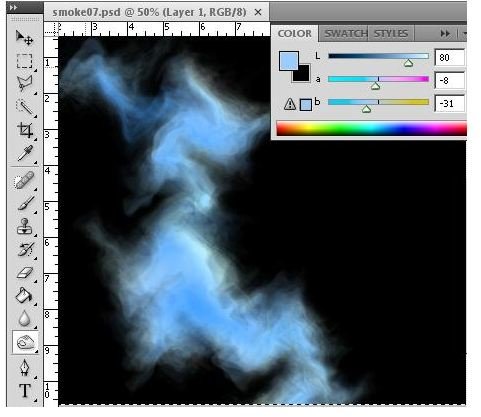
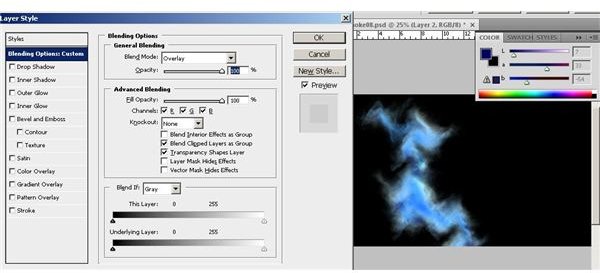
8. If desired, add a new layer and add color to it using the “Brush” tool. Click “Windows” and then “Layers” to open the “Layers” window. Right click on the second layer and choose “Blending Options” and then overlay. You now have smoke. You can transform and modify your smoke as you see fit. Be sure to save your file at this stage so you won’t have to redo the entire process if you mess it up.
You have now learned how to create smoke in Photoshop. Please spend some time reviewing these steps and exploring how various changes may make smoke that better fits your specific needs.