Learn How to Make a Mini Book in Publisher

Publisher Mini-Books
There are a couple of ways that you can make a mini book using Microsoft Publisher. You can create one from scratch or you can use a booklet template. Before you learn more about how to make a mini book in Publisher, you should know that it will be much simpler to acheive if you have access to a printer that supports duplex printing.
Booklet Templates
One way to learn how to make mini books in MS Publisher is using booklet templates. Downloading a booklet template is perhaps the most straightforward method for creating a four- or eight-page mini book.
There are a couple of ways to find a booklet template. You can go directly to the Microsoft templates website, search for a template and download it into Publisher. You can also find a template from within Publisher. Go to the File menu or tab and select New. Type booklet into the search box and press Enter. Double-click the template you want to use.
Read Microsoft Publisher Tutorials: Creating a Publication from a Template to learn more details about how to make mini books in MS Publisher using templates.
Create a Custom Mini Book
You can also learn how to make mini books in MS Publisher without using a template. Open a new, blank publication and change the orientation to Landscape. In Publisher 2003, go to the File menu and select Page Setup. Go to the Layout tab of the dialog box. Select Landscape under Orientation and click OK. In Publisher 2007, go to the File menu and click Print Setup. Go to the Publication and Paper Settings tab and select Landscape under Orientation. In Publisher 2010, go to the Page Design tab, click Orientation in the Page Setup group and select Landscape.
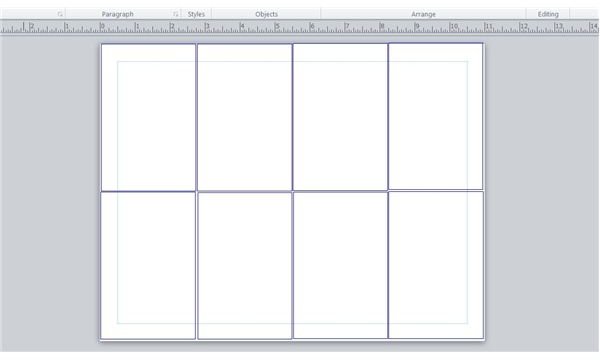
Go to the Insert tab or menu and select Text Box. Draw a text box anywhere onto the page. Right-click the text box and select Format. Go to the Size tab of the Format Text Box dialog box. Enter 4.2" in the Height box and 2.7" in the Width box. Click OK. Copy the text box and paste it seven times. Align the text boxes so that are side-by-side with one another, covering the entire page. You should have two rows of four boxes.
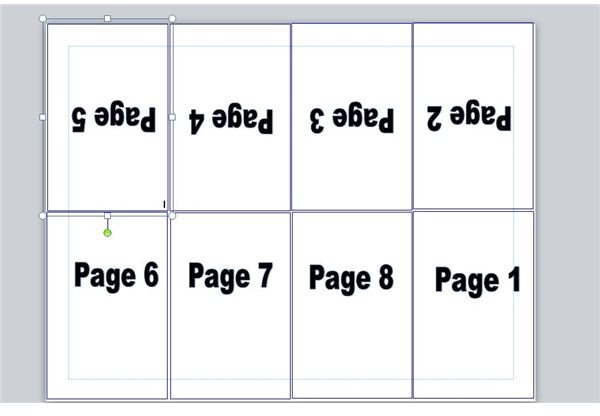
Enter your text and pictures for your mini book into the text boxes on the publication page. Starting at the top left, the order of the pages is: 5,4,3,2,6,7,8,1. Rotate the top four text boxes so that they are upside down. To rotate a text box, click on it to select it. Drag the green rotation handle and turn the box. Click on the image to the right to view an example.
Save and print the mini book. Fold the page in half lengthwise and then fold the boxes accordion-style so that Page 1 is the front cover.