Learn How to Create Hatch Patterns in Photoshop

What Is Hatching Anyway?
Now, if you’re not an artist or an architect, you might be confused when you hear the term “hatching” or “cross hatch,” but let me take a moment to clear up any confusion you may have. Hatching isn’t the process of something emerging from an egg. Okay, well, yes it is. But not this kind of hatching. In an artistic sense, it’s simply the process used to create different tones and shades on an image.
This was wildly popular in 15th-16th century artwork, and has been utilized by artists long since then. Hatching consists of lines that are parallel to each other, cross-hatching generally is used when the lines intersect each other at some point. Hatching was also employed in graphic design back before the advent of color printers, as you could easily utilize different styles of hatching to imply different colors. In architecture, hatch and cross hatch are frequently used to denote different types of materials used in building construction and landscaping.
There are several different reasons why someone might want to add a hatch pattern to something in Photoshop. The first reason that comes to mind is for artistic purposes. Many artists find that using hatch and cross hatch patterns creates a very classical look, even in this day and age. Several black and white maps also make use of hatching and patterns to denote different areas, attractions, warnings, and more. Whatever your reason for wanting to apply a hatch pattern to an image, by following the steps listed below, you should make quick work of it.
Photoshop Pattern Fill - Your Friend in Hatching
Drawing your own hatching would be incredibly tedious, even with all of Photoshop’s tricks and perks that it has to offer. However, Photoshop does include a fair amount of hatch and crosshatch patterns that can easily fill large spaces with help from the paint bucket tool. Here’s how you’d go about doing that.
Start with an area you’d like to fill in with your particular hatch pattern. Here I’ll just use a majority of the canvas behind these few blank circles.
Select your paint bucket tool by pressing G. At the top of your screen you should now see a bar that looks like this:

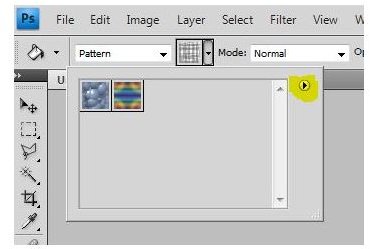
Pull down on the tab that says “Foreground” and select “Pattern” instead. This simple action turns your paintbucket tool into the pattern fill tool. It should look like this now:

Now open your pattern menu by clicking on the pattern. Here you’ll see a few default patterns. Nothing too special, and definitely nothing related to hatch patterns. However, if you click on the little triangle to the side, you’ll see a flyout menu that allows you to select from different pattern packs that are included with Photoshop.
I went ahead and explored some of the packs, and I found a nice crosshatch pattern in “Artist’s Surface” titled “Gause.” Here’s what it looks like when filled in behind the spheres:

Pattern Overlay (Layer Styles)
You can do the same hatch effect for specific layers and objects by utilizing the Layer Style’s Pattern Overlay. Not only does this make quick work of hatching all objects on a layer quickly and easily, it allows you to scale the size of your hatch, where the paintbucket pattern fill will not. Here’s how you do this specific method of hatching.
Double click your layer thumbnail to bring up your Layer Styles window.
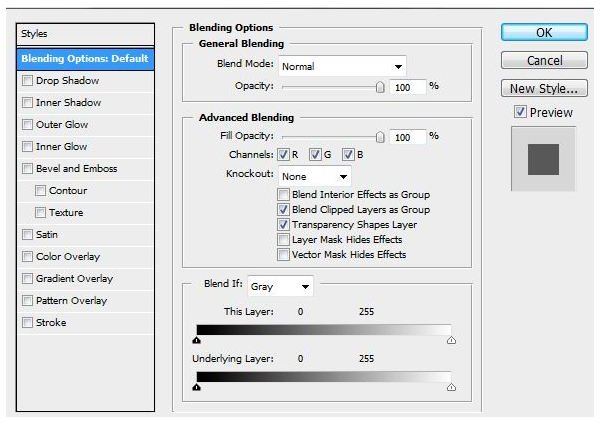
Look down the list on the left and select the menu option that says “Pattern Overlay.”
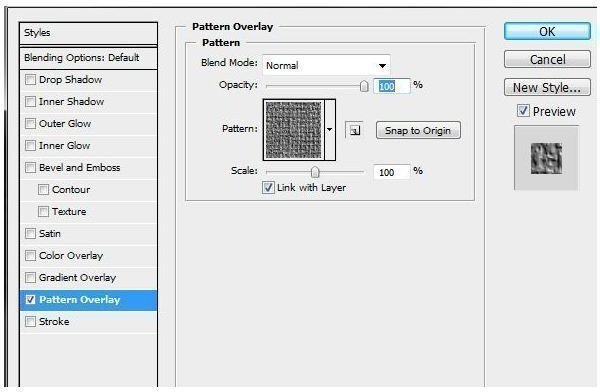
Now, much like before, browse the pattern menu until you find something you like. I’m going to use the same hatch pattern as above. Here’s what that will look ike when applied to your layer objects.
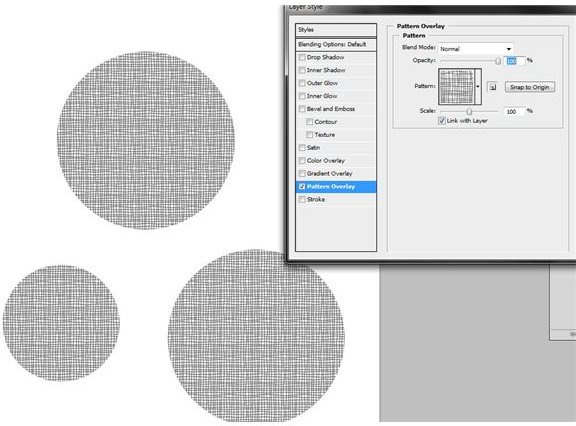
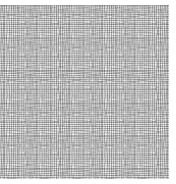
Now, as I had stated before, you can actually change the size of your pattern, allowing you to increase the amount of times a specific hatch is used per project, or just for a different artistic effect. You do this by sliding your scale up and down. Here’s what the hatch scale looks like at 50%:
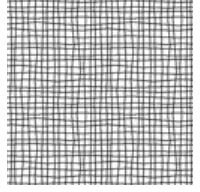
And here’s what the hatch scale looks like at 150%:
Additional Hatch and Crosshatch Patterns

You might notice that Photoshop is lacking in hatch and crosshatch patterns. What does that mean for you? Easy! You simply have to go out and find more. However, I am aware that it’s always a pain to go out and find community made add-ons for Photoshop. That’s why I’ve gone ahead and found a fantastic pattern set on deviantART. While this is technically a screen-tone pack for comic and manga creation, Silverwinglie has actually created a fair amount of hatching patterns. Be sure to check these out, as they’re a fantastic free add-on for Photoshop.
References
All images and information are provided by Amber Neely who has six years professional experience with Adobe Photoshop.
Add-Ons:
Silver’s Screentone Pack V2 by Silverwinglie