Adobe Photoshop Elements Tutorial - How to Use Selective Colorization Tool in Adobe Photoshop Elements 6.0 - Adding Color to a Black and White Picture
Selective Colorization-What it is
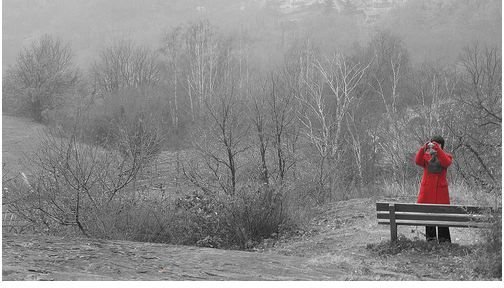
I’m sure you’ve seen the photos before. A gorgeous black and white photograph, but one element of that photo isn’t black and white like the rest. This is called selective colorization. It’s also called a cut-out. This article will explain how you can create your own selective colorization photographs using Adobe Photoshop Elements 6.0. If you don’t have this program, you can also use another program; however the labels may be different. Any photography editing program that allows you to use layers will work.
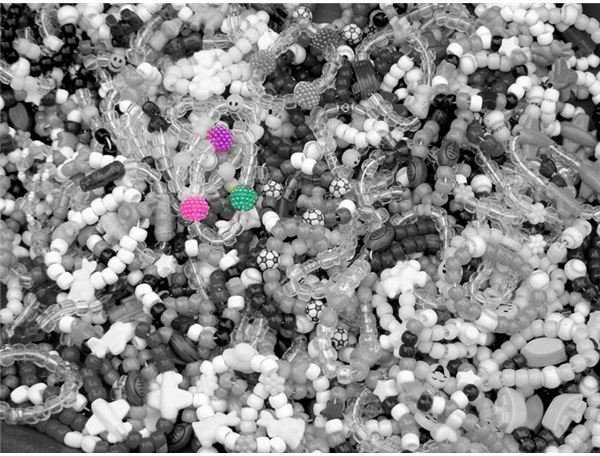
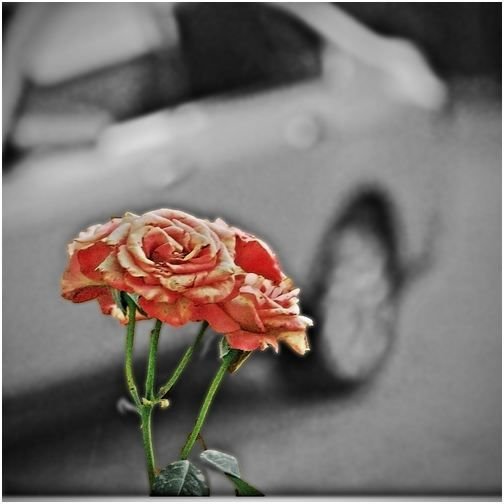
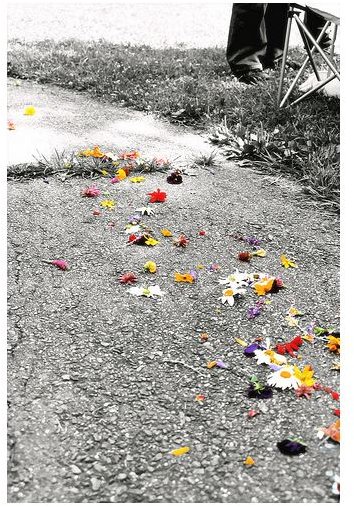
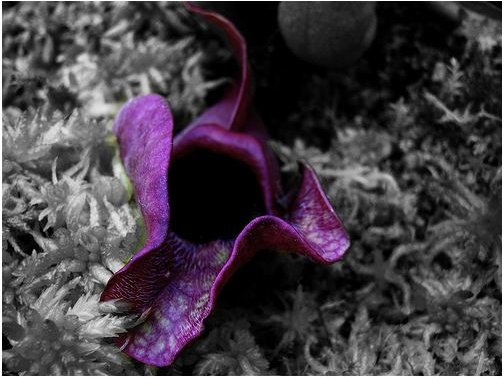
Selective Colorization Examples
The Steps
1. Open up Adobe Photoshop Elements and click “edit” when the box appears asking what you’d like to do.
2. Once the program is loaded, go to File>Open and scan through your computer to find the photograph you’d like to work on.
3. Once the photo is open, go to Layer>Duplicate Layer. You can change the name if you’d like, but I just left it as Background Copy.
4. Make sure that the background copy is selected. It will be highlighted in your layers palette on the right-hand side. When you’re sure, go to Enhance>Convert to black and white. Alternatively, you can hold down Alt+Ctrl+B and get the same effect.
5. Now comes the fun part. Decide which part of your photograph you want to be in color. It could be something as small as one leaf, or you could make a person color while their background is black and white.
6. To select what you want to be in color, you can use whatever is easiest for you: the lasso, the marquee tool, the selection brush, or the magic wand. Try your best to get the exact outline of the object. It may help to zoom in a couple times.
7. Also, if the objects you want to select are not near each other, you can hold down “shift” in order to let go of the mouse, move to the new area of the photo, and continue selecting.
8. Once you’ve got the objects selected, press “delete” on your keyboard. You now have a black and white photo with color seeping through from the other layer.
9. Go to Select>Deselect (or Ctrl+D) to get rid of the “marching ants.”
10. You can now go to Layer>Flatten Image in order to save the photo as a .jpg rather than as a .psd.
11. Go to File>Save As…(Or Shift+Ctrl+S) and save your document as whatever you’d like.
You now have a selective colorization image! Congratulations! Experiment with other photos, or even make a reverse selective colorization image and instead of one element of the photograph being in color, make one element of the photograph black and white.