Photograph Constellations: Learn How to Take Pictures of Constellations
Introduction
We have been looking up to the stars ever since there has been humanity. Cultures all around the world have found patterns in the stars, developed myths surrounding these patterns, and passed on the legends of the constellations through the generations. It is therefore no wonder that photographers take to the skies in an attempt to take pictures of these well known patterns. In this article I will go through some of the equipment needed to photograph constellations, the camera settings that I find work well, how to deal with the Earth’s rotation, and some ways to get creative. Note: I use the term “constellation” lightly here; although patterns such as the Big Dipper and the Pleiades are “technically” asterims and not constellations, all the techniques here can be used for them (and much wide field astrophotography) anyways.
Learning How to Take Pictures of Constellations
Equipment
The equipment needed to photograph the constellations is surprisingly minimal, but there some key pieces that will make your photography really stand out.
The first, and most obvious, thing that you need is a camera. Although any camera that is able to take long exposures (~30 seconds) is acceptable, a DSLR is preferred.
The next thing that is near essential is a sturdy tripod. Since we are going to be taking long exposures of 30 seconds or more, we really don’t want our camera moving at all.
One thing that is not mandatory, but can make your life much easier when learning how to take pictures of constellations, is a cable release for your camera. Although most DSLR’s are capable of taking 30 second exposures natively, there are times where you may want to keep the shutter open longer. For this you either need a cable release or a remote control of some sort.
The lenses used in constellation photography vary with the desired effect. Wide angle lenses are good for including large constellations and foreground objects, whereas longer lenses can get smaller portions of constellations or small groupings of stars. Essentially, whatever you have now can probably already be used, just have fun experimenting!
Finally, a dark sky and a basic knowledge of the night sky is always a plus side to getting constellation images which really stand out. Although many constellations such as Orion and the Big Dipper can be seen over some city lights, it is always best to get to a dark an area as possible. Take a look at www.heavens-above.com to get precise sky charts for your area and time so that you know what constellations are visible when you are shooting!
Camera Settings
These settings are not set in stone by any means, they have just worked for me. Photographing constellations, and astrophotography in general, is best done in manual mode. For those of not used to switching over to the dreaded “M”, don’t run away, the settings here are dead simple. For the most part you want to open up your aperture as much as possible (make it a really small f number) and often put your exposure time to 30 seconds or BULB depending on your lens and how you want the image to turn out.
Generally, you are probably going to have to brave the possibility of noise and head to the high ISO range for your camera. All these settings are to start off with and we can adjust them after we take a few test shots.
Shooting Those Constellations!
We now have all of our equipment at our dark site (hopefully) and have set the starting point for our camera settings; we are ready to learn how to take pictures of constellations and get shooting!
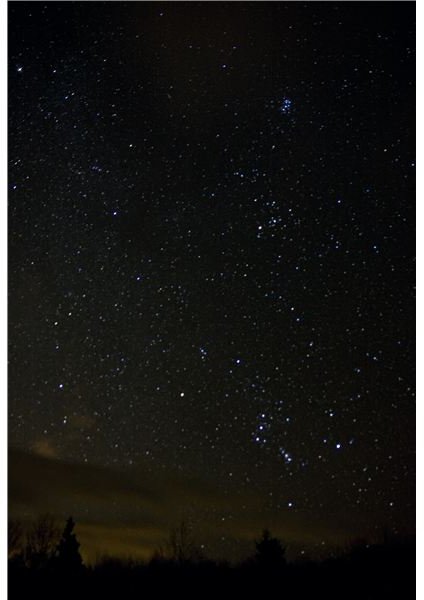
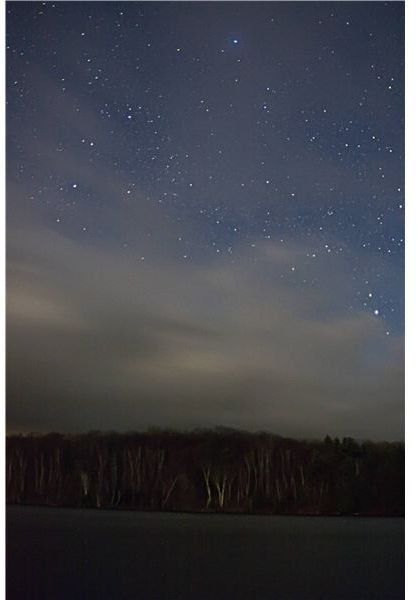
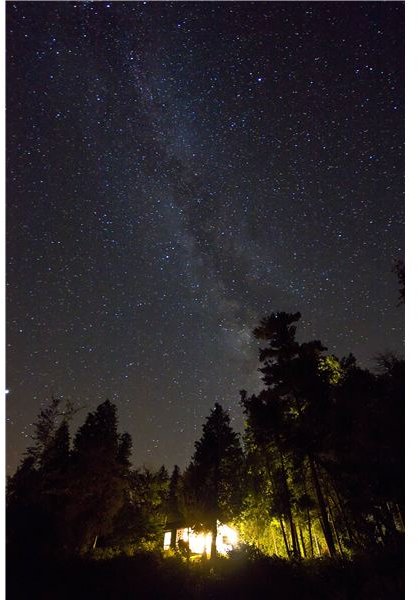
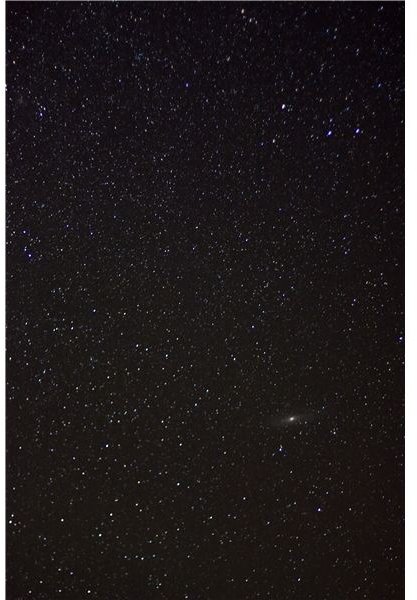
The first thing you want to do is the locate the constellation that you want to photograph, maybe find some foreground interest (although images with just stars and sky can be interesting, it is often good to include some foreground such as water, trees, mountains, barns, or anything else you can think of), and frame the shot.
For the most part when shooting constellations we want to have stars and small pinpoint dots. Therefore we need our exposure time to be short enough so that we don’t see star trails. Generally if you are shooting on the wide end (~28mm or ~17mm with a crop sensor), 30 seconds is a good starting point. Using the settings above take a test shot. Chimp. If the stars come out as lines, not dots (and the camera didn’t move), you need to lower the exposure time. If the sky is too bright you can either lower the ISO, the exposure time, or increase the f number. Personally I like to keep the f number constant and to adjust the ISO and exposure time. If I can get away with a lower ISO it is the best since it reduces noise. If the sky is too dark and you can’t make out the stars very well, increase the ISO, the exposure time, or decrease the f number. The game is to maximize the amount of light coming from the stars to be recorded, without blowing out the sky from the ambient light.
If you are lucky enough to be in a very dark area, blowing out the sky shouldn’t be a problem and you will only be limited by star trails. Otherwise, experiment a bit with different combinations until you get it right.
Getting Creative
Sometimes you want to get creative and try getting some shots which are even more unique. Here are a couple of ideas to try when learning how to take pictures of constellations.
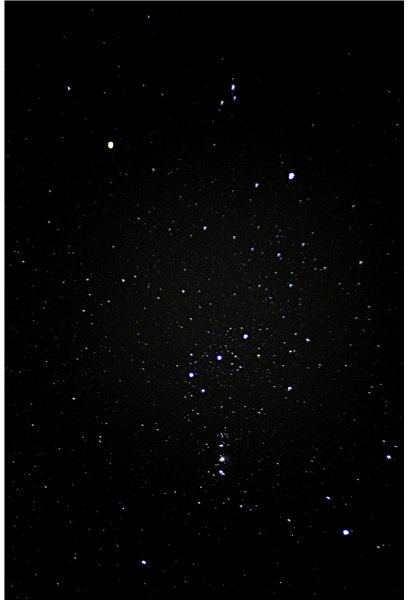
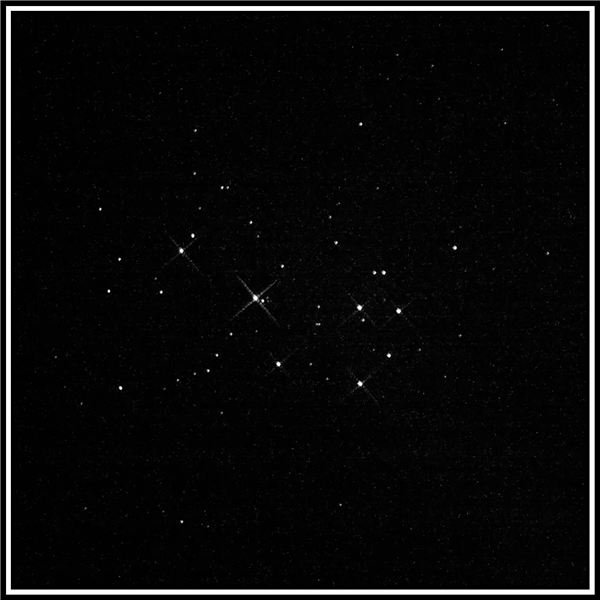
Try getting in close on a constellation or group of stars with a zoom lens. The pleiades or Orion’s belt are a good couple “constellations” to start off with. Just remember, the longer the lens, the less time you can expose without having the stars trailing. I’ve found that if you just have the pleiades in the frame, you can’t expose for more than about 5 seconds, so crank up the ISO, lower your f number and see what you can get!
This whole time we’ve been shooting (pun intended) for pin point stars. Sometimes you may want to capture the stars trail a little bit to bring out the constellation a bit more. In this case, use your cable release and BULB mode to take a longer exposure (a couple of minutes should be a good place to start). Don’t forget to lower your ISO and/or increase your f number to compensate for these long exposures.
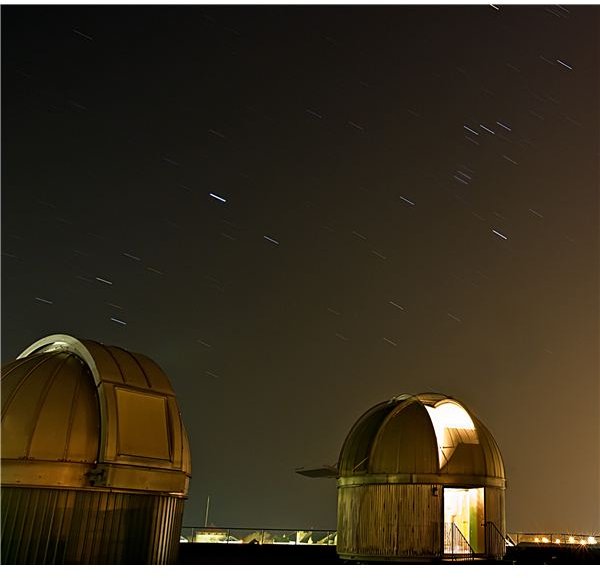
Finally, if you are getting really fancy and have the equipment, you can get a set up which allows you to take longer exposures without seeing star trails. This involves either attaching your camera to a telescope which tracks the motion of the stars or building a barn door mount and tracking manually.
Conclusion
With the techniques above you can at least get your feet wet when learning how to take pictures of constellations, asterisms, and stars in general. Take what I’ve said above, try it, adapt it to what works best for you, and have fun exploring the stars with your camera. Feel free to add in the comments anything I’ve missed or anything else you find that works well for you when photographing constellations.
You may also be interested in reading the following two related articles:
1. Photographing Meteors - Techniques for Capturing Photos of Meteors
2. Photographing Satellites - Taking Pictures of the ISS and Iridium Flares
This post is part of the series: Adventures in Night Photography
In this series you will find articles to satisfy your creative night photography needs. You will learn tips, tricks, and ideas on how to photograph the moon. You will learn the ins and outs of taking pictures of constellations. Finally, you will learn how to photograph satellites.