
In this photo editing tutorial, learn how you can reproduce those stunning spray paint images using any picture you like and Photoshop. This does not require you to download special brushes, and is very simple to do!
Why Spray Paint Art in Photoshop?
Spray paint art is celebrated by many for its rugged, attention-grabbing style and technique. But for those who don’t have the slightest idea how to produce these effects, or don’t own a single can of spray paint, there is hope to reproduce the style in Photoshop. In this tutorial I’d like to show you each step I take to create digital spray paint art paintings like the ones you see below.
I am using Photoshop CS4, but all of the menus used are also available in Photoshop CS3 and some older versions, as well. This technique works perfectly with the use of a graphic tablet, to give the painting a true painterly feel, but it is not a necessary item. What is necessary is choosing a photo you’d like to work with, and having fun!
Images

Step 1: Prep Your Photo
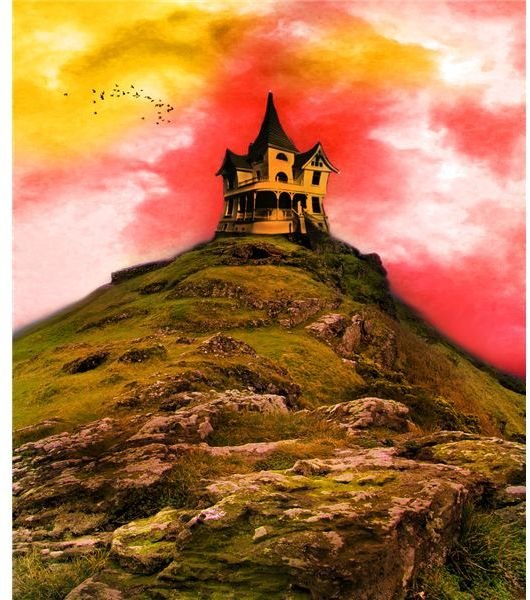
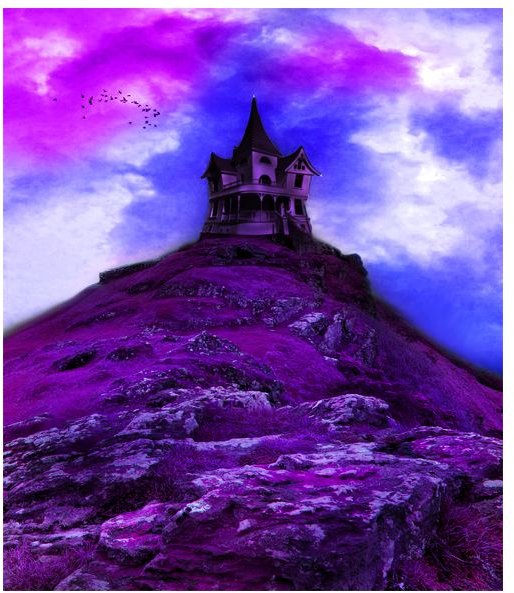
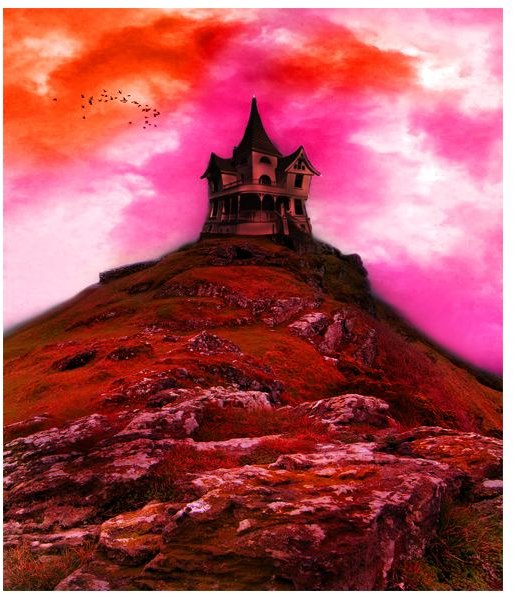
Before you can begin tweaking your photo to look like spray paint art, you’ll need to do a few adjustments. Spray paint art is known for its high contrast and saturated colors, so you will want to incorporate this into your finished product. To do this, go to Image»Adjustments. Raise the contrast of your image and then raise the saturation. There are even times when you may want to play with the hue of your photo for a more artistic look.
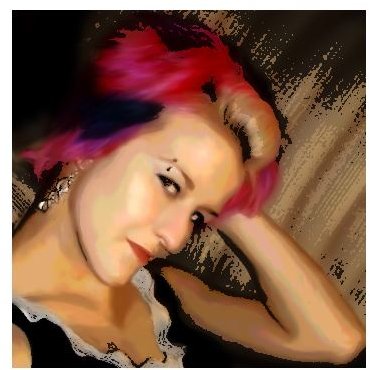
For example, I am using
for this tutorial. I adjust the contrast by +60, and then adjust the saturation by +30 and end up with
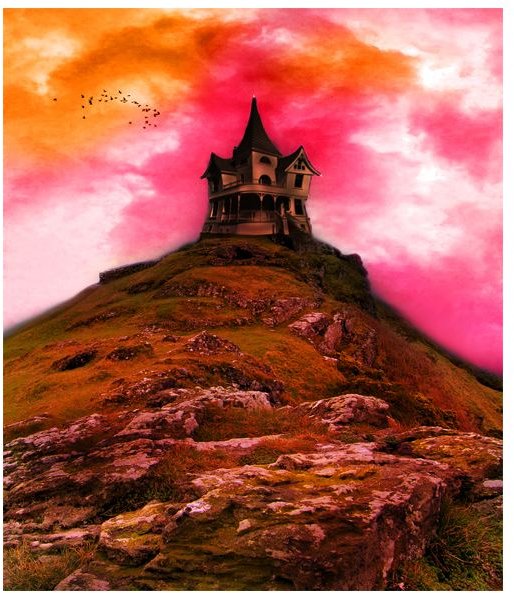
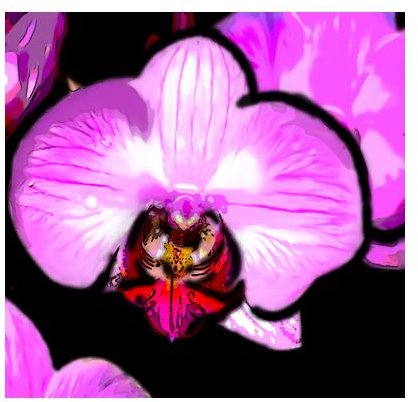
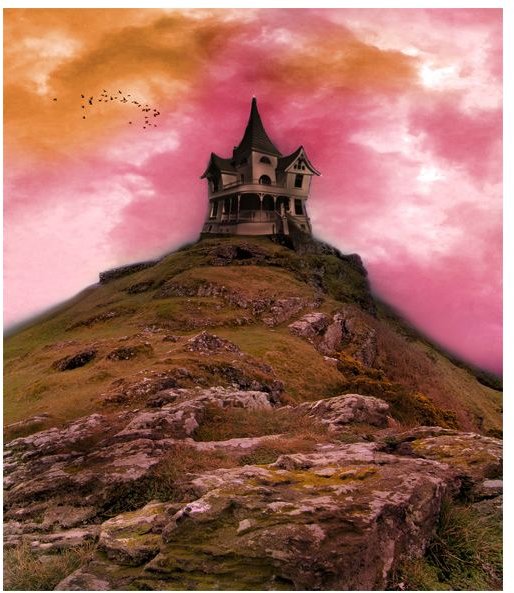
. Just these two adjustments create a striking look, and if I play with the hue, I can get many other versions of this photo. The photos below are a few of my options.
Alternatively, if you only want certain parts of the image to stand out, you can use the sponge tool, set the mode to ‘Saturate", the opacity to 20 and then brush over the area you want to ‘pop’. Even using these techniques together can produce amazing effects in your “spray painted” image.
Other Options
Step 2: Posterize and Cutout
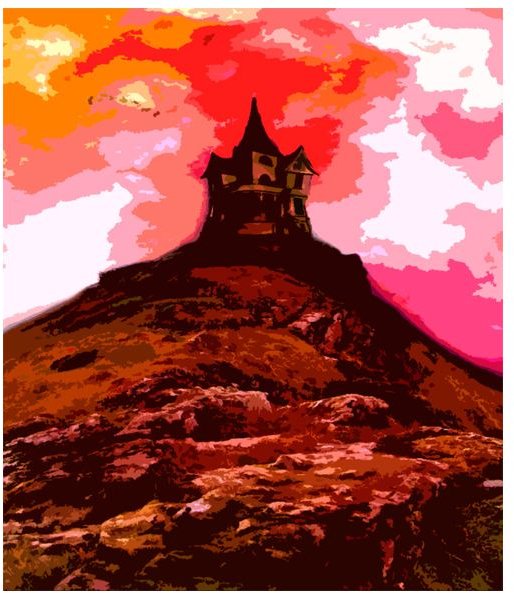
Once you have the coloring of your picture set, you can move onto using the filters in Photoshop to create a spray paint art effect. The first step in this process is to go to Image»Adjustments»Posterize.
The levels in posterize will adjust how many colors are in your image. The higher the number, the closer your painting will be to how it already looks. You will need to find a level which has enough detail to actually see the picture, but still look “chunky”. For this spray paint art photo, I chose 5.
Once you’ve done this, go to Filter»Artistic»Cutout. This will change from photo to photo, but look for clean edges and enough levels to keep detail in your photo. I chose 7,1, and 1 for the settings here.
Step 3: Blur and Blend
Before beginning this step, I suggest creating a duplicate layer of your results so far by opening the layers palette, right clicking the active layer, and selecting “Duplicate”. This will calm any fears about ruining your work thus far.
Now you will need to use the Blend and Blur tools in Photoshop. Use these tools to go around the edges where each color meets another, and blur them a bit. You want them to look “sprayed” to maintain that spray paint art feel, so keep edges simple. The same blend and blur settings do not need to be used on each area, so it will take some experimentation. This is where the actual artistic part comes in, and will be the most tedious part of the project, I promise. Even so, the average time it takes me to do this step is between 20 - 40 minutes depending on the image complexity.
Don’t worry about each line and edge being perfect, most spray paint art is a little messy and that is part of its charm.
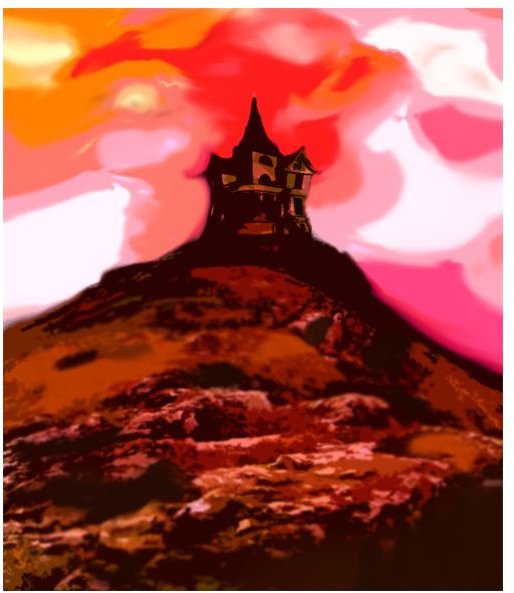
Blurred Result
Step 4: Texturize
The final step is to give your new work of art some texture. This can be achieved in many ways, but my favorite way is to use the Watercolor and Texturizer filers together.
First, navigate to Filter»Artistic»Watercolor Paper. Zoom your preview out just enough to see the whole picture and then adjust the settings to get a lightly course texture to the paint. This will require slightly different settings depending on each photo. For this tutorial I used the settings: 4,64, and 72 respectively.
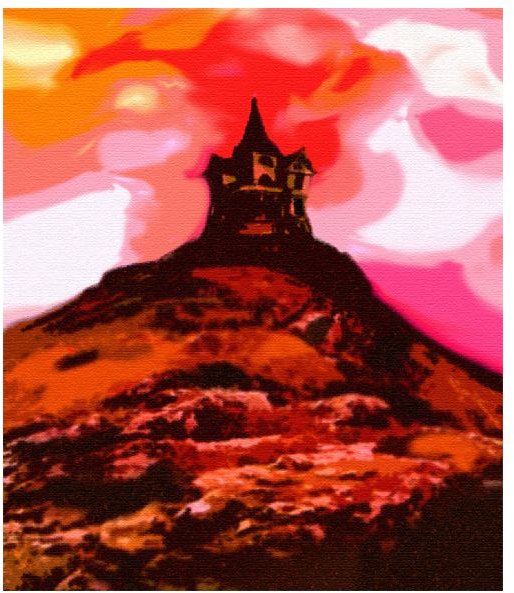
Finally, make your painting look like it is on canvas, as most spray paint art is. To do this, go to Filter»Texturizer select Canvas from the drop menu and again play with the settings. I almost never go above 100% for scale, and tend to set my relief rather low. You want light texture that isn’t horribly noticeable. Here I used 100% and a relief of 2.
Final Painting
Optional Step: Dodge and Burn
As an optional step, you can use the Dodge and Burn tools to bring out light and shadows you may have lost while creating your image. Use in moderation, though. These tools should help you boost the contrast in your painting, not overpower it.
Once you are satisfied with your image, you can print it out and apply it to canvas , make personalized greeting cards , or do just about anything you can think of! Once you have done this, creating spray paint style art in Photoshop becomes a breeze, and each photo creates its own unique spray painted effect.


