Learn How to Cut a Person from a Picture with this GIMP Tutorial - Photo Editing Made Easy
Most people shy away from using GIMP under the impression its either not very powerful or is more tricky to use than other popular software. But users can vouch that GIMP is quite easy to use and far more powerful than most people presume. This tutorial will explain how to cut out a person from a photo using GIMP. The version of GIMP used here is 2.6 for Windows.
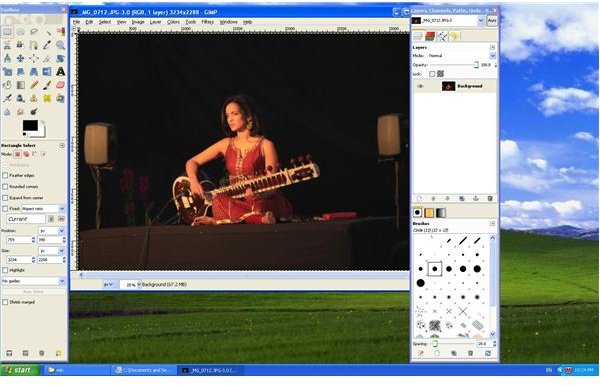
For purpose of illustration, I’ve used a photo of my favourite musician Anoushka Shankar, clicked by me at a recent concert I attended.
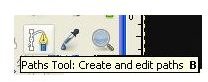
1. Make a rough-cut using the Paths Tool
We will use the Paths Tool to make a broad cutting of the person, with a little extra background on all sides. The Paths Tool is the tool with an icon that looks like a pen. In older versions of GIMP, it was also called the Bezier Tool. To do this, click on the Paths Tool and on one corner of the person to be cut out. Drag and keep clicking while encircling the person entirely. Double click to complete the selection.

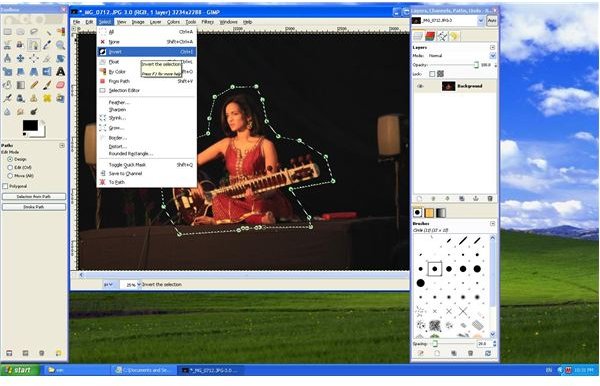
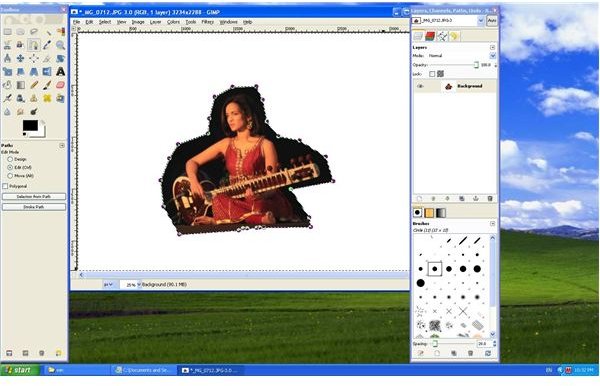
2. Delete the unwanted parts
Click on Selection from Path in the mail toolbar. The path you drew around the image gets selected and ‘marching black ants’ appear around it.
Go to the Select Menu and click on Invert. This inverts the selection and all but the path is now selected. Hit ‘Delete’ on the keyboard to delete the unwanted regions of the image.
3. A Quick-Mask for protection
We will next use a Quick-Mask to protect areas which we want to keep (the image of the person). To do this, we first click on the Quick-Mask button present in the bottom left corner of the image window. The whole image is now covered with a red coloured ‘mask’.
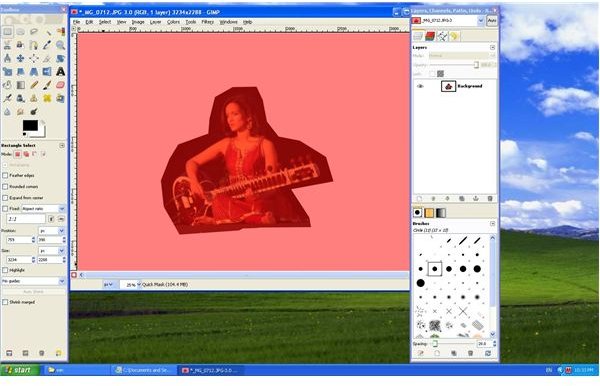
4. Paint the background out
The idea now is to paint over those areas which are the background and need to be discarded. Using the paintbrush, paint a different colour, say white, over the picture areas not needed. We can zoom 150% to get the finer parts, like the hair, correct.
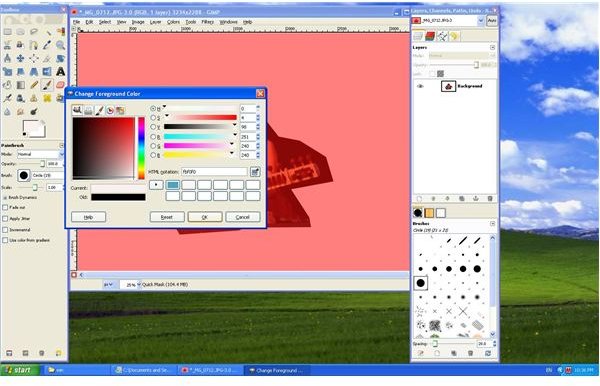
5. Delete the unwanted regions
Once the background has been painted over, click again on the Quick-Mask button. The red film disappears and the painted-over area becomes a ‘selection’, bordered by ‘marching-ants’. Delete the selection, by hitting ‘Delete’ on the keyboard. You may repeat steps 2-4 as many times as you want to get the perfect picture.
The Golden Rule!
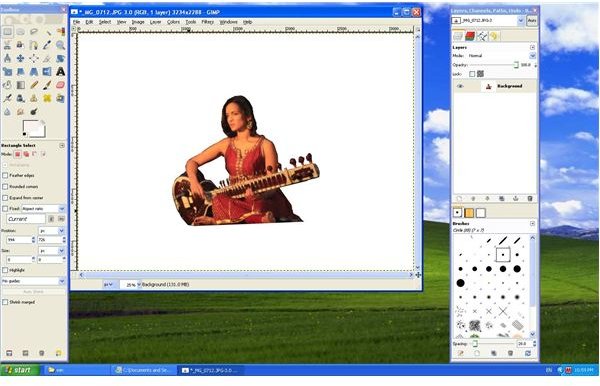
The ‘cut’ image can then be pasted onto any background of your choice to make collages or composites. This is a powerful and easy technique, which coupled with your creativity, can produce the most stunning of pictures.
And as with all photography tutorials, practice, practice and practice some more, till you perfect the technique!

Related Photo Editing Tutorials
Not a fan of GIMP? If you’re a Photoshop user, How to Cut a Person from a Picture using Photoshop will walk you through the steps using Adobe Photoshop CS3.
How to Turn a Body into Stone Using GIMP is a cool GIMP tutorial which teaches you how to easily create a stone statue out of a person in a photograph.
Have a great photo ruined by a skin blemish or a smudge on the camera lens? How to Fix Photo Blemishes with GIMP can help.