Quick Take
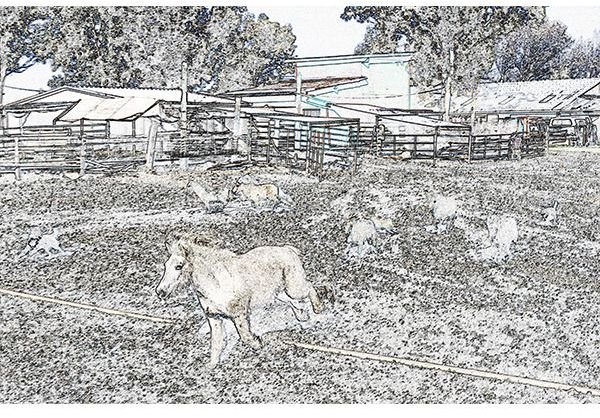
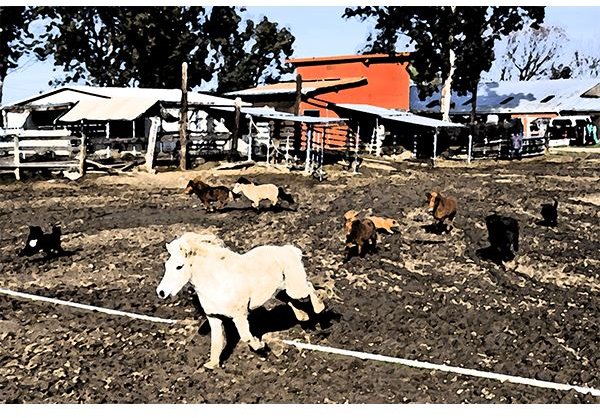
Turning a picture into a watercolor can be done in a few easy to follow steps. This technique works best with landscapes, wildlife and panoramas.
On this page
Painting a Watercolor in Photoshop
Photoshop offers many ways to do the same thing. This is another way to get the watercolor effect without using the watercolor filter. This effect is softer and creates a more natural feel than just using the watercolor filter. This method works best with landscapes.
The following steps will walk you through the process.
Advertisement
Watercolor Images
Step One
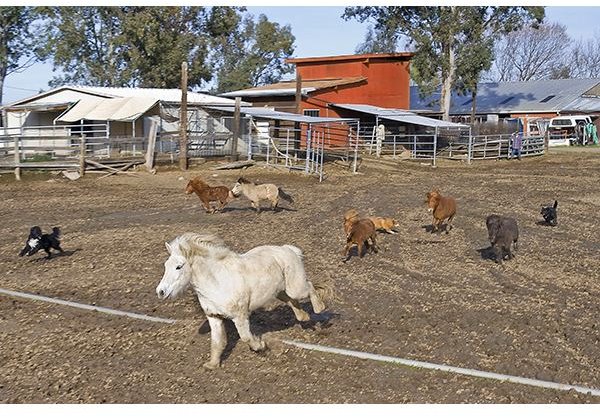
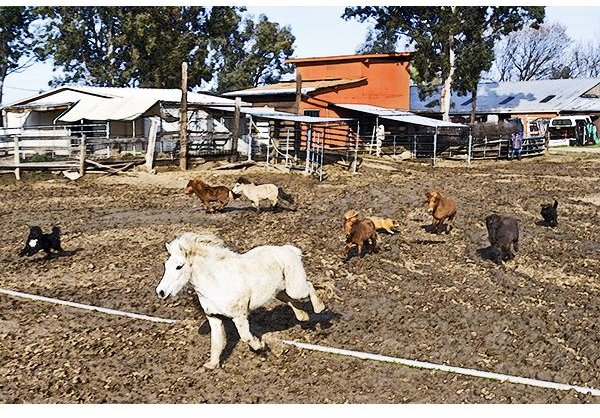
- Find an image you want to convert to a watercolor and open it in Photoshop.
- Make sure the image is in RGB. If it is not, go to the Menu bar and convert by choosing Image > Mode > RGB.
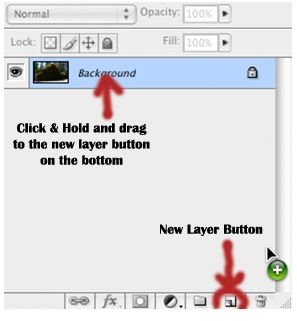
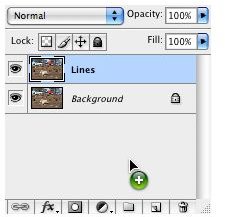
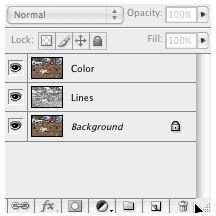
- In the Layers’ Palette, make a copy by dragging the original to the New Layer’s button at the bottom of the palette. Rename this layer Lines. (Figures 1 & 2)
- Next, on the Menu bar, choose Filter > Stylize > Find Edges. This will make your image look like a line drawing. Now, to drop out the color choose Image > Adjustments > Desaturate. (Figures 3 & 4)
Advertisement
Advertisement

Step Two
- Make another copy of the original layer and move it to the top position in the Layers’ Palette. Rename this layer Color. (Figure 5)
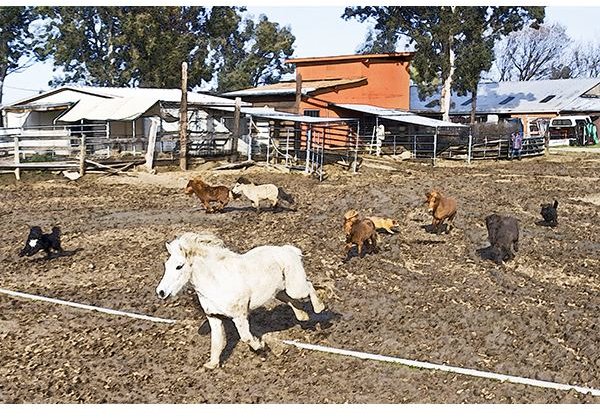
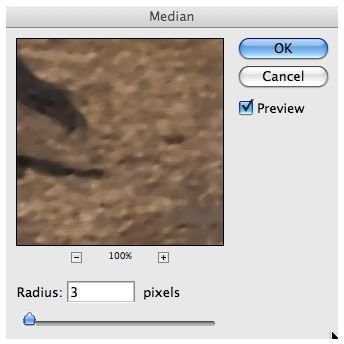
- To create a soft color wash, go to the Menu bar and choose Filter > Noise > Median. In the dialog box, (Figure 6) set the radius to 3 pixels. Click OK.
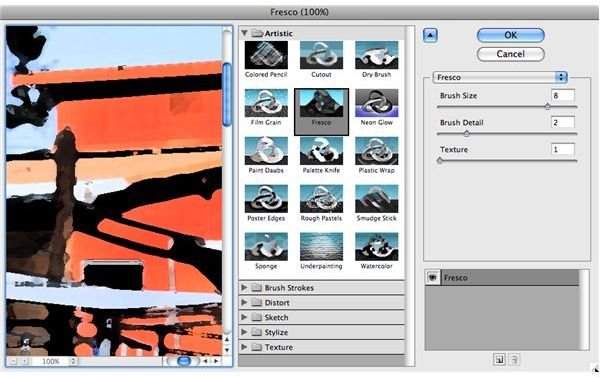
- Go back to the Menu bar and choose Filter > Artistic > Fresco. In the dialog box, start with the following settings: Brush Size 8, Brush Detail 2 and Texture 1. These are starting points. You can vary the settings depending on the color and detail of the image. (figure 7)
- Your image should look like Figure 8.
Advertisement
Advertisement
Step Three
Now, you need to blend all the layers.
Advertisement
- Select the Color layer and change its blending mode to Soft Light.
- Select the Lines layer and change its blending mode to Soft Light.
Your image should look like Figure 9.
Advertisement
Step Four
The last step will add texture and lighten the image.
- Make a copy of the Color layer and rename it Texture.
- Next, desaturate the image by choosing Image > Adjustments > Desaturate.
- Now choose Filter > Stylize > Find Edges. This will lighten the image. (Figure 10)
- You will need to boost the color in the image. Do this by changing the layer’s Opacity to 50%. If this does not look right, increase or decrease the Opacity until the image achieves the color saturation that works best for your image. (Figure 11)
Congratulations! You have just created a digital watercolor painting.
Advertisement

Advertisement


