How to Apply a Snow Effect to Your Photographs
It is winter, Christmas is on its way and snow forms, without any doubt, part of its magic. Create a real nice winter landscape and let yourself be filled by the spirit of the season holidays. Adding a snow effect to your photographs might sound more difficult than it is. In reality, you can achieve it in a few simple steps. This tutorial will show you how.
STEPS
1. Open your photo
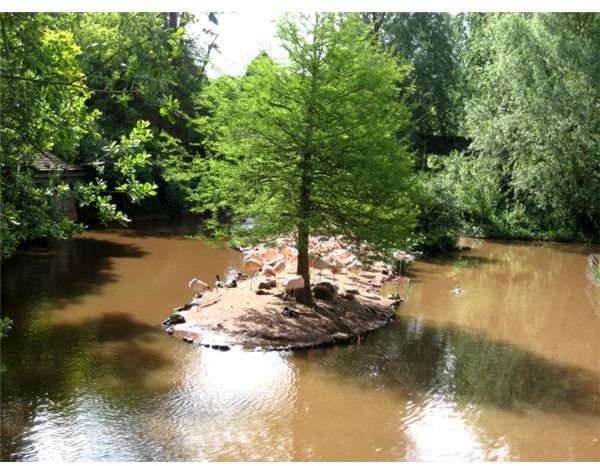
Choose the image you want to apply the effect to and open it in Paint.NET using the Open Command in the File Menu or the shortcut key Ctrl + O.
2. Create a new layer
To add a new layer to the image, go to Menu < Layers < Add New Layer or press Ctrl + Shift + N. A blank transparent layer will appear in the Layers Dialogue. If the Layers Dialogue doesn’t show up on your screen, bring it up by pressing F7.
3. Set Blending Mode
Press F4 to open Layer Properties and set the Blending Mode to Screen.
4. Fill with color
Next you’ll have to fill the new layer with black. Select the Paint Bucket tool from the Toolbox, set the Primary Color to black in the Colors window and click anywhere in the new layer. To bring up the Colors window, press F8. To bring up the toolbox, press F5.
5. Add noise
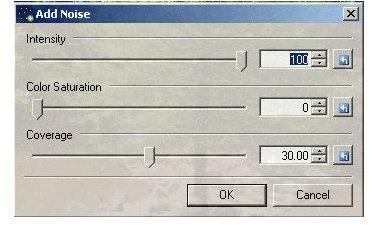
You might not believe it, but the magic begins with a little noise. Go to Menu < Effects < Noise < Add Noise. In the Options window that pops up, set the Intensity to 100, the Saturation to 0 and the Coverage to 30 as in the image below.
6. Apply Gaussian Blur
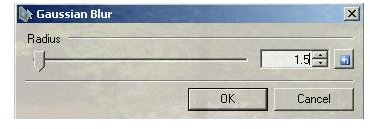
There is still a little way to go to turn your noise into snow flakes. This step involves applying a Gaussian Blur to the layer. Go to Menu < Effects < Blurs < Gaussian Blur, set the radius to 1.5 and click OK.
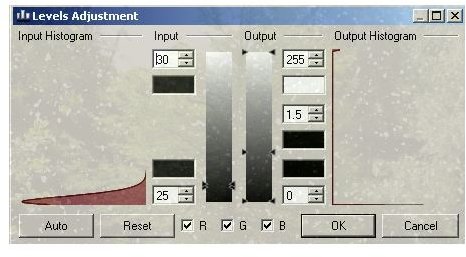
7. Adjust Levels
Press Ctrl + L to open the Levels Adjustment window. Here you can adjust the density and the size of your snow flakes. Change the settings as shown in the image below. As you modify the figures in the input boxes on the left, you will see your snow in the image changing. If you’re not pleased with the result, try other values until you get the snow you want.
8. Apply Motion Blur
Your snow flakes might look a little too sharp at this moment. To soften them a little go to Menu < Effects < Blurs < Motion Blur. Set the distance to 1 and the angle to 25.00. Click OK.
9. Merging Layers
You’re almost there. However, there is one more step to do before saving the final image. If you want to save it into one of the common formats, such as JPG or PNG, you’ll have to merge the layers. Click Menu < Layers < Merge Layers Down.
10. Save your image
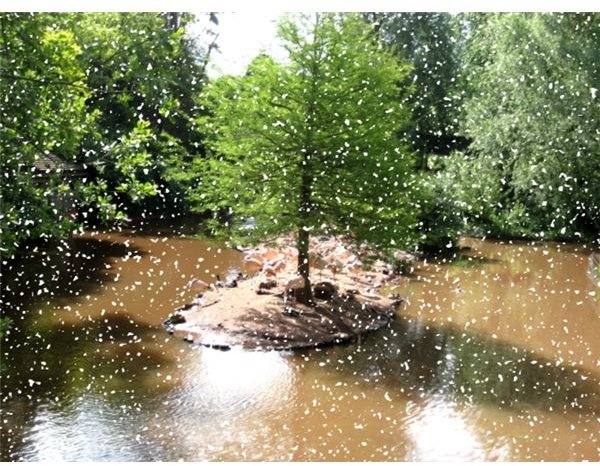
You’re there! Save your image and enjoy the spirit of winter and the freshness of the white snow flakes.
Images