Let’s be honest: it can be quite difficult to create a shopping cart from scratch - regardless of the software you use. Expression Web is certainly no exception! But there is a far simpler way to perform the job. Avoid giving yourself a headache with obscure coding and complete the task quicker.
Keep It Simple
Although you could figure out how to make a shopping cart in Expression Web from scratch, it is far too difficult and you may experience a lot of frustration. Instead, it is best to keep things simple and stress-free.
For this reason, you need to rely on a third party provider. Because of its renowned brand and reputation, this article will address adding a cart using PayPal. If you want to use another payment provider though, the website usually provides the instructions and they are quite similar to the following process.
Signing Up for PayPal
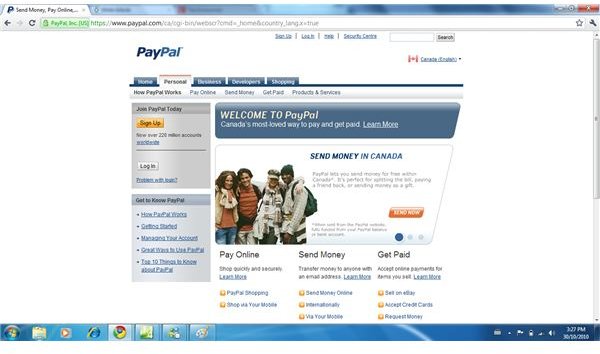
The first thing you need to do is create an account at PayPal. This is easy enough. Just visit PayPal and click “Create Account.” Enter the required details and proceed through the step-by-step account wizard.
Once you have your account all set up, you’ve confirmed it, and logged in, click the “Merchant Services” link in the top menu. A new page will load with a variety of different options.
You want to create a shopping cart button, so find the link that says “Create
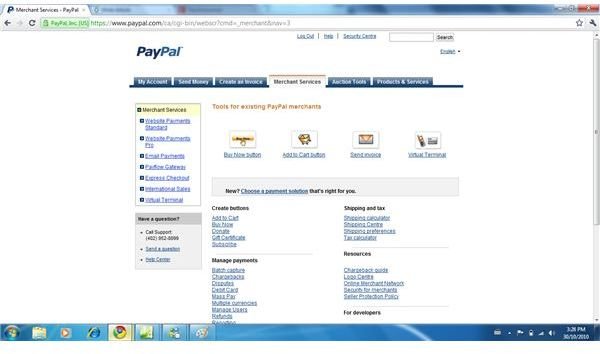
Shopping Cart.” Click it, and wait for the page to load. You will be presented with a few different fields where you enter the name of the product you are selling, its price, the shipping cost, a tax rate, etc.
It is crucial to fill out all the details fully and accurately. You also have the opportunity to customize the appearance of the button while filling these fields out. When done filling out all fields and customizations, click “Ok.”
Adding the Button

Next up, you need to add the cart to your website in Expression Web. Again, this is pretty easy. All you need to do is select the code on the following page. Make sure every single letter or symbol is selected, then press CTRL and C.
Return to Expression Web and paste the code. To do this, you need to find the spot where you want it inserted in Design View.
Once you’ve found the perfect spot, just click so the cursor remains there and switch to Code View.
Immediately after entering Code View, hit CTRL and V to paste the PayPal cart button. You can move the button around in both Code View, by cutting and re-pasting, or in Design View by dragging the button around.
The great thing about using this tactic is that it doesn’t require a lot of knowledge about HTML, and will take you far less than creating an entire shopping cart and purchase system yourself.
Final Tips
That’s about it! It’s pretty simple and straightforward. Whenever someone clicks on the button and checks out, they’ll be directed to the PayPal purchase backend. The payment will be sent to your PayPal account. Just make sure the button works well before publishing the website with the button online.


