Do you wish to create your own thumbs up, thumbs down buttons for a web page? Here are the step-by-step instructions, with screen shots, on how to create such images in CorelDraw. With it create vector buttons so you can scale to any size without compensating quality.
How to Create Thumbs Up, Thumbs Down Buttons for a Web Page in Corel Draw?
Many websites today give the thumbs up and thumbs down buttons as a way for visitors to indicate their like and dislike for the content. Checkout this step-by-step tutorial on how to create thumbs up, thumbs down buttons for a web page using CorelDraw 12 . The images you create in this software are of vector type. It means you can scale the image to the size you need without loss in quality. As a last step, export the buttons to a format like JPEG to use them in your web page.
How to Create Thumbs Up, Thumbs Down Buttons for a Web Page in Corel Draw?
Start CorelDraw.
Draw the Thumbs Up Posture for the Button
To get the reference to draw the posture:
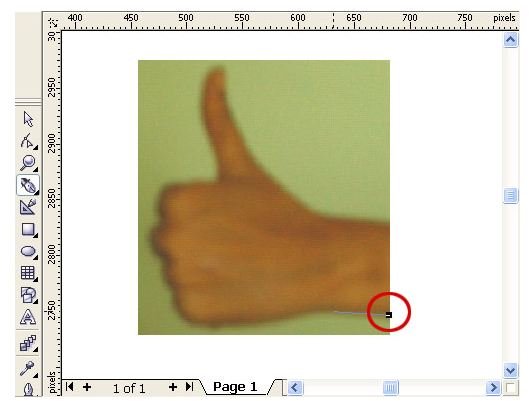
- Take a photo of a hand in the thumbs up posture with a digital camera.
- Transfer the picture to your computer.
- Import the image in CorelDraw: Click File > Import. The import dialog appears.
- Select the image and click OK.
- Click the cursor inside the top-left corner of the drawing canvas.
- Click the pencil icon in the image layer to make it non-editable.
Click the New Layer button in the Object Manager Panel and create a new layer. Rename it as Thumbs Up.
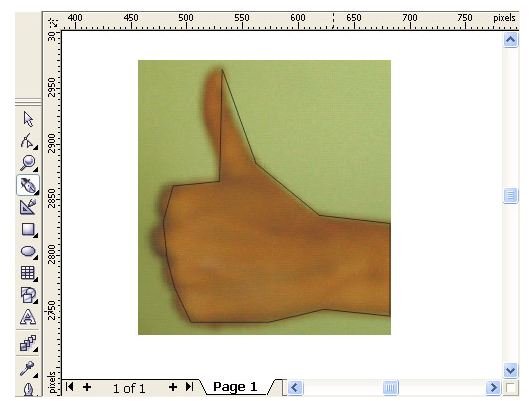
Click the pen tool in the toolbox.
Create the first node.
Create additional points along the contours and edges of the image till the last node overlaps the first one.
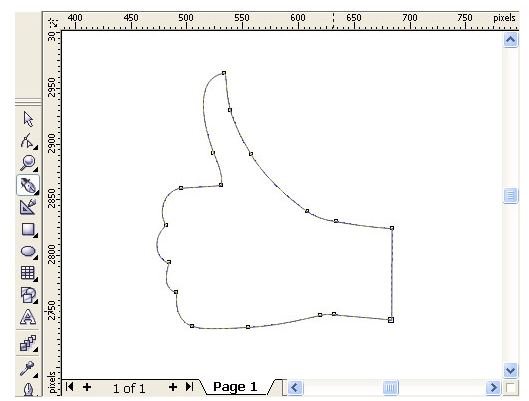
Position the nodes at exact locations on the boundary of the image
Use the shape tool and click and drag a node to the required location.
Convert Straight Lines to Curves
Use the shape tool and click a node that you want to convert it into a curve.
Click the Convert Line to Curve button on the Property bar. Two handles appears one each at the clicked node and preceding node.

Drag a relevant handle and adjust the curve.
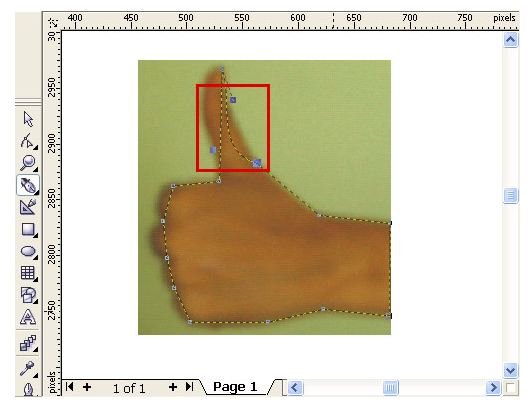
Repeat the above two steps at the required nodes so the outline represents a thumbs-up posture.
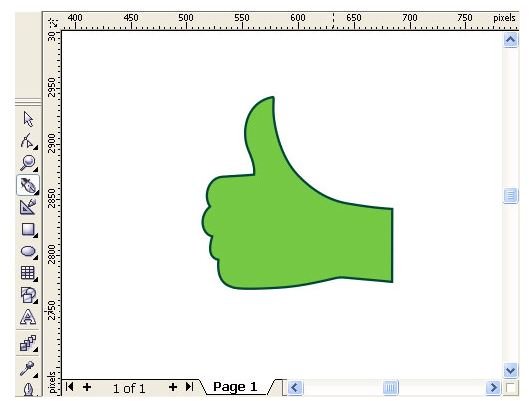
Fill the Object
Use the Pick tool and click the object to select it.
Click a color in the color palette and click Fill.
Resize the object to the required size by pressing and holding the Shift key and dragging a corner handle up / down.
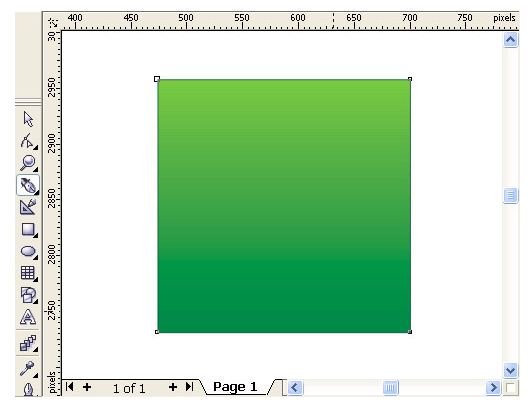
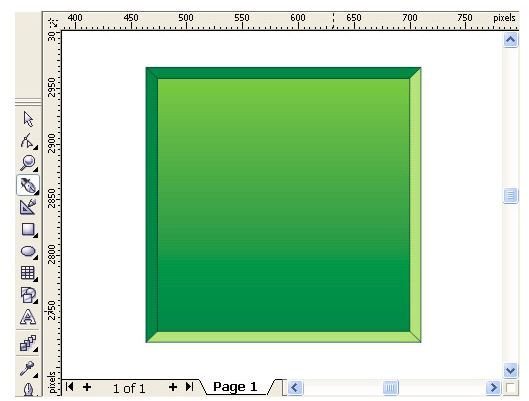
Create the Square Background for the Button
Click the Rectangle tool in the toolbar.
Click and hold the Ctrl key and draw a square.
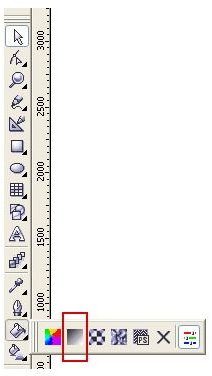
Give a Gradient Effect for the Background
Click the Fill tool and from its fly-out, click the Fountain Fill Dialog button. The Fountain Fill dialog displays.
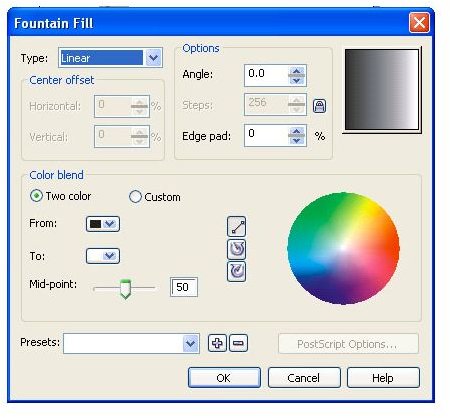
Select two colors for the From and To fields in the “Color blend” frame.
Click OK.
Create the 3D Edges for the Background
Copy and paste the square over the original.
Hold the Shift key and drag a corner handle to increase the size of the copy.
Press the Shift + PgDown keys to send the copy to the back.
Draw a trapezoid that connects four corresponding corners on one side of the two squares, using the Pen tool.
Repeat the above step for the three other sides of the two squares.
Fill the two adjacent trapezoids with a dark color and the two other trapezoids with a light color.
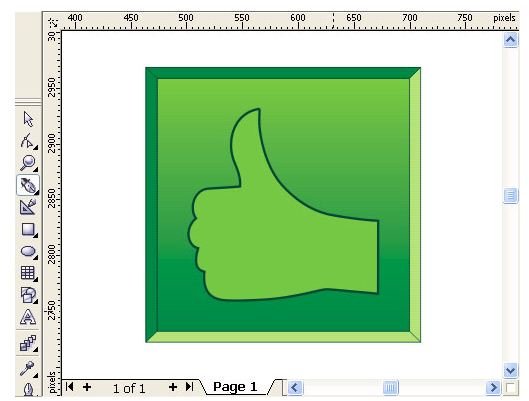
Align and Group the Objects to Create the Thumbs Up Button
Click the thumbs up object and drag it over the square.
Use the Pick tool and select all the objects.
Click Arrange > Align and Distribute > Align Centers Horizontally.
Click Arrange > Align and Distribute > Align Centers Vertically.
Press Ctrl+G to group the objects.
Create the Thumbs Down Button
Copy and paste the Thumbs Up button and move it to the right.
Click Arrange > Ungroup All to ungroup all the elements of the button.
Click the Thumbs Up object.
Click the Mirror button on the Property toolbar to vertically flip the object.
Select all the elements and click Ctrl+G to group them.

Export the Buttons to JPEG Format for use in a Web Page
Copy the Thumbs Up button.
Click File > New to open a new file.
Click Edit > Paste to paste the button.
Click File > Export. The Export dialog appears.
Type a file name in the File name field.
Select JPG in the “Save as type” field.
Click Export.
Repeat the above steps to export the Thumbs Down button.


