How to Use CD Label Templates in Adobe Illustrator
With Adobe Illustrator CS3, you can create CD Labels using the templates in Illustrator. This tutorial will show you how to create different CD Labels using the templates in Adobe Illustrator CS3.
Using a Template
-
You will first need to open your Illustrator program and click the From Template option in the interface.
-
When you choose that option, the box will open with the template folders. Double click the Basic folder.
-
In the Basic folder, you will see the different categories of folders. Let’s take a look at the Artist Folder first.
-
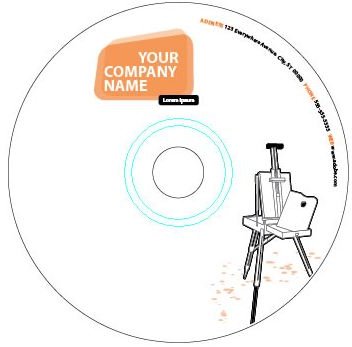
Double click the Artist folder and click the CD Label template. Then click the New button to open it.
-
The template will open in your Adobe Illustrator program. Now you can edit the text on the CD Label.
-
Grab your pointer from your toolbar and double click the text you want to edit. Delete the text and type your own text in the field. Do this for each text field.
-
To resize the text, right click on the text and change the size in the drop down menu. You can also change the font style by right clicking and select the style of your choice from the drop down menu. When you have finished your CD Label, you can print it out.
Open Another Project
To open another CD Label template in Adobe Illustrator, go to the top of the window and click File > New From Template. You will see the same box as before.
- Double click the Basic folder and you will see the categories again. This time you can select the category of your choice. So, double click the folder of your choice and select the template in the folder. Edit the CD Label the same way you did above. Then print it.
Create From Scratch
You can also create your own CD Label from scratch.
-
Go to the top of your window and click File > New From Template.
-
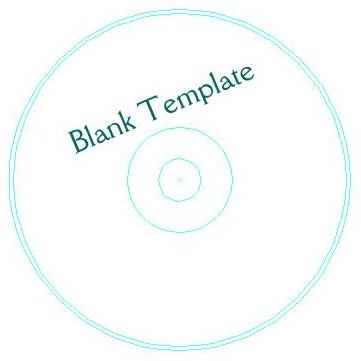
Double click the Basic folder and then double click the Blank folder.
-
Select the CD Disc Label_Blank in this folder. Then click the New button to open it.
-
You can now add your own text by selecting the text tool from the toolbar.
-
To add your own graphics or pictures, go to the top of your window and click File > Place. When the box opens, locate the picture or graphic you want to use and double click it. Use the mouse pointer to position the graphic where you want it. Once you are finished, export the file and print it.
There you have it! You’ve created your own CD Label to personalize and customize your CDs.