Guide to Using the Section Container with Joomla! Content Management System
Section Overview
As discussed in the previous article in this series, Joomla! uses Sections as the main containers for adding content to your website. Section names should be broad, and represent the main different aspects of your website. For my “example site”, McGuire’s Computer Workshop, which I may or may not use as my business’ official homepage, I chose the sections of: News, Products, Services, and Internet.
The Section Manager
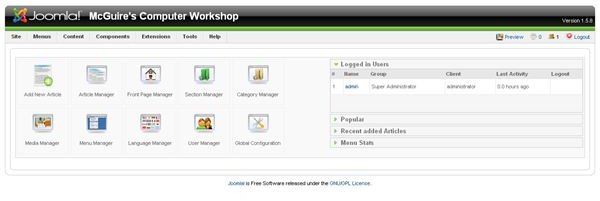
When you first login to your Joomla! Administration area, the first thing you will see is this:
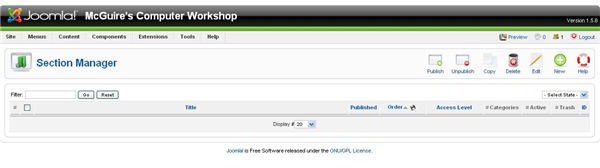
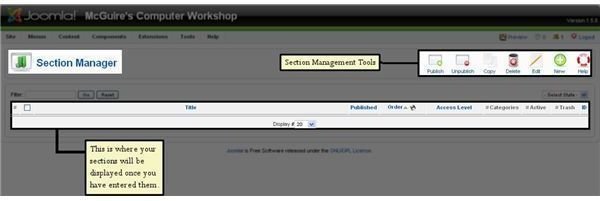
You can access the Section Manager by clicking the icon labeled “Section Manager”, a green folder or from the “Content” drop-down menu. The Section Manager is very simple, and on a clean installation you won’t see very much on this page. You’ll see tools for creating, deleting, publishing, etc, as well as the area that will display your Sections once you’ve created them.
Adding Sections
Let’s add some Sections:
Click “New” - represented by a green circle with a plus icon. The “Section: New” screen has several input boxes.
- Title is exactly that, the name of your section.
- Alias is the name the section will be assigned in the php code. One lower-case word, or words separated by a dash (-), are the preferred format for aliases. This field MUST be unique, so you may want to design a naming convention, such as numbering, to keep everything straight.
- The Published area has two options: yes, and no. You can still add content to an unpublished Section, however, Categories and Articles filed under unpublished Sections cannot be displayed, even if you have them set to publish. I recommend publishing Sections and Categories at the time you create them to save yourself the hassle later.
- Order sets each new Section as the last one, and this can be changed after your new Section has been saved.
- Access Level refers to what type of viewer can see your content. Public means anyone who goes to your site can see it, Registered means only people who are registered members of your site can see it, and Special deals with the various Admin, Editor, and Writer user types, which will be discussed at a later time. For now, public will work. It can always be changed later.
- The Image selector is hardly useful for Sections or Categories. In most situations it will never be displayed, but you may select on if you wish. Same goes for Image Position.
- The Description field should be used to describe the purpose of the section as well as the content that will be a part of it. This is a good place to put your site’s big keywords. In mine, I try to emphasize my store’s location and services. This helps with search engine placement. In addition, it tells viewers how your site is organized and makes it easier to navigate. Should you publish and link this Section somewhere in your site, the description will be displayed by default.
- The Image button at the bottom can be used to select or upload an image to be displayed in the Description.
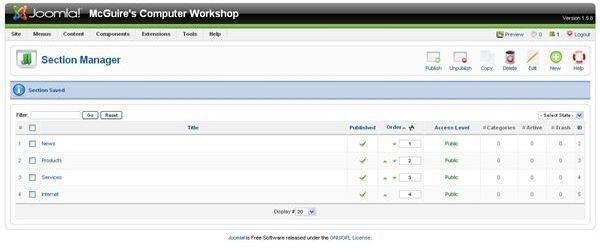
When you are finished entering the data about your Section, click the “Save” button in the upper right-hand side. Repeat this process for all of your chosen Sections.
The end result should look something like my example site, pictured below:
Managing Sections

If at any time you wish to edit, delete, or unpublish any of your sections, the Section Manager is the place to do it. Simply select the Section you would like work with by clicking the box next to the section name, then click the action button that you would like to perform.
This post is part of the series: Adding, Organizing, and Managing Content with Joomla!
Tutorial on adding content to your Joomla! powered website, as well as managing it using Sections, Categories, and Articles.