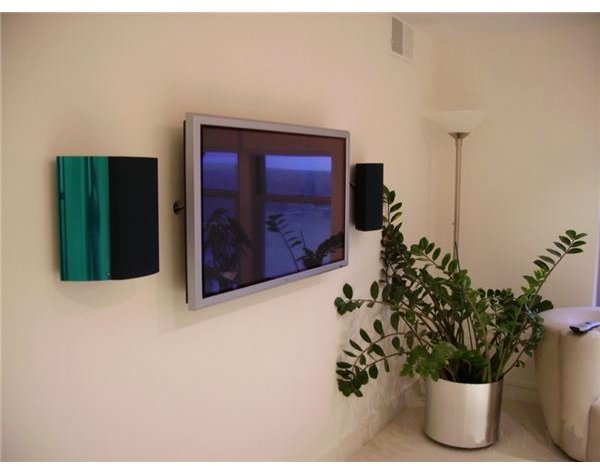
Flat Screen TV Wall Mount User Guide
Getting Started
There have been a few moments when I’ve been engaging in the DIY projects I find on websites when I start to wonder, “Why did I do this in the first place?” The most memorable was when we were placing our very expensive projector in the movie room. Mounting that thing on the ceiling was like holding an infant while juggling chainsaws, and I was a little frazzled to say the least. However, a steady hand and about 10 minutes later, and the projector was up on the ceiling, never to come down again.
Another such moment you’ll encounter is when you decide to take your HDTV to new heights and mount it on the wall for all to enjoy. Now, an old-school HDTV from 2002 or 2003 weighs about 90 pounds and a modern one can be as light as 50 pounds. So mounting it up on the wall isn’t exactly what I’d call an easy venture.
Tools Required
Here’s what you’re going to need to do this:
A good, useful level (and this is something you should have around the house for anything and everything)
Two other friends or family members to help you out
The actual HDTV with the Wall Mount
A good drill and/or screwdriver
A Pencil
A Stud-finder
A lot of patience
While all HDTVs aren’t built equally, you can consult your user manual for other quirks that I may not address in this tutorial. Remember, the manual for the TV is your best friend. With all those considerations, let’s get underway:
Step 1 - First things first, pick the spot that the TV is going to be mounted – If it helps, cut out a piece of paper large enough to give you an idea of what the TV will look like once mounted.
Read on Page 2 for the next steps in mounting your HDTV!
Making Your Mark
-
Mark where the mount will go with a pencil. Don’t worry, you’ll be drilling through this spot.
-
Now, use the stud-finder to find out where the nearest stud relative to your pencil marking.
-
If your pencil marking and the stud-finder line up, perfect! If not, you’re going to have to settle for wherever the stud-finder finds the nearest stud. The reason for this is that if you drill through drywall, your TV will fall off the wall as soon as you mount it. You need the wooden studs in the wall to complete the mounting process.
- Got the stud? Marked the location? Next, have your two friends hold the TV up where you’re going to put it to check that it looks good in that location. If you find that the answer is “no”, repeat steps 1-4 until you find the perfect location for it.

Mounting
With everything marked, now’s the time to actually set up the HDTV, outside the wall.
-
Connect every cable you think you’re going to need, and then connect all the ones you’re not going to need. Once it’s up on the wall, that’s where it’s going to stay, so plug in the power and connect all cables to your devices.
-
With your HDTV now fully set-up and working, take a deep breath and prepare your mount.
-
With the mount in hand, use the level to make sure it’s perfectly even and place it on the spot where you know the stud is.
-
Now that the mount is on the wall, mark out the holes you’re going to be drilling and use the stud-finder again to make sure it’s on the wood and not the drywall. Measure twice, drill once!
-
Now pull out the drill and drill a hole in the wall that’s slightly smaller than the diameter of the screw you’re going to be fastening into the wall. This is so that, as the screw goes into the wood, it has to expand the wood and holds better.
-
With all the holes drilled, it’s a simple matter of screwing the wall mount up to your wall.
-
Now comes the hard part – Get those two friends to help you out now that the wall has the mount on it and you have the TV with the compatible mounting surface ready.
-
Carefully lift and place the TV on the wall and make sure that the mount latches onto the wall.
Step back and admire your handiwork – you’ve just hung a TV on the wall!
