Geocaching and Rubber Stamp - How to Make Your Own Stamp
Getting Started
If you are just starting out, you may want to read the articles What is Geocaching? and A Brief Guide to Letterboxing to give you a clearer idea of what you will need and what to expect. Once you are ready to get started, you will need the proper materials. There are several rubber stamp making kits on the market, but you don’t have to spend a lot of money to make a rubber stamp you can use when geocaching. In fact, it is likely you have all the materials you need right at home. Here is a list of those items.
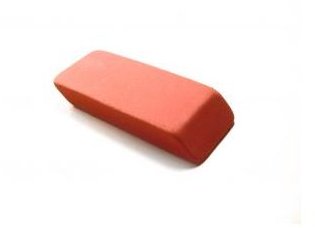
- A large rubber eraser
- A soft lead pencil
- A pen
- A craft knife (such as an X-acto knife)
Some optional items include a small piece of wood, such as a baby’s toy wooden block, and some industrial-strength adhesive that works on wood and rubber.
Photo Credit: sxc.hu/allenp
Making the Stamp
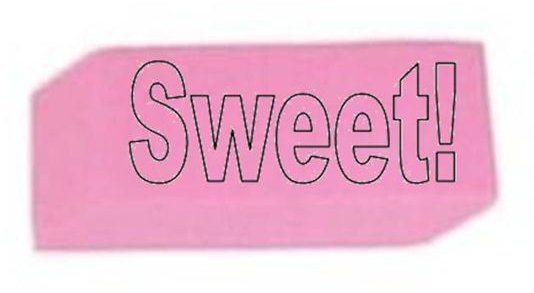
Find an image you want to use for your stamp that will fit onto the flat side of the eraser. Look for one without too much detail and that is on paper that isn’t slick (like a magazine page). Some good examples are pictures in coloring books, comic strips or comic books. You can also use the “image” option of your favorite search engine, find a picture you like and then print it. If you are feeling creative, you can draw your own picture or use a program such as Microsoft Word to create WordArt (this article can help you turn your first name or a word into the perfect graphic for your geocaching rubber stamp).
If your stamp includes lettering, you must use this or another reverse imprint method to make sure the image is on the eraser in the right orientation, so that when you use the stamp, the impression it makes is readable.
Once you have the picture, turn it over onto a flat surface and scribble all over the back with the pencil. The entire back of the paper that the picture is on should be covered in pencil. Next, place the picture, pencil side down, onto the eraser. Use the pen to trace the image onto the eraser (the pen will push the pencil onto the rubber).
Once the image has been transferred onto the eraser, you may want to go over it with the pen, just to make it more legible.
Use the blade - carefully! - to cut around and inside of the ink outlines. You want to remove the rubber and leave a raised picture outline. This will take some time, patience and attention, so don’t try it if you are busy or tired.
When you are done, you have a rubber stamp for geocaching or letterboxing. If you want a handle on the stamp, you can glue a wooden block or knob to the back with extra-strength adhesive or silicone caulk. Ink an impression onto the wood, so you can see how your stamp looks when printed, and know which way to orient your stamp.
The Bright Hub collection of geocaching articles and tutorials is growing, so be sure to check back often!