When creating documents using Microsoft Office applications, sometimes clipart makes a nice contribution. Whether you need office Microsoft clipart, or a different theme, you can find it in the Microsoft clipart library. You can even add your own artwork and keep it all in one convenient location.
Accessing the Microsoft Office Clipart Library
Accessing the Microsoft Office clipart library, you must first have a Microsoft Office application open. In this example, we will use Microsoft Word 2010 although other versions (especially Word 2007) work in a similar manner.
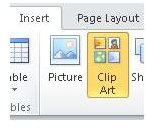
To find Office Microsoft clipart in Microsoft Word , click the Insert tab on the ribbon and then click the Clip Art icon.
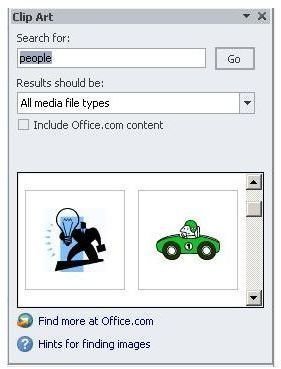
Now, a Clip Art panel opens to the right of the Microsoft Word work area. This panel acts as the gateway to Office Microsoft clipart.
In this area, you can enter a search term for the type of clipart you are looking for. You can also define the type of media you are looking for to narrow your search. You can choose from Illustrations, Photographs, Videos, or Audio. In this example, we will look for People.

Just type in your search term(s) and then click the Go button. Your results will display in the results window just below.
When you find the Office Microsoft clipart for your document, just click on it and it will appear in your document where you can edit it, move it, and change its formatting as necessary.
Now that you know how to place clip art into your document, you will be glad to know that you can add more clip art to your library.
Adding Clipart to the Microsoft Clipart Library
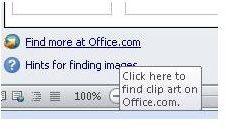
If you cannot find clipart that suits your purpose, you can add clip art to your library quickly and easily. All you have to do is click on the Find more at Office.com link in the Clip Art panel.
Clicking this link will open a browser window that shows images to choose from at the Microsoft Office Web site. Here you can click the same group of images (People) or click the “All Categories” option.

When you find an image you like, mouse over it and choose the Download option.

Be sure to remember where you save the new file because you will have to browse to the file in order to add it to your clip art library.
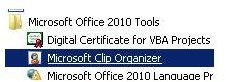
Next, click on the Windows Start button, and browse to the Microsoft Office / Microsoft Office 2010 Tools program group. Click on the Microsoft Clip Organizer icon.
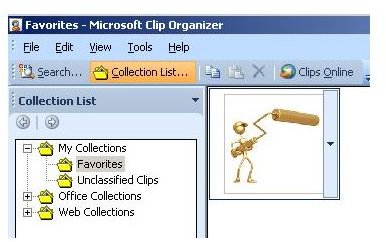
When Microsoft Clip Organizer starts, you will see an interface that can be used to organize and edit your clip art collection. To add your new clip art file, click File on the menu bar. Select Add Clips to Organizer and then click On my own.
In the Favorites - Add Clips to Organizer window, browse to your new image file and then click the Open button. Your image will now appear in the Microsoft Clip Organizer.
You can now drag your image to the People folder under the Office Collection option, create new folders for organization, or just leave your image where it is.
After following this tutorial, you now know how to use the Microsoft clip art library to add images to your Microsoft Office documents. You also know how to use the Microsoft Clip Organizer to add images to the library and to organize its contents.


