In Windows 7 too many fonts can slow the system and cause erratic results. This problem seems to appear when the number of fonts exceeds one thousand, but varies between systems. Continue reading for some information about the problem and ways it can be corrected.
Problems That Result From Too Many Fonts
Fonts can be good for fun and creativity, especially for users involved in desktop publishing .
Most frequently, too many fonts are associated with slow system speed. Perhaps a more accurate picture is when Microsoft Office , Adobe Creative
Suite, and other applications try to load fonts at startup, or when a font list is accessed. The system slows down more with longer lists of fonts.
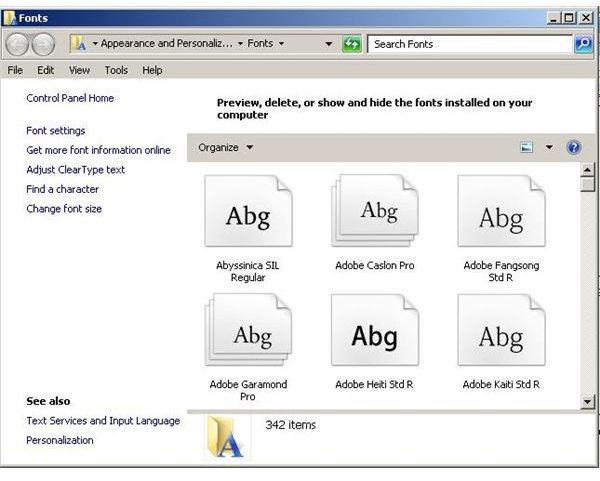
Another common problem that results from too many fonts is that no fonts appear when you open the “fonts” folder. After a long time working, the system does not let you view the fonts even though you know that they are there. Most often, this results from impatience (the Windows 7 user doesn’t allow enough time for Windows Font Manager to display all the fonts). If left alone long enough, the Control Panel window will eventually display the fonts installed on a computer.
Image Credits: Screenshots taken by Bruce Tyson
Solutions to the Windows 7 Too Many Fonts Problem
In Windows 7 too many fonts cause problems because only a limited number of fonts can be handled by the system. Although that number varies based on variables such as the length of font names, users should expect to have problems when the number of fonts surpasses one thousand.
Resetting Windows 7 to Default fonts
Solving the too many fonts Windows 7 problem is really very easy: in just a few simple steps you can restore your system’s original fonts:
1. Open the Windows 7 font management window.
2. Click the “Font Settings” link found in the left hand column.
3. In the “Font Settings” window, click the “Restore default font settings” button.
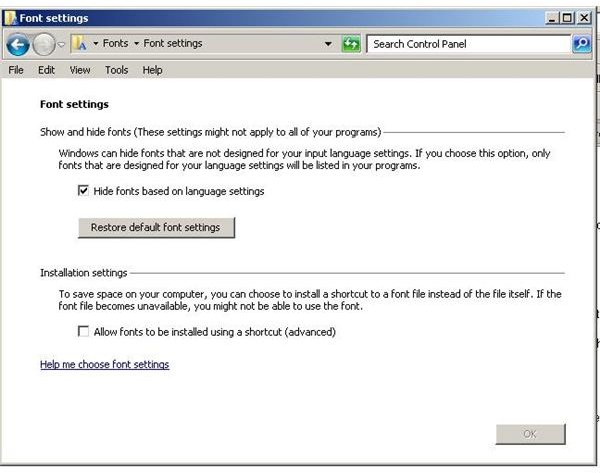
Windows 7 should now be reset to reveal only the fonts that came with the system.
Removing Extra Fonts from Windows 7
When you have Windows 7 with too many fonts, you should take action to remove fonts from the “Fonts” folder in Windows. To do this, open the Windows Font Manager by typing “Fonts” in the Windows 7 search box. Give it time to allow the system to display all the fonts. Once you have control of the system, right click the fonts you want to remove and click “Delete” from the context menu.
If you think that you may need some of the fonts later on, rather than deleting them, you can choose to hide them. This will keep programs like Adobe Photoshop, Illustrator, and Microsoft Word from attempting to load them at startup, but will keep the fonts available to be reactivated on demand. To hide a font, right click on its icon in the “Fonts” window and then choose “Hide” from the context menu. This is easier than removing the fonts and then installing them again at a later date.
Image Credits: Screenshots taken by Bruce Tyson


