Windows 7 Install Help: How to Install Windows 7 - With Screenshots

If you want to install a fresh copy of Windows 7 and are looking for a step-by-step guide, complete with screenshots, you’re in the right place. Many Windows users have been waiting for Windows 7 for a while now but not everyone welcomes the installation process, however easy it may seem. So here is a step-by-step walk-through of the installation process complete with descriptions of each step and screenshots so you can keep your bearings during the installation.
Windows 7 Setup - Initial Phase
-
Boot the computer from the Windows 7 installation DVD of your choice. Picking either the 32bit or 64bit depends on whether your hardware can support it.
-
Press any key when prompted.
-
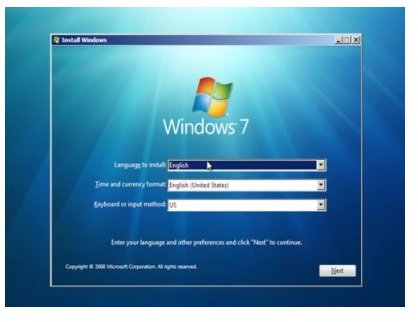
Choose your preferred language from the drop-down menu.
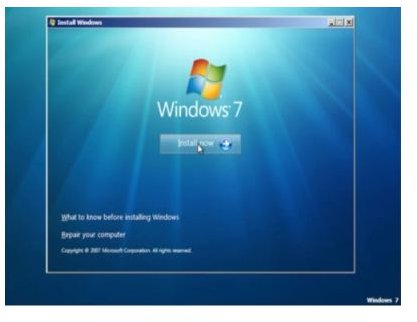
- Click on the Install Now button unless you want to explore the other options.
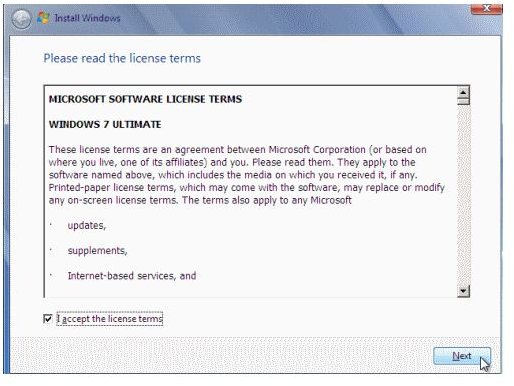
- Check “I accept the license terms” box.
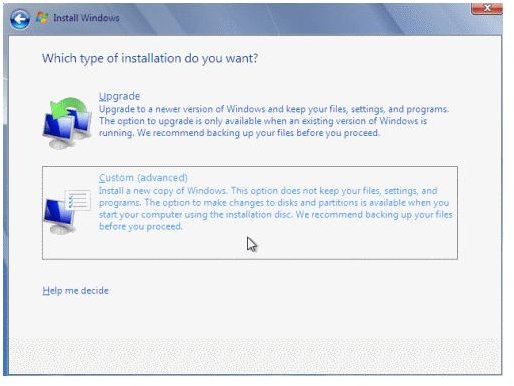
- Select the Custom (advanced) install option. The upgrade path is for those who want to upgrade an existing copy of Windows. You are of course free to do this, but it is much better to install a fresh copy, especially if using Windows 7 for the first time.
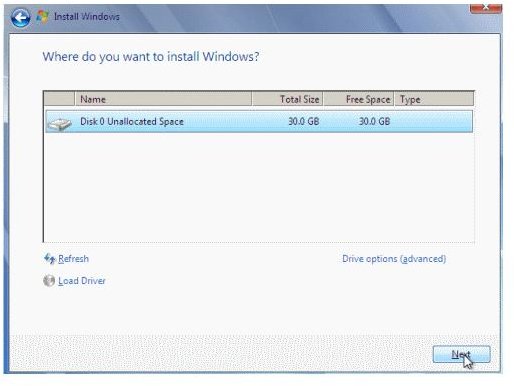
- Next, select the hard drive or partition you want to install Windows 7 onto. If you have any problems creating a partition read this article.
-
This is the second of three pages describing how to install Windows 7.
-
Let the system prepare the partition, then click Next. The installation will now begin.

- The computer may restart a couple of times, just let it continue until you see the next screen. This screen will then change to a variation on the next couple until it has rebooted for the final time.

- The screen will change to the one below, this process might take a few minutes.
Windows 7 Setup - Final Phase

- Then we are into the final phase of the installation. The bulk of the work has been done and we are now finalizing the installation.
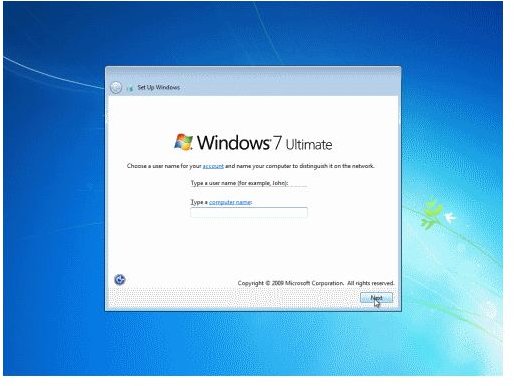
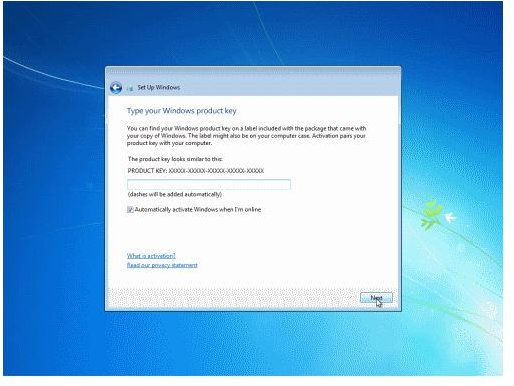
- Enter the details requested, then click Next. The next screen is almost identical and will ask you for a password. Enter one if you like or leave it blank. The next screen will prompt you to enter the serial number for your copy of Windows. This will be found inside the case.
-
Here we continue the installing Windows 7 guide, finalizing the settings ready for use. None of these choices are written in stone. If you decide at a later date that you want to change some of them, they are all available through the control panel.
-
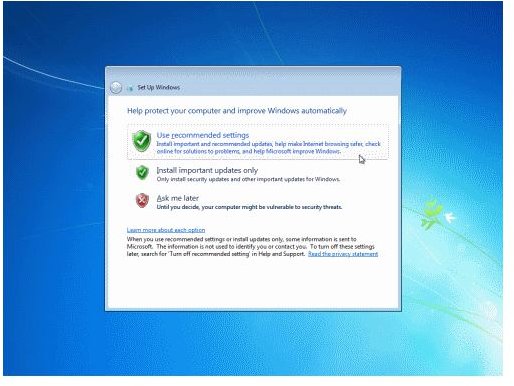
Next you will be asked to choose the update options. I suggest selecting the “Use recommended settings” option. You can always change this at a later date through the control panel.
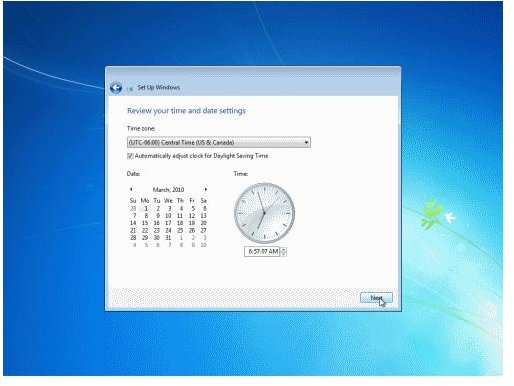
- Select time zone and date.
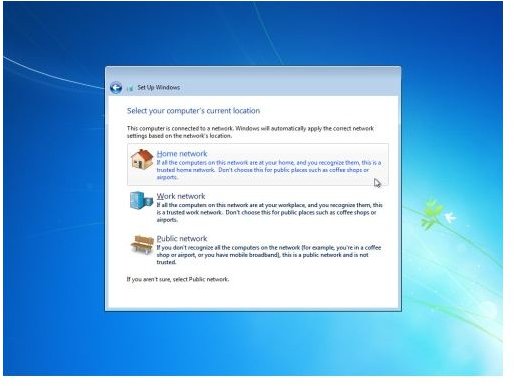
- Next is the network setup. Here you need to choose what kind of network you want to connect to. In the vast majority of cases, Home network will do.
- Windows will now process your choices and show the screen below.
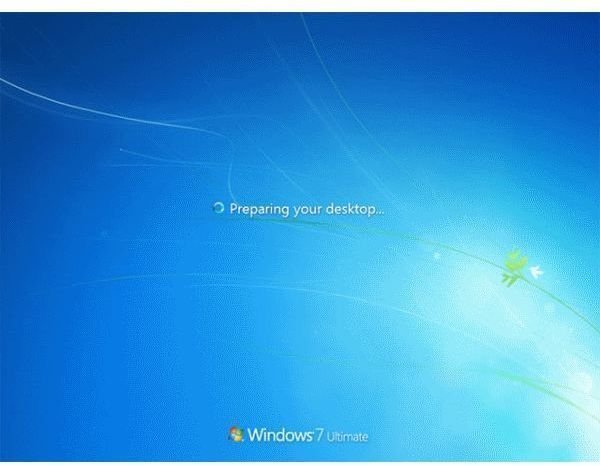
- On completion you will be presented with a fully installed, fully functional desktop.

- We recommend you also run Windows Update in Control Panel –> System and Security to make sure you have the latest Service Pack installed right from the start.
That is literally all there is to it. You have now installed Windows 7 onto a computer and it is ready to use. If you have any problems with the install, read our article on how to recover from a Windows 7 installation failure.
Reference
Author’s experience
Images taken by original author