How to Create a Custom Button Using Microsoft Expression Web
An easy way to add uniqueness to your web site is to create custom buttons and incorporate them into your design. With Expression Web, you can take any graphical image and turn it into a hyperlinked button in just a few easy steps.
Creating a Custom Button in Expression Web
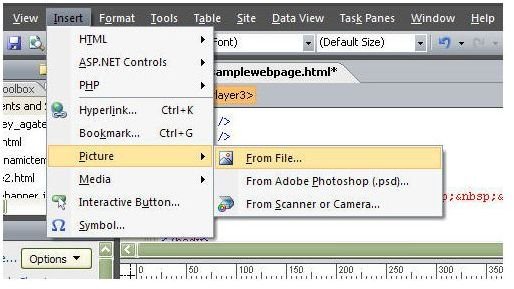
After determining where you want to place the button on your web page, insert the image that you want to use as the button. To do this, click on the Insert dropdown menu in Expression Web’s toolbar, choose Picture and then From File. (Click the image below for a larger view.)
Navigate to the directory that contains the image and click on the Insert button to bring the image into your web page. The Accessibility Properties dialog box will pop up on your screen, unless you’ve disabled it, prompting you to enter information about the image.
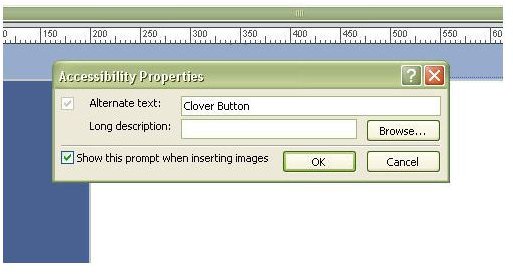
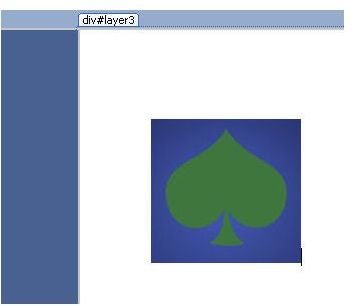
You can choose to add this information now or go back to it later. Click OK when done and the image will appear in your web page.
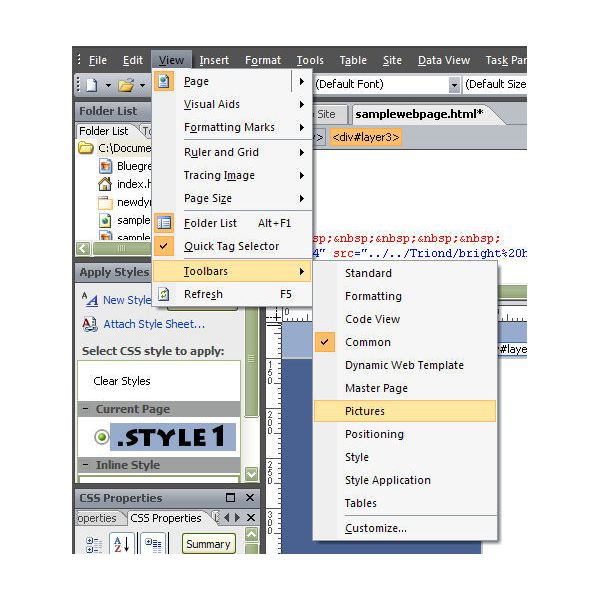
For the next few steps, we’ll want to have access to the Pictures toolbar. To display this, click on the View dropdown menu of Expression Web’s main toolbar, choose Toolbars and click on Pictures.
Click on the image in your web page to activate the toolbar.

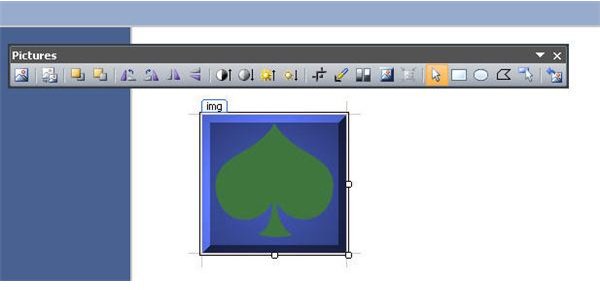
Once the Pictures toolbar is activated, you can use any of the options to make modifications to the image that has been selected. One thing that you can do to give the image more texture is choose the Bevel tool.
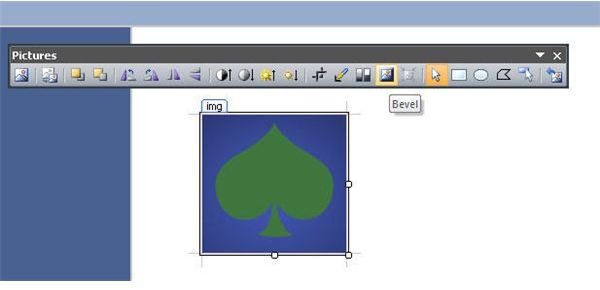
This will give the image a raised appearance, making it look more like a button.
After you’ve finished making modifications to the appearance of the button, it’s time to link it to whatever destination you choose. To do this, first select one of the Hotspot tools from the Pictures toolbar.
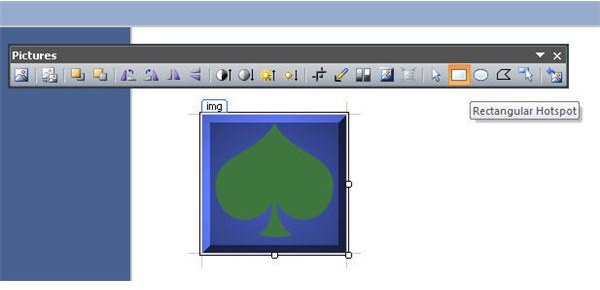
We’ll use the Rectangular Hotspot tool since it is closer to the shape of our image. If the image you chose was more rounded in nature, you might want to use the Circular Hotspot instead.
With the Rectangular Hotspot tool selected, draw a hotspot over the image including as much of the area of the image as possible. When you release the mouse key, the Insert Hyperlink dialog box will appear. Type in the URL or file name for your hyperlink and click OK.

Don’t forget to save your web page. As you are saving the page, you’ll also be asked if you want to save the button that you’ve just created in the same directory. Make sure you do this so you don’t lose your work. If you want to test the button that you’ve just created, choose Preview in Browser from the File menu. Select your browser type, and a view of your web page will open. You can click on the button here to make sure it’s working as you planned.
For more tips and tricks, browse through the collection of Expression Web user guides here at Bright Hub.
This post is part of the series: Hyperlinks in Microsoft Expression Web
Microsoft Expression Web provides web designers with several options for hyperlink creation, using both text and images. In this series, we’ll explore these methods and offer a few tips on how to get the most out of each one.