Uninstall Windows Vista In a Few Easy Steps
Introduction
Windows Vista is a technically advanced operating system, but its performance is dependent on the configuration settings of your
computer. It needs sophisticated hardware resources to truly perform according to its built-in specifications.
You may want to uninstall Windows Vista in any of the three situations mentioned below. Each scenario has been dealt with separately because instructions vary for each situation. Let’s get started.
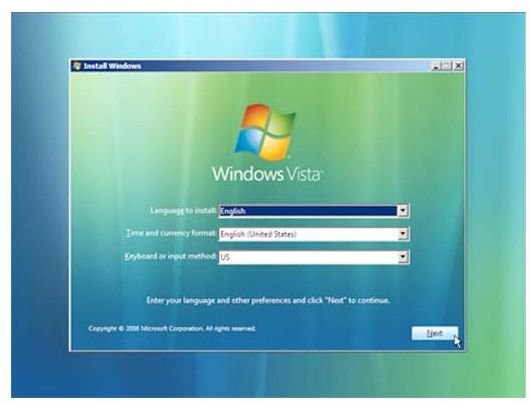
Image credit: vhxn.com
Vista Upgrade to Replace a Windows XP Installation
1. It is important to back up all your files before starting the upgrade. You will need your previous Windows XP CD and a MS-DOS boot CD. It is relatively easy to create a MS-DOS boot CD: visit the allbootdisks website and download the files and follow the instructions.
2. You will need to ensure that your MS-DOS boot CD loads up before Vista. To do this, make certain that your CD-ROM drive is given priority over other drives. You can do this by going to your BIOS settings and selecting this option if it is not already checked.
3. Insert the MS-DOS boot CD in your drive and then restart it. A popup setup menu should appear. When it does, select or type “R” to repair a present installation in the setup wizard.
4. Following the above action, type the next command:
fixboot C:\
5. Next type the following command:
fixmbr C:\
Then type “exit.” The setup is complete and you can now restart your PC. Your MS-DOS boot CD should remain inserted into its CD-ROM drive as the computer is restarted.
6. Finally type the command:
format C:
as the command prompt appears once your computer is restarted. Your hard drive will then be formatted. Keep in mind that this will erase all data from your hard drive. Now restart your computer with the Windows XP installation CD inserted in your CD ROM drive.
7. The Windows XP set up menu will appear. Now just simply follow the wizard to install Windows XP onto your PC.
Removing Vista from a Newly Purchased Computer
If you purchase a new computer that has Vista installed it does not mean that you are stuck with the installation. The software can be uninstalled and replaced if you prefer to use another operating system. If you wish to install Windows XP instead of Vista, then your course of action will be similar to the instructions provided in the above paragraphs. Remove Vista from your hard drive, re-format it, restart your computer, and install XP with the help of the Windows XP menu. In order to do this you will need to have a Windows XP installation CD, and you will also need to create a MS-DOS boot CD. If you do not have one, visit the website mentioned above to download a MS-DOS boot program, which you can copy onto a blank CD.
Now, simply follow the instructions given in the previous section (steps 1 to 7).
Please remember that all your PC hardware may not be supported by the XP CD. The devices that are likely to be unsupported are wireless networking cards and video chipsets. So try to visit the manufacturer’s website, look for the model of the PC, and download the latest drivers for Windows XP.
In the Case Of a Dual Processing System - Windows Vista And Another Operating System (e.g. Windows XP) Are Both On The Same Detached Hard Drive
1. Go to the boot menu of your computer and then select Window XP.
2. Put in your Windows Vista DVD and start Vista. Close any menus that might appear as Vista starts.
3. Go to Run and type the subsequent command:
e:\boot\bootsect.exe /nt52 ALL /force
Keep in mind that the letter “e” corresponds to the drive letter of DVD-ROM in which the Vista DVD of Vista was inserted. This could vary depending on the drives installed on your computer.
4. Restart your computer, go to the boot menu, and click on Windows XP. The section of the drive containing the Vista setup will now be formatted.
5. After the section containing Vista operating system on your hard drive is reformatted, please ensure that you delete two particular files: Bootsect.bak and Boot.bak. Windows XP’s root folder is where these two files can be located. Once you have successfully removed these two files, your Windows Vista uninstall process will be completed.
