
When creating a legal document in Word 2007, a standard bibliography isn’t enough. You’ll need to add a table of authorities for certain citations. In this tutorial, we’ll give step by step instructions for inserting this necessary item.
Table of Authorities
In the legal world, a table of authorities is used for references pertaining to such things as cases and statutes. The procedure for documenting and referencing these items is similar to that of a bibliography, but there are enough differences to warrant using separate tools in Word 2007. The following steps will show how to construct this important part of a legal document.
Marking Citations
Before you can create the table of authorities, each of the citations in the document must be marked and categorized. You can do this by performing the following steps. Note that you can either do this with each citation as the document is being written, or you can wait until it is complete and mark all citations at once.
Step 1: Select the text used to refer to the citation in the Word document. Then, on the References tab, click on Mark Citation. (Click any image for a larger view.)
Step 2: In the Mark Citation window, complete all necessary information. When doing so, be sure to use the drop down box to select the Category for the citation.
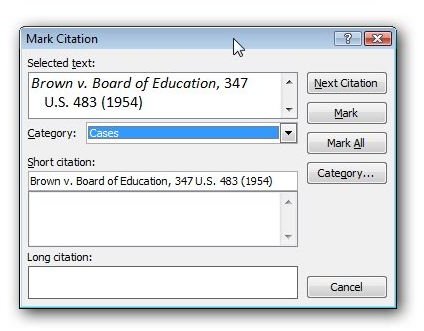
If the category you want to use is not listed in the drop down box, you can create a new one by clicking on the Category button.
Step 3: After entering all of the information, click Mark. Alternatively, if you have many references to this same text in your document, you can click Mark All to apply the information to every citation in the document at once.
Repeat these steps for every citation in your document.
Creating the Table of Authorities
Once all of the citations have been marked, you can create the table of authorities with just a couple of clicks.
Step 1: Place your cursor at the point in the document where you want to insert the table of authorities.
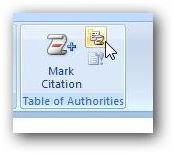
Step 2: Open the References tab on the Word ribbon and click on the Insert Table of Authorities button that is located in the Table of Authorities section of the tab. Note that this button may not be clearly labeled if you have certain features turned off in Word. However, the screenshot below shows its location and appearance.
Step 3: The Table of Authorities options window will appear on your screen. Here, you can select which category to include in the table (All is an option or you may wish to create multiple tables – one for each category) in addition to making some basic formatting choices.
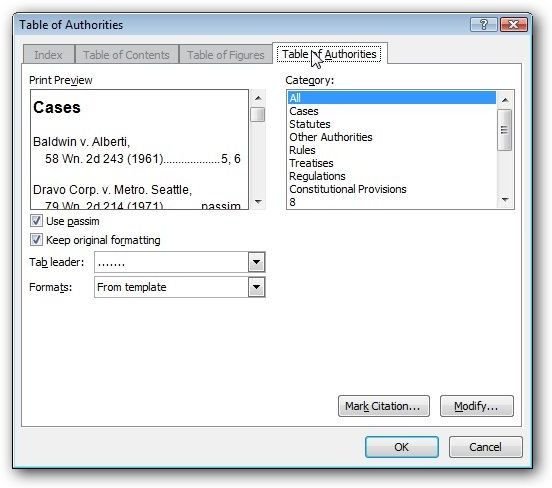
When finished, click the OK button and you will be returned to your document with the list in place.
If you’re looking for more guides, be sure to browse through the other items in Bright Hub’s collection of Microsoft Word tutorials .


