Learn How to Set Up USB and Networking Options in VirtualBox
VirtualBox Features
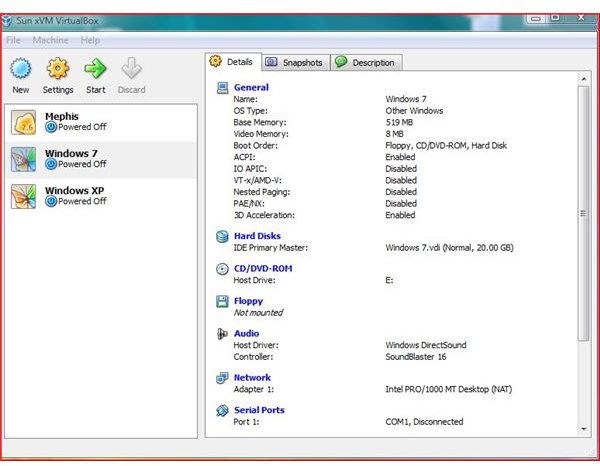
Many programmers, computer technicians, and even home users could use two computers. Sun’s VirtualBox offers a free way to set up an alternate operating system. VirtualBox often can easily be set up to run an alternate OS but the features are frequently misunderstood and end users sometimes have problems with USB features and networking.
Setting up USB Options
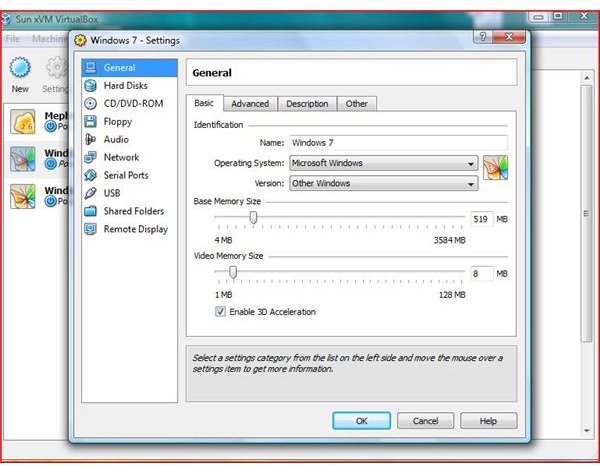
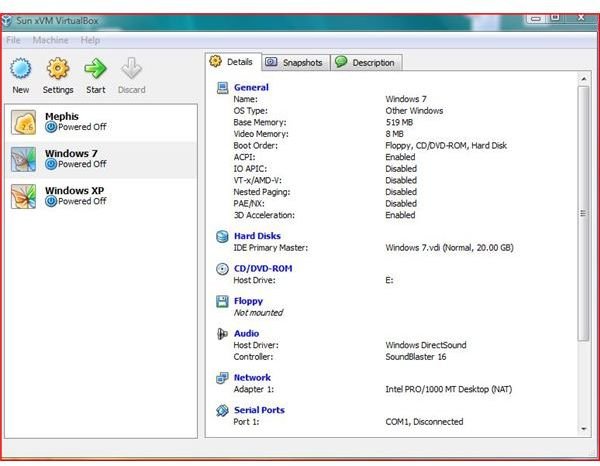
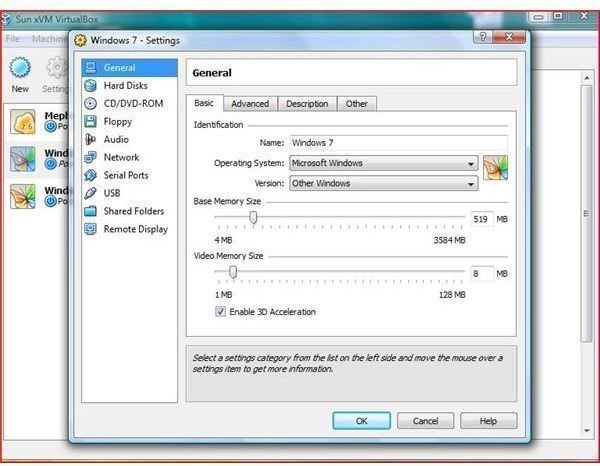
End users wishing to use the USB options will need to adjust the settings under the program settings screen. With VirtualBox, each operating system is listed in the left pane of the program. With the operating system highlighted, settings can be adjusted by clicking on the settings (geared icon) above the selected operating system.
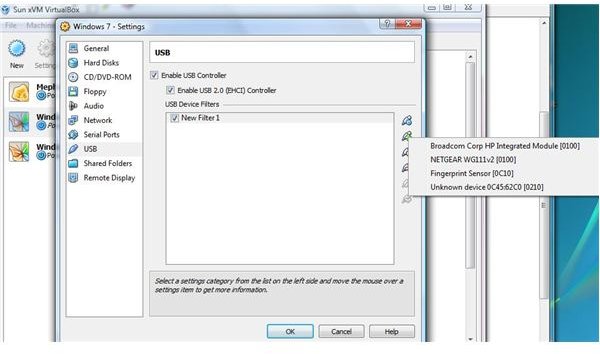
In order to adjust the aforesaid settings; the settings options will appear after clicking on the geared icon. Click on the USB Settings. The right pane will show the USB screen. Check the box to enable the USB Controller. You can now click the empty filter icon (USB with Blue circle) to create a USB that accepts any USB device. The USB icon with a green plus sign can add devices already configured on the host operating system. By selecting these devices, USB will now be ready to accept devices on the virtual operating system once it is started.
USB Options


Networking with VirtualBox
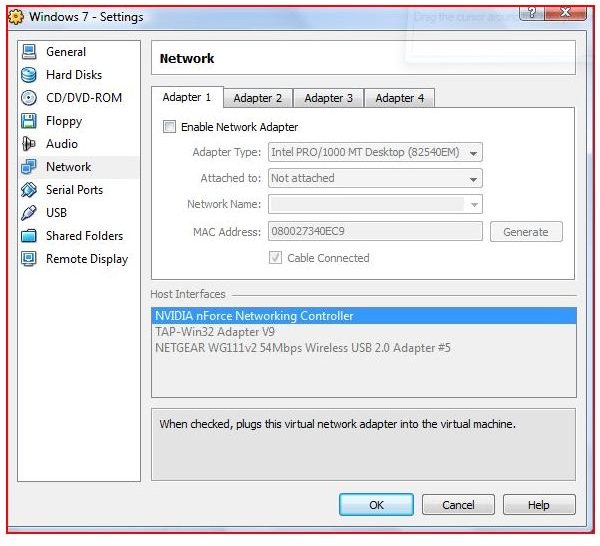
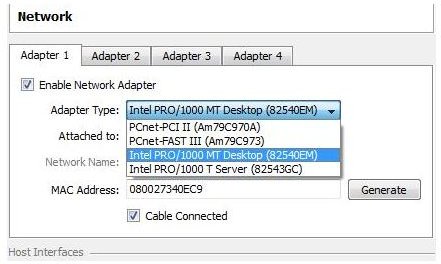
Often the networking options like the USB options can be confusing. With VirtualBox, there are four predefined network cards available. With Windows 7, the Intel Pro/1000 is the most compatible and bridges with your internal cards flawlessly. Depending on the operating system, motherboard or cards that have been installed on the operating system, selecting PCNet or Intel interface almost always insures networking will be functional.
With the options for NAT, Host Adapter and Internal options, each of these can be used to determine which ’network’ you want the computer (virtual) to be on. NAT allows for the computer to get an IP address from the host computer. The host computer keeps its IP address and assumes a 10.x.x.x private IP address. The host computer then acts as a bridge to the virtual computer which gets a 10.x.x.x private IP address. This NAT (network address translation) allows the computers to talk to each other and allows the virtual computer to navigate anywhere on your network or the internet. The HOST Adapter setting allows the virtual computer to assume an IP address on the same network as the host computer.
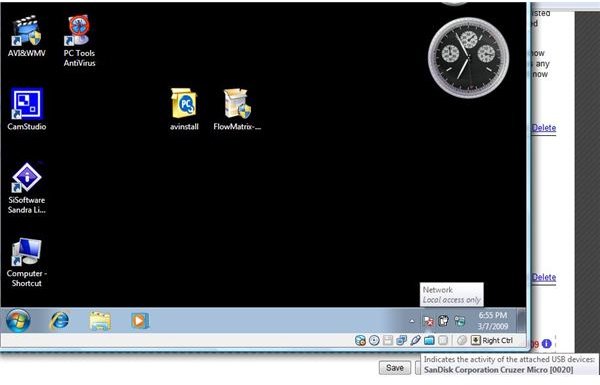
Networking is one of the key features of VirtualBox. Networking allows you to setup patches, service packs and yes, you MUST protect this machine just like the host computer with Antivirus software. Although this computer is virtual, once it is placed on the network, it becomes as vulnerable as any other computer.
Networking Options
Conclusion
These two options are the most often misunderstood options in Sun’s VirtualBox. Using the tutorial above, USB options and networking are easy to setup. As every computer is different, you may have to select different options in order to get these two settings to work with your system.
For more information, check out these resources: