How to Import Excel Data into a Microsoft Expression Web Table

Using Excel Data in Expression Web
Although Expression Web allows you to create and format a table from scratch right within the main editor, it’s often a lot simpler to create a data table in Excel first and then import that information into your web page. After all, Excel’s main purpose is data manipulation, and its standard tools make chart and table creation quick and easy.
In addition, there will be other times when the data needed for your web page design will be supplied by another party. Chances are, if it’s a table of any kind, it will either be in an Excel document or in some other spreadsheet compatible with Excel. In these cases, it’s usually a lot easier to make any formatting changes in Excel and then bring the data into Expression Web.
How to Import Excel Data
Step 1: Open the web page in which you want to place the data, and move the cursor to the point where you want the table to begin.
Step 2: Open the Insert menu on the main toolbar and select File. (Click any image for a larger view.)
Note: If you don’t see the File command listed in the Insert menu, you’ll need to add it by using the toolbar customization option. For instructions on how to do this, see the next section of this article, “Customizing the Insert Menu”.
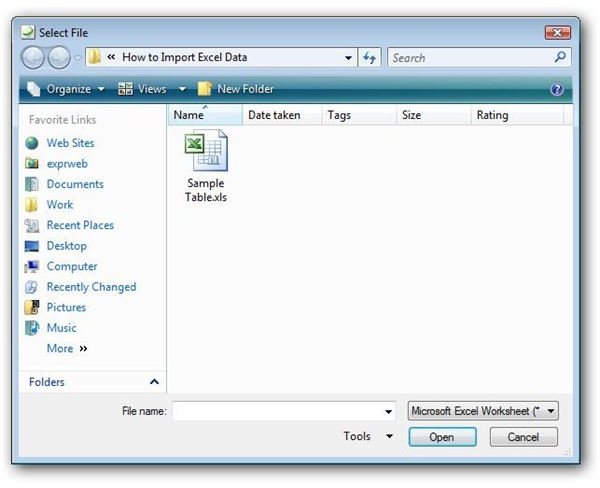
Step 3: Locate the Excel file you wish to add to the web page. Select the file and click Open to import it.
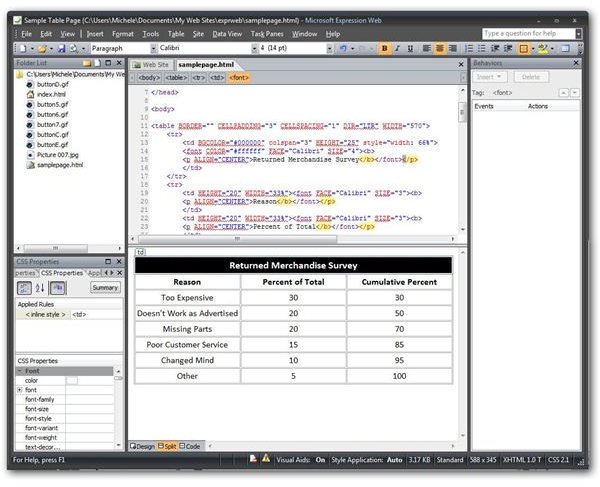
Depending on the size of the file, it may take Expression Web a few moments to convert the data to HTML. When that process is complete, the newly created table with the imported Excel data will be visible in your web page.
Customizing the Insert Menu
As mentioned earlier, the File command probably won’t be visible in the Insert menu unless you’ve already made customizations to the toolbar. However, it only takes a few moments to add, and we’ll walk through the process in the steps below. Note that these same steps can be used to add commands to any toolbar in Expression Web.
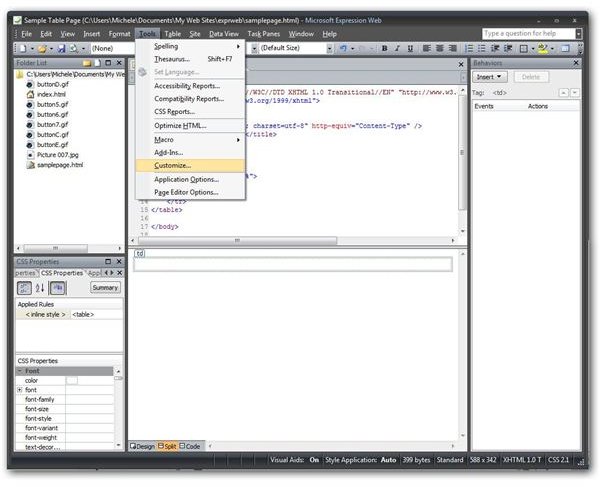
Step 1: Open the Tools menu on Expression Web’s main toolbar and select Customize.
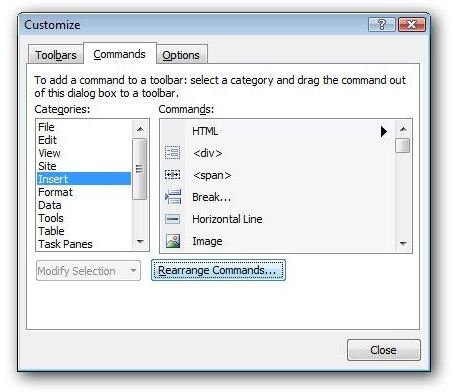
Step 2: In the Customize window that appears on your screen, make sure the Command tab is open. Click the Rearrange Commands button.
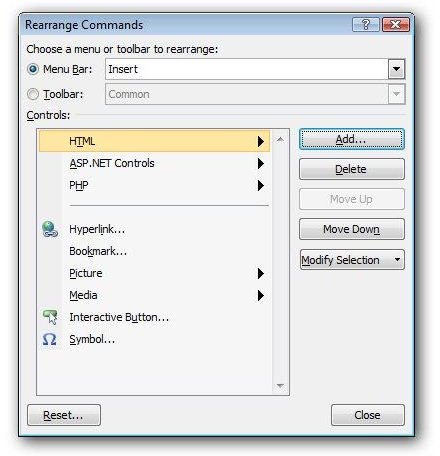
Step 2: The Rearrange Commands window should now be shown. Click on the radio button next to Menu Bar and select Insert from the Menu Bar drop down list. Next, click the Add button.
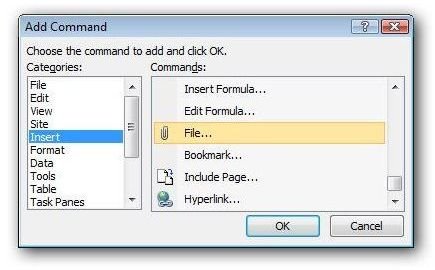
Step 3: In the Add Command menu, select Insert from the list of Categories. Next, scroll through the list of Commands until you find File. (The File command will be preceded by a paperclip as shown in the screenshot below.) Select File and the click OK.
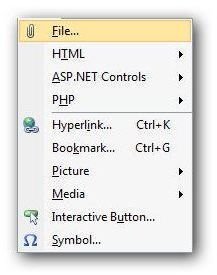
When returned to the Rearrange Commands window, click Close. Click Close again to exit the Customize window. The File command will now be visible in the Insert menu.
If you’re in the market for more Expression Web tutorials, take a look at the collection available here at Bright Hub. Learn how to add interactive buttons to your web page, how to create a drop down box, how to incorporate frames in your web page design, and more. Additional user guides are being added on a regular basis, so check back often.