It’s only natural to want to move on to Windows 7 from Vista, and it’s actually a very painless process. Moving to Windows 7 should be a simple upgrade that will barely disrupt your schedule. If you’d like some help with this process, then read more below.
Preparation - Are Your Ready?
Before you upgrade to Windows 7, there are a few simple things that you should do.
The first step is to go ahead and run the Windows 7 Upgrade Advisor. It is a free program that does just what it says on the box. It will scan your system and determine whether your hardware and software will have any problems using Windows 7. The rule of thumb is that any system that can run Vista can handle Windows 7, but it’s still a good idea to make sure that your programs will run on the new version. If you find any problems, the advisor should also have some helpful suggestions. You can find it at https://windows.microsoft.com/en-US/windows/downloads/upgrade-advisor .
You’ll also need to purchase the version that you want. We have a quick buyer’s guide for Windows 7 if you need help deciding between Home Premium, Professional and Ultimate. You should be able to get a license through Microsoft or purchase it from a normal electronics store. Amazon also has several options. Note that since you already have Vista, you only need to purchase the upgrade version. That’ll save you about one hundred dollars at most stores.
Microsoft also recommends that you run a full virus scan before your upgrade, and then another one after to ensure that your computer starts off clean and that the installation doesn’t suffer from any interference.
The Nuts and Bolts
Performing a Windows Vista upgrade to Windows 7 isn’t hard at all. In fact, for Vista users, it’s quite easy. Once you have your boot disk in hand, just put it into the computer and you should be presented with an autoplay option to upgrade. If you have the option to do a standard installation, then you’re actually about done.
If you aren’t upgrading to 64-bit and aren’t switching from home to business, then you should be able to do a straight conversion. The upgrade will run for awhile and your computer will restart a few times. Just keep an eye on it and it should be upgraded, with all of your files in the right positions, in just a short amount of time. Try to stay connected to the Internet during the upgrade so that you can also download Windows updates during the installation and be up-to-date once the setup is done.
If you aren’t lucky enough to be able to do that, then you’ll need to take a few extra steps. You will need to do a custom installation. This will probably mean using an external hard drive to hold onto your old files. Back them up beforehand using the Windows Easy Transfer tool. Follow the instructions and allow the custom installation to run on the drive that you selected. After it’s done, you just need to plug in your external hard drive and run it to have the transfer tool put all your old files back into place. It should note the programs that you need to reinstall afterward. Pick the ones that you want on your new setup and walk through their respective installations to get your computer back to its former state.
The Final Touches
Note that you aren’t completely done. You need to make sure that your antivirus program is set back up on the new system. A computer can get infected quite quickly if it’s online and not protected. That’s no way to start out with Windows 7.
Of course, you’ll also have to activate your copy of Windows 7. There should be a window that comes up after the upgrade. Put in the activation code to register your license and avoid any trouble with updates further down the road.
After that, you should be completely upgraded. Enjoy your new OS.
References
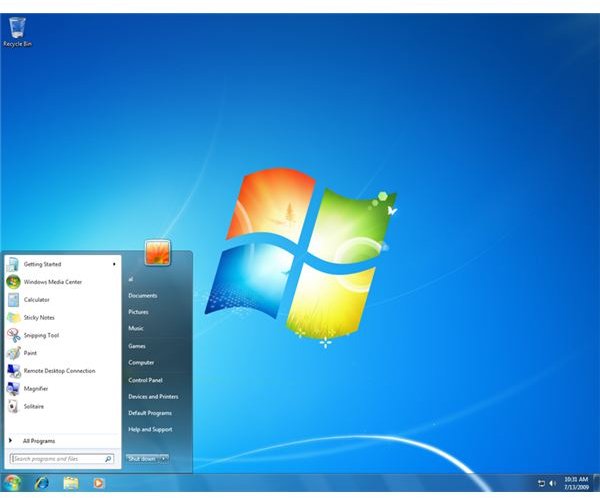
Image Credit: Screenshot Used with Permission from Microsoft - https://en.wikipedia.org/wiki/File:Windows _7.png


