Has your system been corrupted by a virus? Are you not able to boot your OS because of a virus attack? Kaspersky, a popular anti-virus that is effective against both known & unknown viruses, now provides an easy way to restore your system. Find out how to create restore disk Kaspersky.
Introduction
Kaspersky is a very popular antivirus notorious to be effective against both known and unknown threats present in your computer system. With the advancement in technology, new viruses have emerged in the internet world that are capable of destroying a computer operating system and even damage hardware. Often, it happens that your computer system is infected by some unknown virus or Trojan and the next time you restart your computer system, you are not able to boot into Windows . Even if you try booting the system into safe mode, you will end up with failure.
Kaspersky comes to the rescue! Kaspersky Rescue disk allows one to recover the system to the initial state before the computer system was damaged by the virus. Read more on how to create restore disk Kaspersky. This special service can be found in Kaspersky Antivirus version 6.0.
How to create restore disk Kaspersky Guides
Before you create restore disk, make sure you do have the following
1. Windows XP Service Pack 2 installed on the system as well as the installation disk.
2. PE Builder Installed.
3. Free space of about 200 Megabytes.
4. A CD-RW/DVD-RW drive.
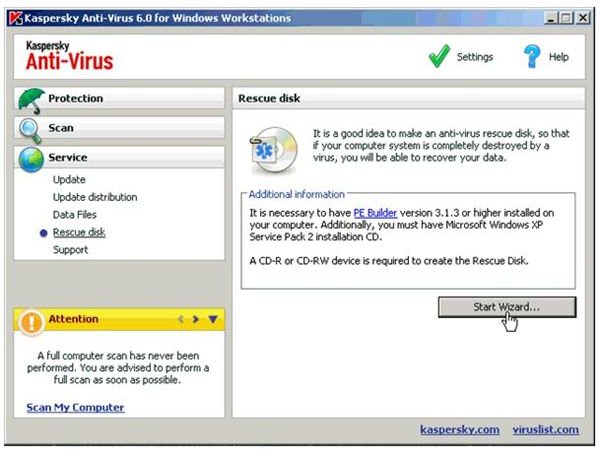
Step 1: Open your Kaspersky antivirus application and in the application window, click on Service tab on the left. Under the Service tab a list of labels will appear. Click on the Rescue disk label. On the right side of the application window click the Start wizard… button.
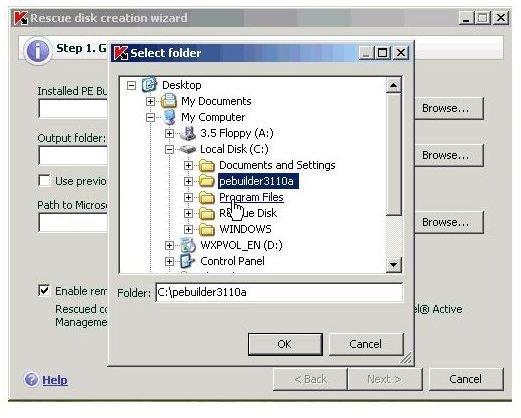
Step 2: A new Restore disk creation wizard window will appear. On the top you will find the Browse button next to the Installed PE Builder message. Click the Browse button and specify the installation path of the PE Builder installed on your system.
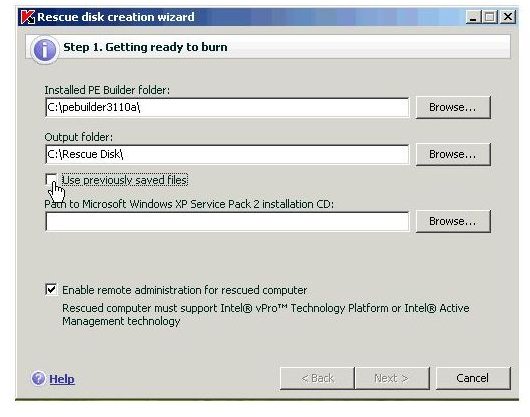
Next, click on the Browse button next to the Output folder message and specify the output folder where you want the file image to be saved.
Finally, click on the third Browse button and specify the path to Windows XP Service Pack 2 installation disk.
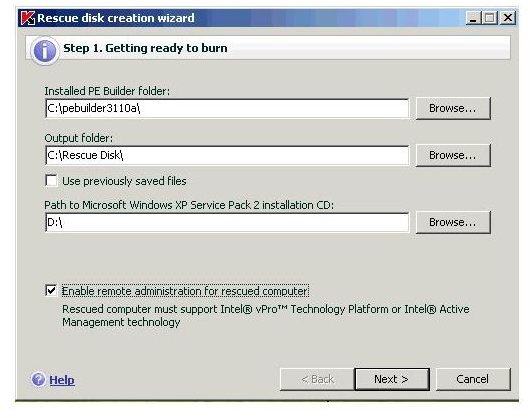
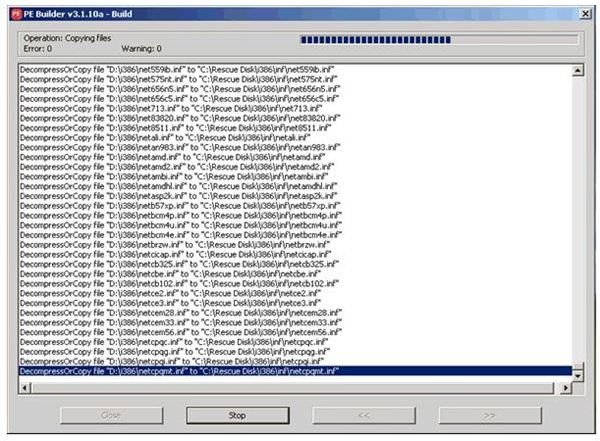
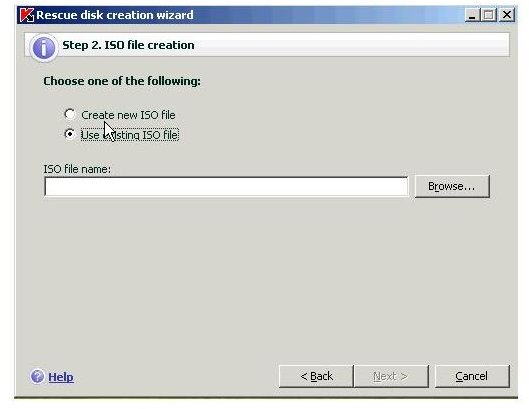
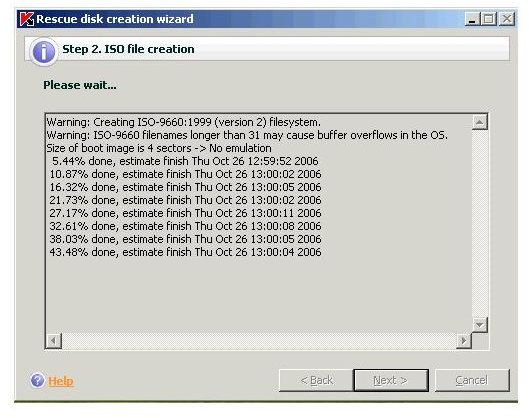
Step 3: Check the checkbox that says Enable remote administration for rescued computer and click Next button to continue. The necessary files will now be copied. Once the copying process is finished you will be asked to create new ISO file. Enter the name for the new ISO file or choose an existing one, If present. Press Next button to continue with the how to create restore disk Kaspersky guides .
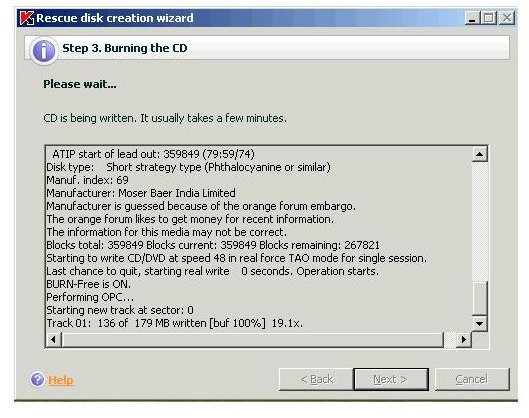
Step 4: Finally, the wizard will show a confirmation window asking you to burn the disk now or later. You can choose any of the options. Choose your option and click Next button. If you choose to burn the ISO file now, then click Next button and finally click the Finish button after the disk is ready.
You can now recover your system from the Kaspersky restore disk anytime your OS gets corrupt.
Images Credit
Kaspersky application screenshots by Kaspersky (https://www.kaspersky.com )


