Looking for a way to use Microsoft Access on your Mac? Here are some options you have, as well as alternatives to the program that will (hopefully) suit your needs just as well.
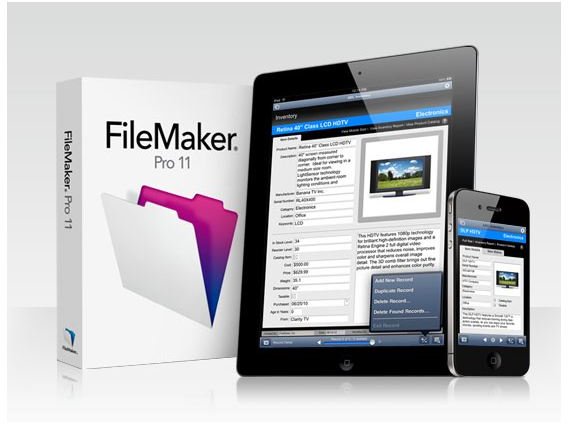
Alternative to Access: FileMaker
To start, it’s pretty hard to actually run Microsoft Access on a Mac. You can use a few programs to bypass the reasons for this (Boot Camp,
Parallels, etc), but the first thing you’ll want to try is getting an application called FileMaker that does many of the same tasks as Access with a little more weight and Mac support. The first thing you’ll notice about FileMaker is that it’s a little more than Access and a little less than Access all at the same time. It completes the same tasks to a slightly lesser degree (all the spreadsheets and whatnot), but it also covers documents, to-do lists, invoices, events, contacts, and anything else you would need for business work, all for $149.
One of the nicest additions FileMaker has made is its inclusion on the brand new App Store for Mac, allowing quick and easy download without the hassle of leaving your house. This means it’s also available for iPad and iPod touch, another very clear advantage it has over Access.
Making Access Work For You: Boot Camp
So, the ultimate question here is “Can a Mac Pro run Microsoft Access?” No matter how good FileMaker is, you may just be one of those people who prefers Access because you’ve used it for years and are familiar with the layout of it. In cases like these, you’ll need to get a hold of a program called Boot Camp which is built in to all newer Mac systems. Search for it using Spotlight (the magnifying glass in the upper right hand of your screen) and open up the program called “Boot Camp Assistant.” This application will download necessary files in order for you to fully run a version of Windows on your Mac and subsequently your copy of Microsoft Access.
Installing Windows on Your Mac
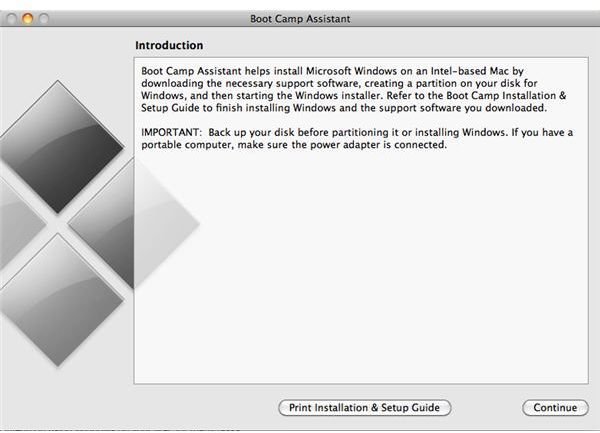
After you complete the above step, you will have to select which hard drive you want to install Windows onto, and how much memory you want to allocate for this installation, with a minimum of 5GB. Next, insert your Windows install disk, run Boot Camp Assistant again (if you closed it), and hit “Begin Installation.” Boot Camp will begin running and installing Windows after creating various partitions and whatnot over which to install. If you don’t understand this, that’s okay; most of it is techno talk that basically means everything is going fine. Continue to follow the on-screen instructions until it completes, restart your computer into the new OS, and you’re good to go.
Last Step: Installing Access is Easier Than It Looks
If you’re familiar with Access, chances are you’re familiar with the Windows operating system. This being the case, your last step is incredibly simple: Install Microsoft Access just as you did when you used to use it by inserting the install disk and/or mounting the disc image into your computer, following the on-screen instructions, and opening up the program. There are a few things you’ll want to watch out for, though:
- Make sure you allocate enough additional memory into the partition’s required 5GB for Access to install. You may want to consider partitioning at least 20-30GB or more if you intend on using Windows on your Mac for many tasks.
- Not all versions of Windows work with Boot Camp. Make sure you refer to the Boot Camp help sections to find out which do.
- If all else fails, run the Boot Camp Assistant again to un-partition your hard drive and return everything to normal.
References:
Information about Boot Camp installation was taken directly from use of the program, and from the Boot Camp manual.
Images are all screenshots taken by the author, or images from respective download links.
Download Links


