4 Ways To Burn a Data Disc on Your Mac
Take Your Pick
D****rag and drop
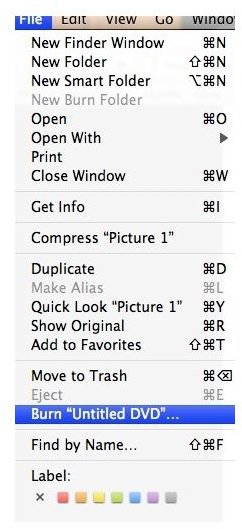
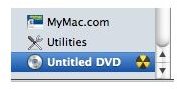
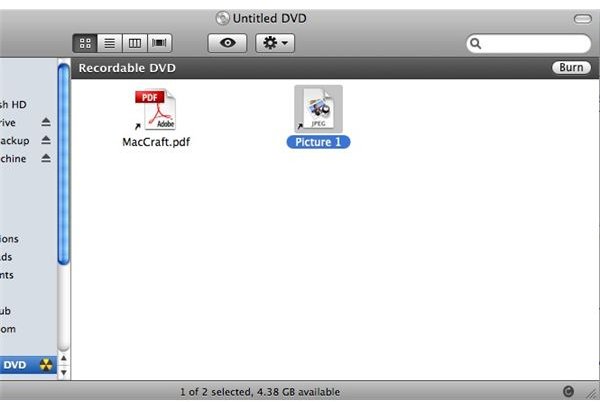
Once you insert a blank CD or DVD and it appears on your desktop you can drag and drop files that you want to burn to the disc. Once all of the files are there open the disc (if it isn’t open already). Click “Burn” in the window of the disc. The disc will start to burn. You can also click the burn symbol next to the disk in the sidebar, or go to the file menu and choose “Burn Disc.” (Figures 1-3)
Make a burn folder
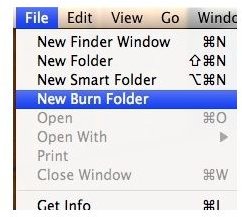
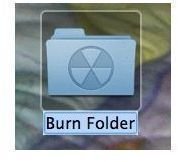
A burn folder is a good way to get files ready if you want to make multiple copies of the same disc. To make a burn folder go to the File menu in the Finder and choose “New Burn Folder.” A folder will appear on the desktop with the burn icon on it. Open the folder and drag all of the files you want to burn to that folder. Insert a blank disc, and click “Burn” from in the folder or “Burn Disc” from the file menu. When done burning and the disc ejects you can make a duplicate disc with the same folder. No need to keep dragging and dropping files to a disc (as in step one). (Figures 4 and 5)
From the File Menu
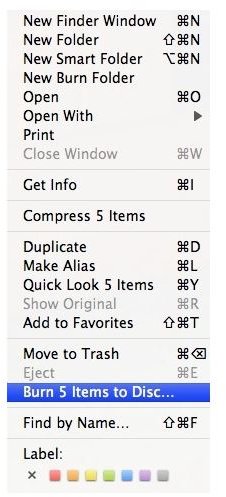
Instead of dragging and dropping to a disc icon you can use this technique. Insert the blank disc. Select all of the files you want to burn. Go the File menu and choose “Burn (x number of items) to disc.” If it is just one file it will say “Burn (filename) to disc.” (Figure 6)
Use a third party application
There are tons of third party applications out there that you can use to burn a CD or DVD. My preference is Roxio Toast. Toast is a bit expensive, so if you are on a budget I suggest going to a site like Macupdate.com or Verisontracker and search for the word “burn.” Numerous freeware and shareware options will come up that you might want to try.
One Note: Unless your computer is set to always do the same thing with a blank disc you will see a window come up every time you insert a disc into the computer asking what you want to do with the disc. For this article the option you want is “Open Finder.”
Images