If you are having trouble printing to a Windows print queue from Mac OS X, the instructions are here. Whether you have a small home network running Ethernet or an enterprise Windows network with Active Directory, these directions can help.
Home Network Printing to a Windows 7 Printer from Mac OS X
If you have a small home network using wired or wireless Ethernet, follow these directions.
Step 1
Perform the following steps on your Windows 7 computer to set up the print queue to receive Mac OS X print jobs:
1. Open Control Panel.
2. Click “Programs and Features.”
3. Click “Turn Windows Features on or off”
4. Click to turn on LPD protocol.
5. Choose “Printers” in the Control Panel.
6. Right-click the printer you want the Mac to use and choose “Share the printer.”
Step 2
Perform the following steps on your Mac OS X machine to add the Windows printer:
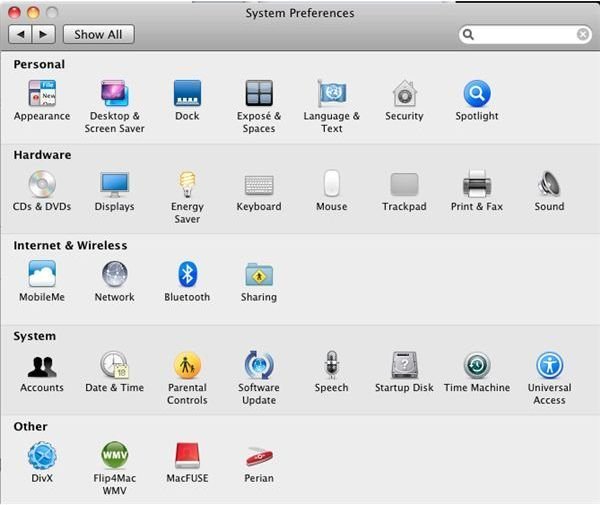
1. Click “Print and Fax” in System Preferences.
2. Click the “+” sign to add a printer.
3. Click “Advanced” on the menu bar.
4. Select “LPD/LPR Host or Printer” from the “Device:” field.
5. Type “lpd://windowsPCName/PrinterShareName” using the correct Windows PC name and printer share.
6. Click “Add”
7. Close the Printer Setup Utility.
Now the Windows printer is available as a choice in your Mac applications whenever you click “File, Print.”
Enterprise Network Printing to a Windows Active Directory Printer from Mac OS X
If you want to print to a Windows queue in an enterprise environment, follow these steps.
Step 1
Perform these steps on the Active Directory network:
1. Make sure your Mac running OS X is bound to Active Directory. Contact the network system administrator if you are unsure if this is true.
2. Obtain an Active Directory login ID and password for the network.
Step 2
Perform these steps on the Mac OS X computer:
1. Open the Printer Setup Utility from System Preferences.
2. Click the “+” sign to add a printer.
3. Choose the Active Directory printer from the list that appears. Note that if the printer is advertised on the network using the legacy NetBIOS protocol instead of Active Directory, you will first have to click the Windows icon at the top of the dialog box, then choose the Windows domain of the printer and then the name of the computer the printer is attached to.
4. Supply the Active Directory login ID and password to add the printer to your available printers list. If the printer is NetBIOS, you will also have to click the dropdown menu in the “Print Using:” field and select the correct printer driver.
5. Click “Add” and close the Printer Setup Utility.
Now the Active Directory printer is available as a choice in your Mac applications whenever you click “File, Print.” You may have to supply your Active Directory login ID and password each time you use the printer, depending on how the network is configured.
References
Microsoft Answers: https://answers.microsoft.com/en-us/windows/forum/windows_7-performance/how-do-i-make-my-printer-on-windows-7-share-with/bd920e46-dbeb-4bb2-a38e-8791facd0608
Apple Seminars: https://seminars.apple.com/seminarsonline/winprtque/apple/index.html?s=301
Screen shots provided by the author.


