Ubuntu Linux’s repositories include the Squid proxy server; set up your own local proxy server by installing Squid and configuring it by editing its configuration file.
About Proxy Servers
The Squid proxy server handles HTTP requests, for example, for webpages. When you open a webpage with your Web browser, Squid receives the request and fetches the webpage, delivering it to the browser. This makes all Web browsing appear to come from the single address of the proxy server. Using multiple computers with one proxy server also increases page download times and decreases the amount of content that needs to be downloaded; cached website content is served from the local Squid proxy server and won’t need to be downloaded from Internet servers.
Installing the Squid Proxy Server
The Squid proxy server is included in Ubuntu’s repositories; install it as you would any other software package. Installing Squid from Ubuntu’s repositories also ensures that you’ll receive the latest security updates for your proxy server.
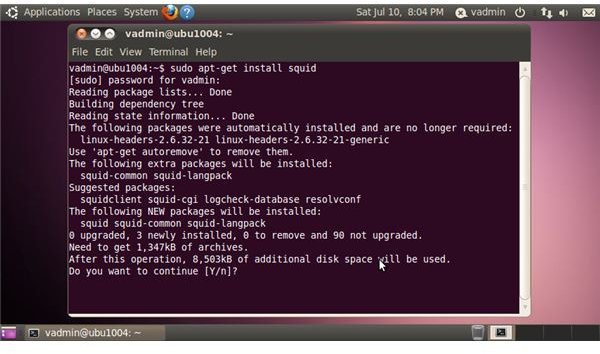
Open a Terminal by clicking “Applications,” “Accessories” and “Terminal.” Install the Squid package from Ubuntu’s software repositories by typing “sudo apt-get install squid” into the Terminal window and pressing “Enter.” Type your password when prompted, press “Enter,” then confirm the installation by pressing “y” and “Enter.”
Configuring the Squid Proxy Server
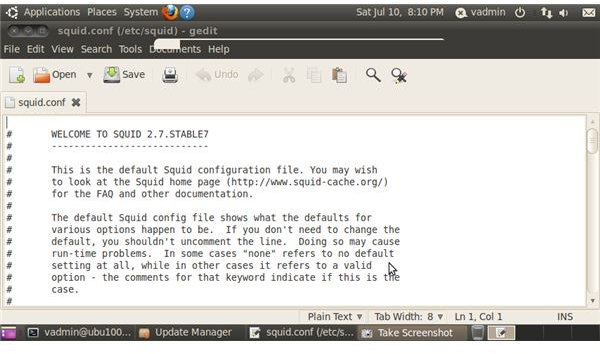
Squid is configured by editing the “/etc/squid/squid.conf” configuration file. Open it in a graphical text editor by typing “gksu gedit /etc/squid/squid.conf” into a Terminal window and pressing “Enter,” or open it in a terminal text editor by typing “sudo nano /etc/squid/squid.conf” into a Terminal window and pressing “Enter.”
The “squid.conf” file contains a large amount of possible configuration settings. One of the most important is the “http_port” setting, which specifies the port Squid listens on, the port your other computers connect to. Hit “Ctrl+F” in the graphical text editor, type “http_port” in the search box and press “Enter” until you find the “http_port” option beneath “# Squid normally listens to port 3128.” Replace “3128” after “http_port” with a port number of your own.
By default, Squid won’t allow any incoming connections. Add the lines “acl localnetwork src 192.168.1.0/24” “http_access allow localnetwork” onto two separate lines in the “squid.conf” file, replacing “192.168.1” with the appropriate numbers for your local network if you’re using a non-standard setup. For example, if your computer’s IP addresses are “192.168.5.101” and “192.168.5.122,” replace “192.168.1.0/24” with “192.168.5.0/24.”
Save the file when you’re finished by clicking “File” and “Save” in the graphical text editor. Press “Ctrl+O” and “Ctrl+X” if you’re using the nano terminal text editor instead.
Restart the running Squid server to apply your new settings by typing “sudo service squid restart” into the “Terminal” window and pressing “Enter.”


