You need not use Windows to create CD covers. Linux is full of choices and we review the Kover application to make CD covers. There is a bonus tip for LightScribe owners as well.
Kover - Getting the grips
Creating a front/back/spine/inlet covers for your CD cases is not as complicated as you think. In fact, given good software, it is a couple of clicks blended with your creativity. In this article, we will review Kover, a lightweight and WYSIWYG (What you see is what you get) application and go all through the creation process.
You can install Kover using your distribution’s package manager. Ubuntu users have to enable the Graphics (universe) repository to be able to download from Synaptic. After the download, if you can not see Kover in the menu, you have to right-click on the “Applications” menu button and add it manually. The program’s binary is in /usr/bin/kover.
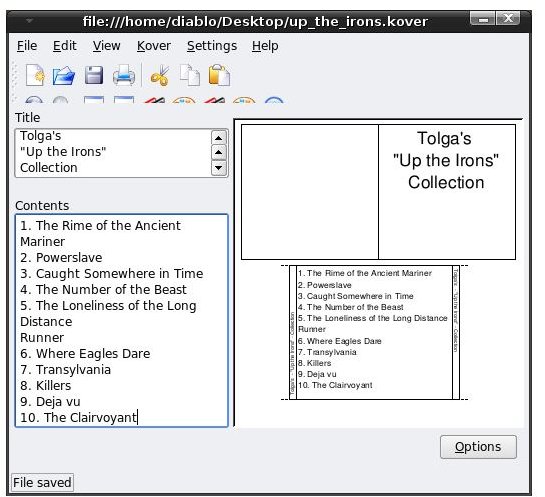
When you open up the program, you will see that it is very simple. The top side is reserved for the menus and toolbar icons, and the bottom is split into two. On the left-hand side, you see the “Title” above and the “Contents” below. I will first go over a custom CD creation. As you see in the screenshot, the “Title” you type appears in the CD’s top cover, and the contents appear in the back.
To insert an image, you go to the Kover -> Image Embedding menu item. You can choose where to use which image here. But I must mention one shortcoming here: Kover does not automatically scale your image. The fit is 345x340 pixels and it is definitely worth arranging/resizing/panning your image to this resolution before you bring it into Kover.
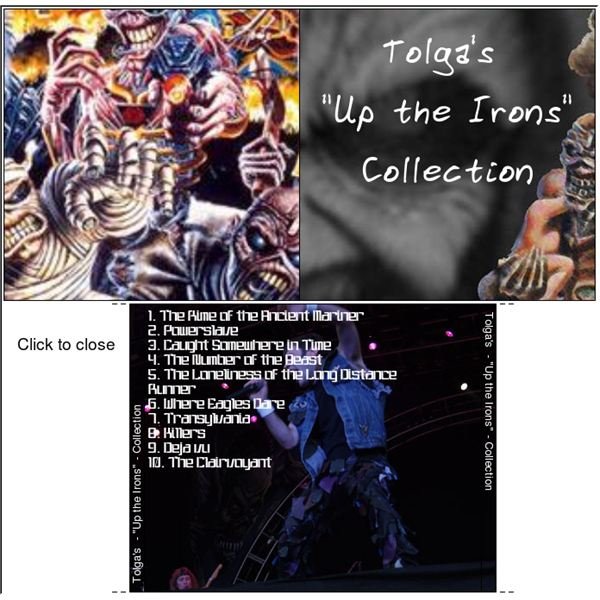
After you embed your images, then you can play with the fonts. Of course you can do that in advance, but in order to make the writing visible, it’s better to fit the images first and then choose the font and font color. If you look at the screenshots, if I had gone with the font color white at first, I would not see what I have written, or else, if I went with the black font color, it would not be visible after embedding the image. In addition, the fonts would not fit as I wanted. I am trying to say that leaving the “make up” to the end and starting with the basics will save your time.
One of the Kover’s most useful features is the ability to look up items in the CDDB database. When you insert a CD and go to Kover -> CDDB Lookup, the program automatically checks the CD’s content from the Internet. If you want to do this without a CD, then you go to Kover -> CDDM without CD option and insert the Genre and the CDDB Id in the dialog box. To learn the CDDB Id, go to Freedb and search for the album. Click on the result. In the “Disc ID” section the first word is the genre, and the cryptic writing is the DiscID. For example, selecting “rock” and inputting 590bdb08 will download the tracks of Iron Maiden’s Powerslave album. Unfortunately there is no search option available for artist/album search, which I do note as a downside.
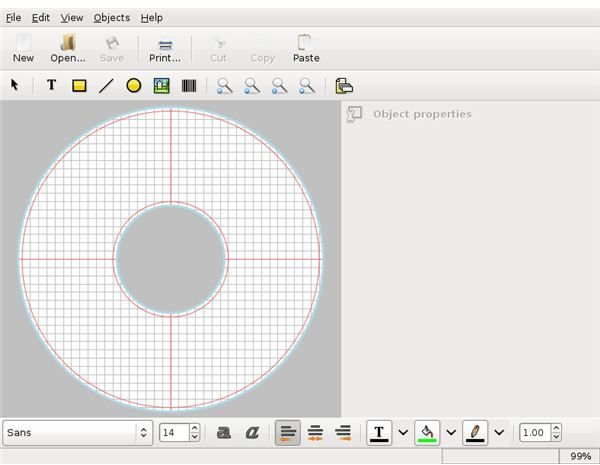
The program is very simple and after playing with it a couple of minutes, you will be able to get going. However, I have to mention one thing as a negative, which is you will not be able to print a CD label (the one that you place on the top of your CD, not the ones that you have inside the CD box.) To do this, I recommend you to use Glabels. You can also use this program to create your DVD covers (see the screenshot on the left). There are lots of templates available in Glabels, so you have to browse through them to check which one will fit your purpose.
If you have a CD/DVD writer in your computer, you probably are wondering if you can use this functionality under Linux. The good news is there is Lacie’s “LightScribe Labeler for Linux ”. It is a free download of about 600 Kilobytes and integrates with the best CD/DVD burning software of the Linux world, the K3B.


