Guide to Setting Up Counter-Strike Server for Linux
What is Counter-Strike?
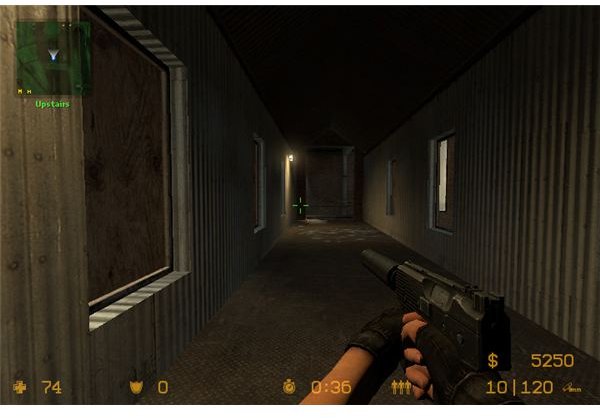
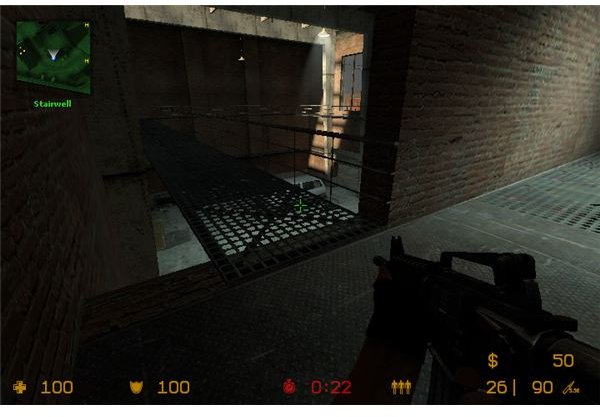
The popular online game Counter-Strike involves a group of players taking part in a virtual shoot out, often a free for all and just as often a capture-the-castle team affair that features the in-game mechanics of the popular Half Life game.
To play this game, servers are used to host the maps and allow the players to logon. Meanwhile the server itself gets indexed on a list of suitable servers where gamers can logon and team up.
As Counter-Strike has been around for a few years now, there is every chance that a standard Linux box is suitable for setting up as a game server.
Counter-Strike Server for Linux Hardware Requirements
Unfortunately you can’t just install a distro on a PC and hope for the best – a Counter-Strike server for Linux needs to meet a specific hardware requirement.
Unless you have a commercial internet connection, home broadband will restrict you to a small 20 man game. But hardware requirements of a 2.4 GHz CPU (single core – obviously there will be advantages with multi-core processors), 2 GB of RAM and a 10,000 RPM SATA hard disk drive will all make your Counter-Strike server run as intended.
Counter-Strike Server Software Requirements
This tutorial uses Ubuntu 10.10 to create the server, but whichever distro you use, bear in mind that there are a lot of Terminal commands to get through to setup the Counter-Strike server.
Before starting with the Terminal commands, you will need to download a copy of the Counter-Strike server software. This can be found via www.fileshack.com, although note that there are later versions available.
With this downloaded you’re ready to get started.
Configuring Counter-Strike Server for Linux
To get started you will need to create a directory.
In Accessories > Terminal enter:
cd /
mkdir /halflife
cd /halflife
With these commands entered, you should have created a directory called “halflife” and opened it.
Copy the file you downloaded previously into the halflife folder and then in the Terminal type:
tar zxvf hlds_l3333.tar.gz
Note that you may have downloaded a different version of the server software file, so enter the command as appropriate.
The previous command has unpacked the tarball package – a new directory called hlds_l will have been created. Type
cd /hlds_l
…this will take you into the new folder. You must then download the Counter-Strike mod for the Half Life server components already downloaded. Find this at X
Once this has been downloaded, you will need to unpack it:
tar zxvf cs_beta7.tar.gz
(Again, a different version may be available so alter the filename above as appropriate).
Next, you will need to enter this command to enable the server components to find the libraries required to play Counter-Strike:
export LD_LIBRARY_PATH=/halflife/hlds_l:$LD_LIBRARY_PATH
And that is it – your Counter-Strike server is ready!
Testing Counter-Strike Server for Linux
With your Counter-Strike server ready to use, you will need to test it. You can do this in the Terminal by entering this command from the halflife/hlds_l directory:
./hlds_run -game cstrike +maxplayers 10 +map cs_assault

Using the cs_assault map (downloaded as part of the Counter-Strike server setup) the server will begin a 10 player game.
You should see the message WON Auth Server if this has run successfully – if not, you will need to make some changes. Most common is that the server is using a self-assigned IP address. This can be changed easily by first checking the IP address it is using (type status in the Terminal) and then a new IP address can be included by entering:
./hlds_run -game cstrike +ip
Note the +ip
