
Reformatting a hard drive may be necessary for various reasons and with some careful instructions and time, doing so shouldn’t be a frustrating headache.
What is Reformatting?
When someone says they are going to ‘reformat a hard drive or computer’, it just means they are going to reinstall their operating system and all of their devices and programs. It basically resets the computer as though they had just purchased it from the retail store or manufacturer.
There are various reasons to do this - upgrading to a new operating system (like from Windows Vista to Windows 7), switching to a different operating system (like from Windows to Linux), getting rid of a virus, etc.
The process of reformatting a computer can go very quickly if a user takes precautions in what they are doing. It’s a good idea to set aside time in order to reformat a computer, especially if it’s a computer you use on a daily basis. Reformatting should not be rushed, so make sure to schedule in a weekend or a few days so that you can.
Before you reformat…
There are many steps in reformatting a computer, but the most important is to back up your current computer. This means backing up important files and documents and anything relevant that you will need to continue to use once you have completed the back up. Check out this Bright Hub article on How to Backup your Laptop to find out what important things should be backed up.
The question of where to back up is important too, as there are also various ways and devices. Most users will back up to an external hard drive; some have access to physical or online servers that store the back up so that you can bring your files back. There’s also the option of placing things on a thumb drive or even DVD or CD discs. All of these should be considered and decided on before you start to reformat your computer.
Along with backing up your current files and documents, you’ll need to have access to programs that you have installed. Some things, like Adobe Reader, Firefox, Flash, and Java can be easily downloaded from their websites, but it might be easier to just have them on hand so you won’t have to download them; the same is true for any device drivers. Make sure to have everything within reach, so you don’t spend time looking for them.
The Reformat Process
Regardless of the operating system you are using, the reformatting process is the same. Let’s take a look at some reformat hard drive instructions.
1. Get the operating system disc you plan on using. Make sure you also have the product key or ID handy so that when the time comes, you can just enter it when asked.
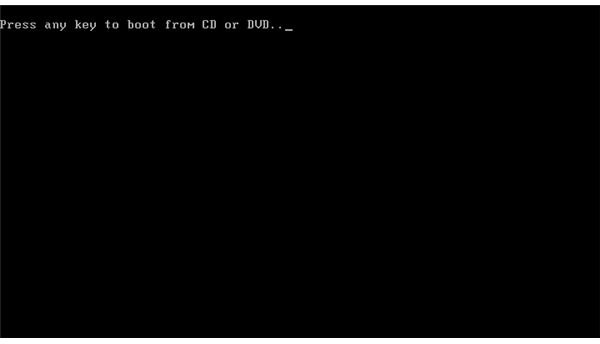
2. The best way to start the reformat is by placing the disc in your disc drive and restarting your computer. If your computer is set to boot (install) from the DVD/CD-ROM, you should be prompted to press a key to get started after the computer goes through rebooting. If you miss the prompt, just restart again. To learn how to change the boot sequence, please see Computer Won’t Boot with USB Drive Installed .
3. Once the installation begins, the system files will be loaded. Again, depending on the operating system, this may take some time; sometimes, it’s better to start the process at night and then when you wake up the next day, you can just finish the installation. After the system has loaded, there will be some sort of information screen - this screen will mostly likely start out asking for the product key, then to choose an administrator password. This allows a user to get into safe mode and if you need to repair the system. It is very important to you choose a password that is easy to remember, but not easy to be discovered. This is especially important in the case of laptop computers.
- This section will also ask for the time and date, as well as time zone notification. For residents in the US, they can decide if the system should use daylight savings time or not.
4. The installation will take the above information and finish installation. The last step is to add users to the computer.
And that’s it! Congratulations, you’ve reformatted your computer!


