
It is the nervous system of your computer. Replacing a motherboard does not require surgical aptitude, but it is important to know what NOT to do. Avoiding costly mistakes will save you a headache. These tips will avoid the most common faults that keep a newly installed motherboard from working.
Avoid Electrostatic Discharge
Electrostatic discharge (ESD) is the real “silent killer”. There you are trying to find out for hours or even days why your brand-new motherboard will not come to life, and after finally paying a professional to diagnose it, he tells you it is fried.
ESD is a surge of electric current released from one object to another of different electrical potential by the contact with an electrostatic field. Your carpet or your clothes are good examples of electrostatic fields in some circumstances. Getting a shock from touching metal or balloons are also good examples, but keep in mind that this type of shock can destroy a computer’s insides.
What is important to know is that these surges may not mean much to humans, but are powerful enough to destroy computer parts and the worst part of it is, you will not even notice it until you try to turn your computer back on.
Here are two ways to avoid ESD when dealing with computer parts:
- Remember to ALWAYS touch the case of your computer before dealing with any computer component that involves circuits and batteries.
- Use an Anti-Electrostatic Mat .
The Right Place to Work (It is NOT your lap!)
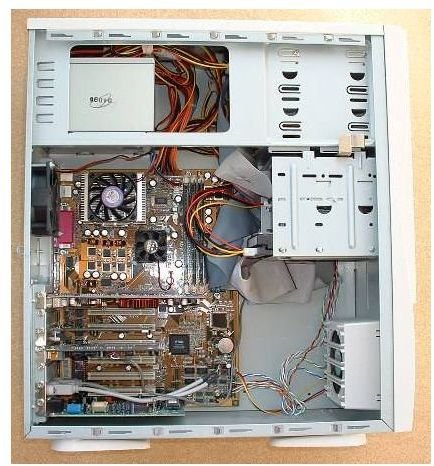
Ideally, the proper place to work is a flat surface table made of wood or plastic (not metal) and with enough space to work safely.
A small table will always represent the danger of dropping something. If that something happens to be your computer case or your new motherboard , it may be expensive.
You will need sufficient light to see what you are doing, and to make the right connections according to the numbers and signs on your motherboard and computer components.
This is a critical step. Find the right place to work. Do not cut corners, because accidents really do happen when you least expect them, and even a small accident can result in hundreds or thousands of dollars in computer repair bills.
Safe Removal of Old Motherboard
Even though the old motherboard may be heading to the trash bin, it is crucial that the computer components connected to it are kept intact and in good working order to avoid damage to the rest of the computer.
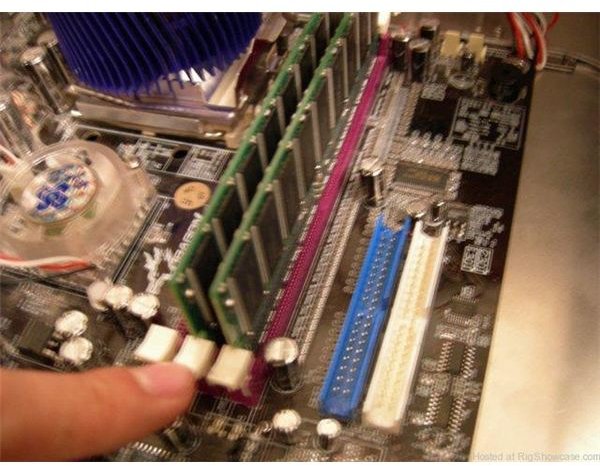
Be mindful of connectors with clamps that need to be released before removal. For example, memory sticks need to be unlatched before removal and so do network and graphic cards .
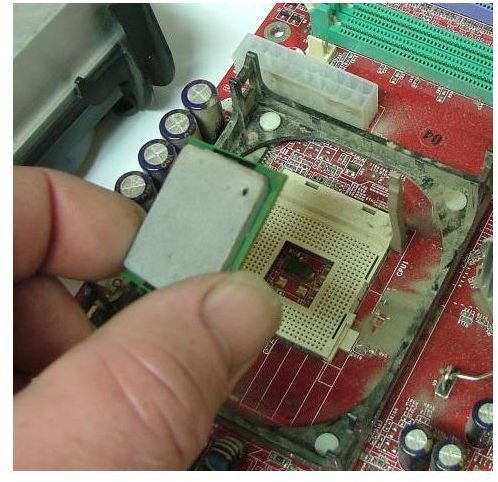
Be especially mindful of how to safely remove your CPU Fan and CPU. If would be advisable to refer to the owner’s manual of your current CPU, if you have it. If not, follow these steps:
- Release the clamp(s) on or over the CPU fan by applying pressure downwards.
- Lift the lever on the side of the CPU to unlock it.
- When inserting the CPU into the new motherboard, do not forget to apply cooling paste. If you do not have some, buy it. Without cooling paste , your CPU will overheat and fry, which is quite a bad situation.
A good rule of thumb is to never do it until you are sure of how to do it.
Can’t Avoid a Bit of Reading
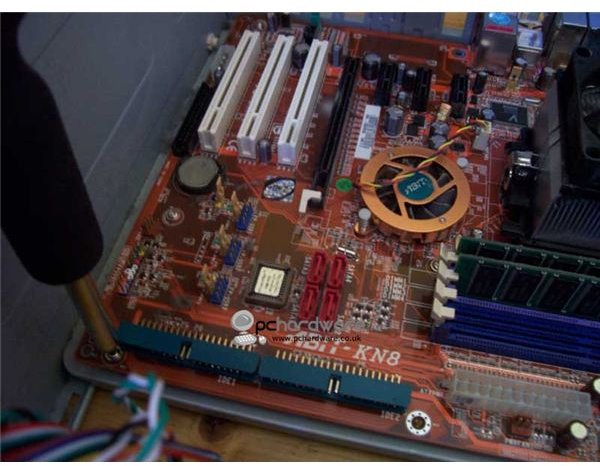
The new motherboard, unless it happens to be the exact same model of the old one, will probably have different connection parameters. Even though the connectors are all the same, given you have bought the proper form factor for your case and CPU, each motherboard brand has a somewhat different way of dividing its layout and marking its connections.
The Right Amount of Pressure
When fastening your new motherboard to the case , it is necessary to apply the correct amount of pressure to each screw. Too much pressure and you may crack the silicone that hold the circuits together; not enough pressure and it will result in a short, which will keep the motherboard from firing up.
The right way of fastening the screws is to keep screwing until more pressure is necessary to continue than it would require to twist a doorknob.
Reset CMOS
Some motherboards may require you to “clear” its
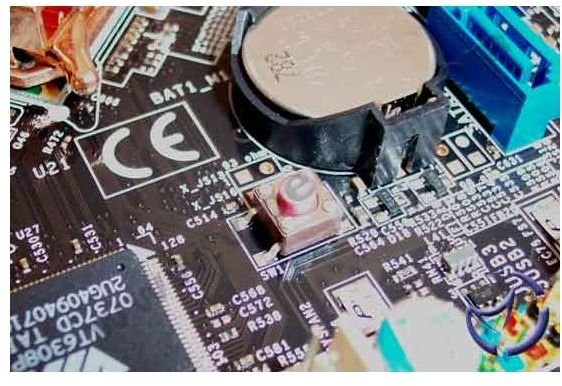
CMOS in order to allow it to recognize your CPU.
The easy way to do this is by simply removing and replacing the CMOS battery (wait 2 minutes). The other way is by using the CMOS jumper, which is usually located on the side of the battery. Simply move it left to the next two circuits, wait half a minute, and then move back.
Double-check (triple, if you may), hit the power button and enjoy.
You may have to reinstall your operating system, so have the disks handy for when your computer turns back on.
References
- What is ESD www.computerhope.com , http://www.computerhope.com/esd.htm
- Image Credits, Author


