How to Open EPS Files in Inkscape: Make Inkscape More Useful By Installing Ghostscript
Introduction
Inkscape is certainly a powerful and flexible tool, but is primarily intended as an editor of Scalable Vector Graphics (SVG) files - an open standard which is not as widely accepted as EPS. Being able to both import and export EPS files is essential for most print designers and as SVG gains traction in web design, the ability to handle both file types is a very desirable feature. Thankfully, modifying Inkscape to open EPS files is a fairly simple process that, once completed, doesn’t require any more effort on the part of the user.
Installing Ghostscript
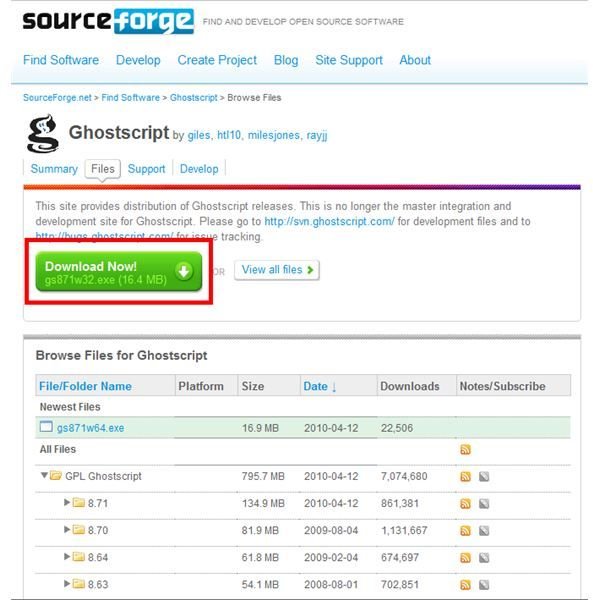
Assuming you already have Inkscape installed, you’ll need to install an additional piece of free software called Ghostscript. Ghostscript is an interpreter that translates Postscript files (such as EPS) into PDFs that Inkscape understands. It can be downloaded for free at https://sourceforge.net/projects/ghostscript/files/
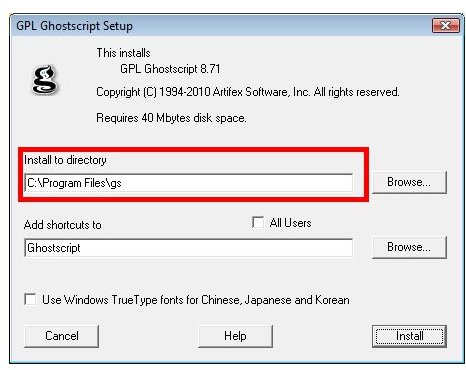
Download and run the Ghostscript installer and make a note of the directory that the program and its files are installed to. You’ll need to refer back to this later.
Accessing The Path Variable
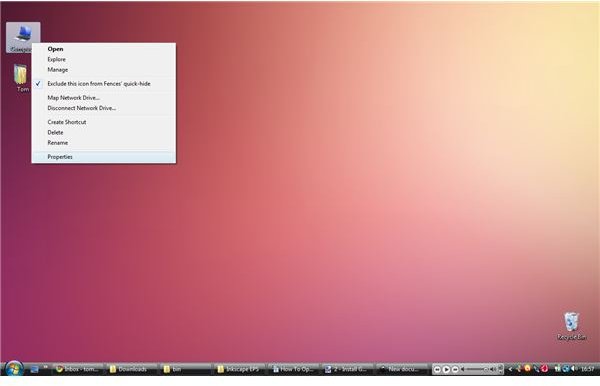
In order for Inkscape to make use of Ghostscript, it needs to know where it’s located on your computer. This is done by modifying the PATH variable in Windows. First, right-click the “My Computer” icon on your desktop and select “Properties”.
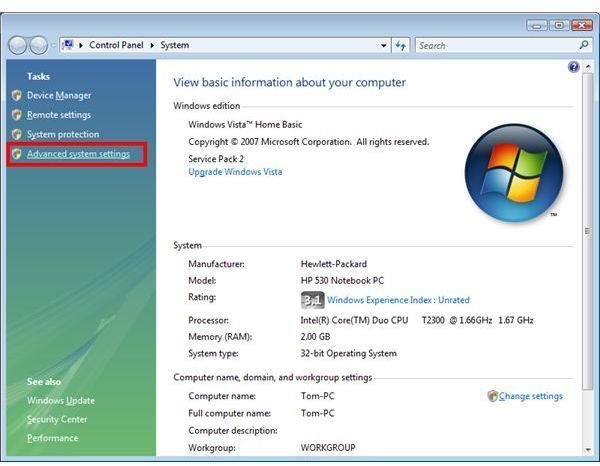
If you’re using Windows 7 or Vista, click on “Advanced System Settings” on the box that opens up (Windows XP users don’t have to do this).
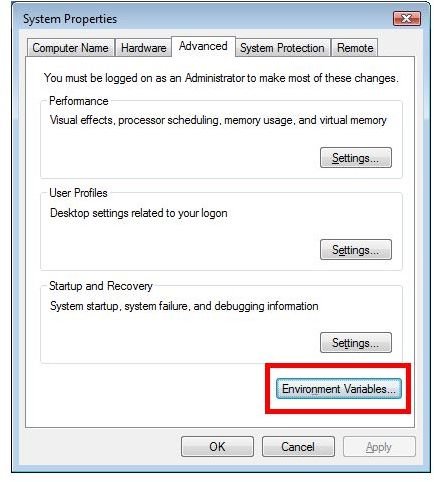
Click the “Advanced” tab and then click the “Environmental Variables” button towards the bottom.
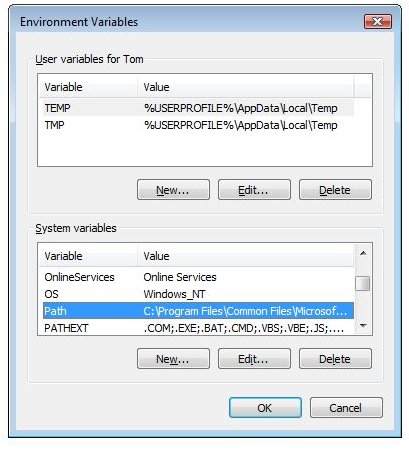
In the “Environment Variables” window that opens, you will see two lists of technical information. Use the scroll bars on the bottom list to scroll down until you see the “PATH” attribute. Select it and click the “Edit” button. A new dialog box will open, but don’t do anything to it yet.
Modifying The Path Variable
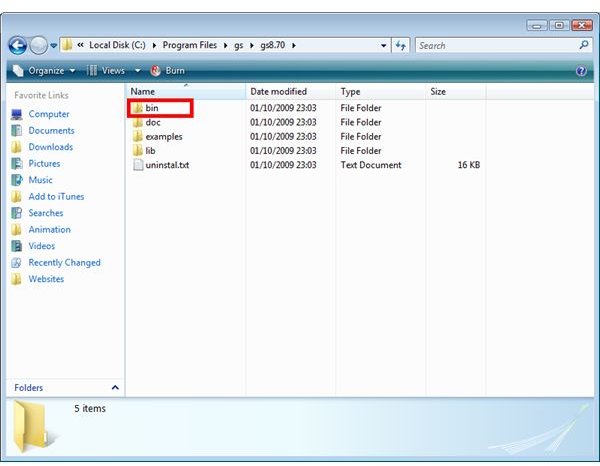
Open a new window in Windows Explorer and navigate to the folder you installed Ghostscript to. (By default, this should be “C:/Program Files/gs”, but your setup may vary.) Go into the “bin” folder of your Ghostscript install directory (you may have to go into a subfolder with the Ghostscript version number, such as “8.70”) and copy the folder location from the address bar by selecting it and pressing Ctrl-C. (If you don’t have address bars activated, you can just write it down, but make sure you copy it exactly).
Now go back to the “Edit System Variable” dialog box and paste the text at the end of the list of “Variable Values” in the bottom text entry box. Each value needs to be separated by a semi-colon, so make sure there’s one between the last entry and the one you just pasted. Be careful not to overwrite any other values. If this happens, press “Cancel” to close the dialogue box, then re-open and re-paste the location of the Ghostscript “bin” folder.
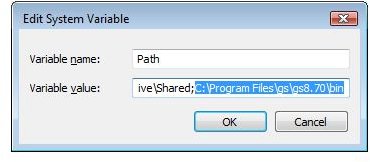
Repeat this process for the “lib” folder contained within the Ghostscript install directory, again making sure that there is a semi-colon separating the items in the “Variable Value” box. Once this is done, click “OK” to accept the changes you made.
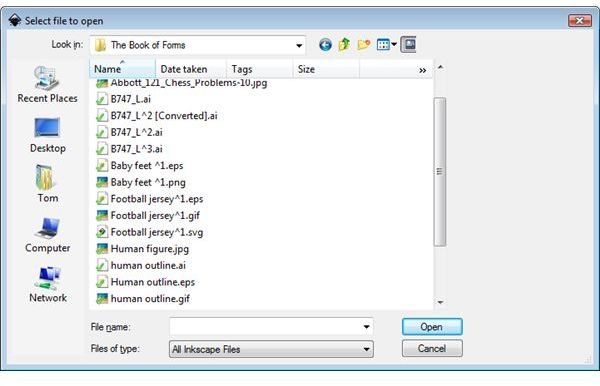
Now when you run Inkscape, you will be able to see EPS files in the “Open File…” dialogue, just as you would with SVG and other Inkscape-readable files. Select an EPS file and open it.
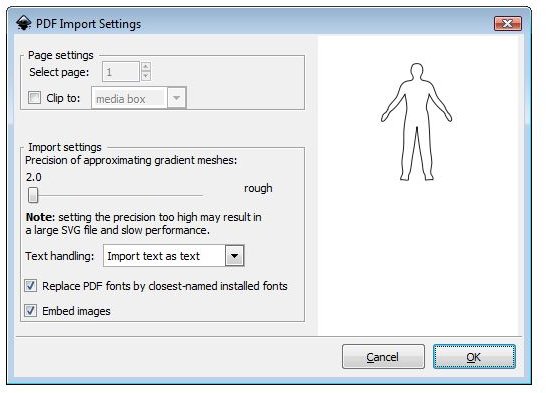
Inkscape will now run through the EPS import script by opening the Ghostscript interpreter. When the process is complete, a dialog box will open with some import options. Click “OK” and your EPS file will be open for editing.